Custom Printed Fabric Backdrops
 Custom Rubber Floor Mats
 Custom Collapsible Backdrops(double-sided)
 Custom Hand Painted Canvas Backdrops
 Custom Vinyl Backdrops
 Arch
Arch


Have you ever wondered if there's more to a person than what meets the eye? Aura photography might be the key to unlocking the hidden energies and emotions surrounding us all. This mystical practice has been around for centuries but has recently gained popularity as people seek to understand and connect with their spiritual selves.
This comprehensive guide will take you through everything you need to know about aura photography, from its definition and history to its science and how it works. We will also provide you with a step-by-step tutorial on how to take aura photographs.
Brief History of Aura Photography
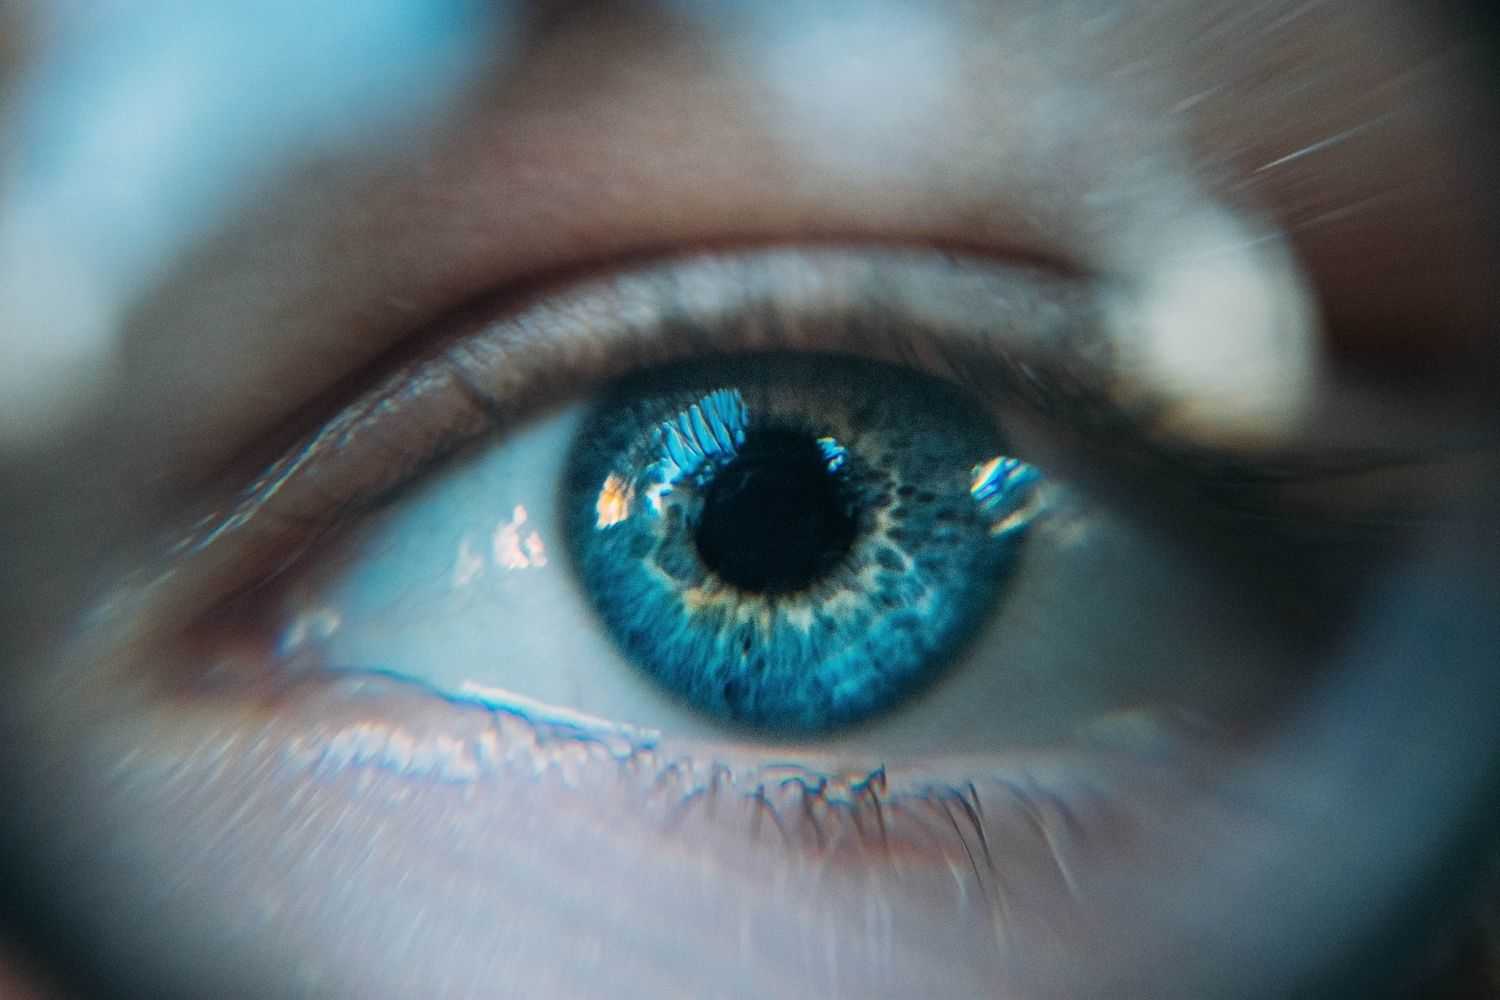
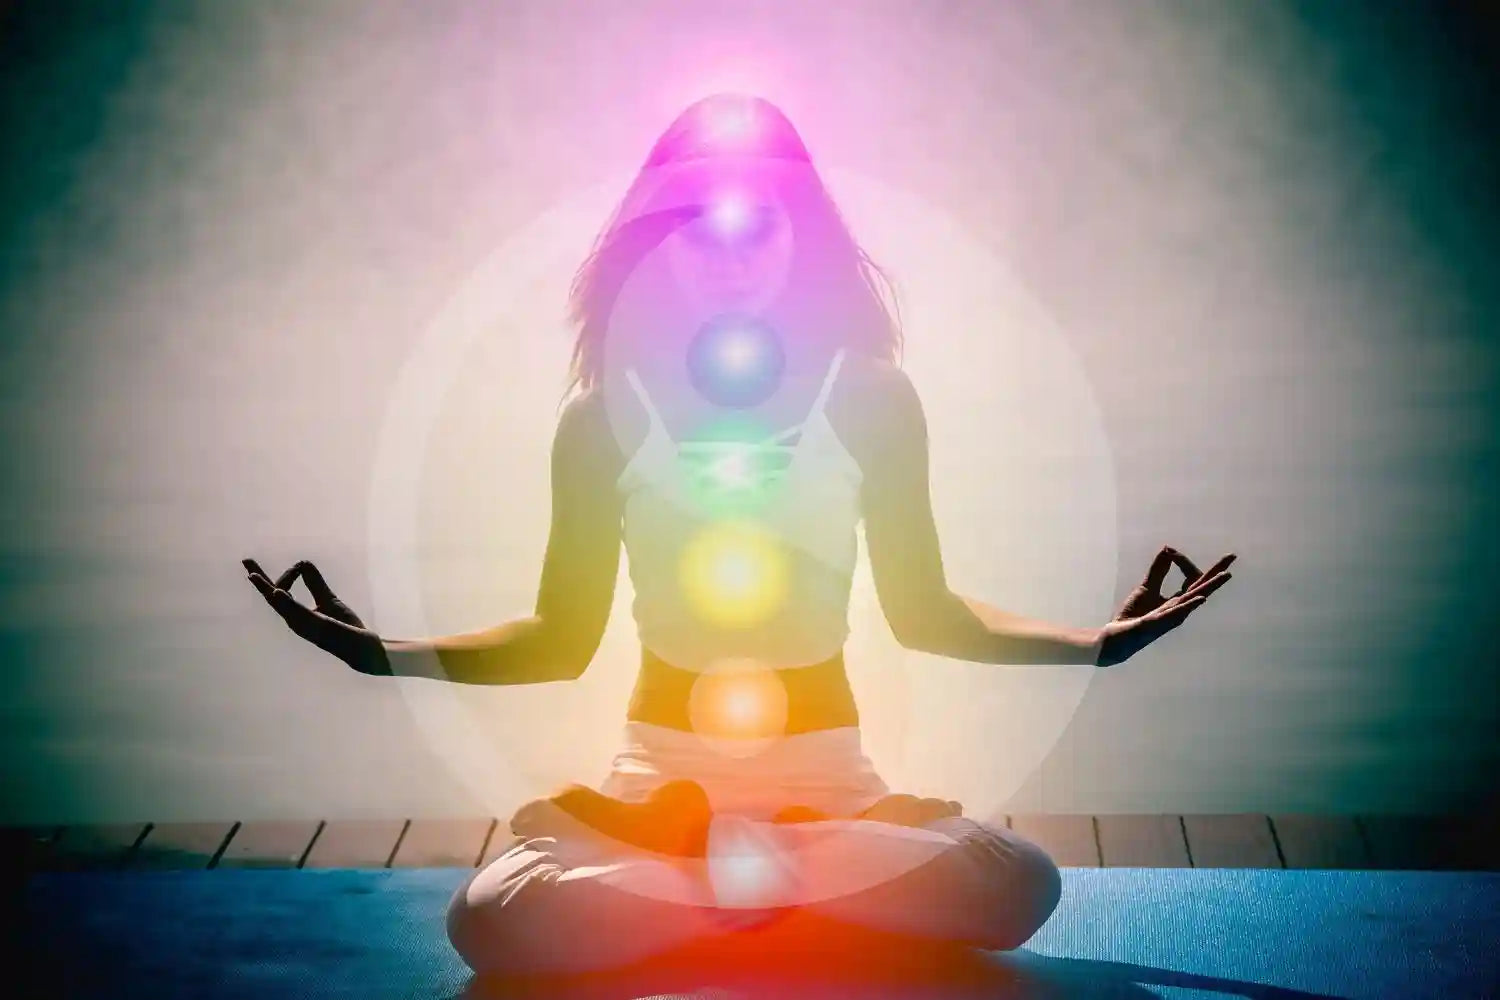
Aura photography is a process that involves capturing the energy fields, or auras, that surround living beings using specialized cameras. The concept of aura photography is based on the belief that all living beings, including plants and animals, have an energy field that surrounds their physical body.
This energy field contains information about a person's emotions, thoughts, and overall well-being. By photographing this energy field, practitioners of aura photography aim to provide insight into a person's inner state.
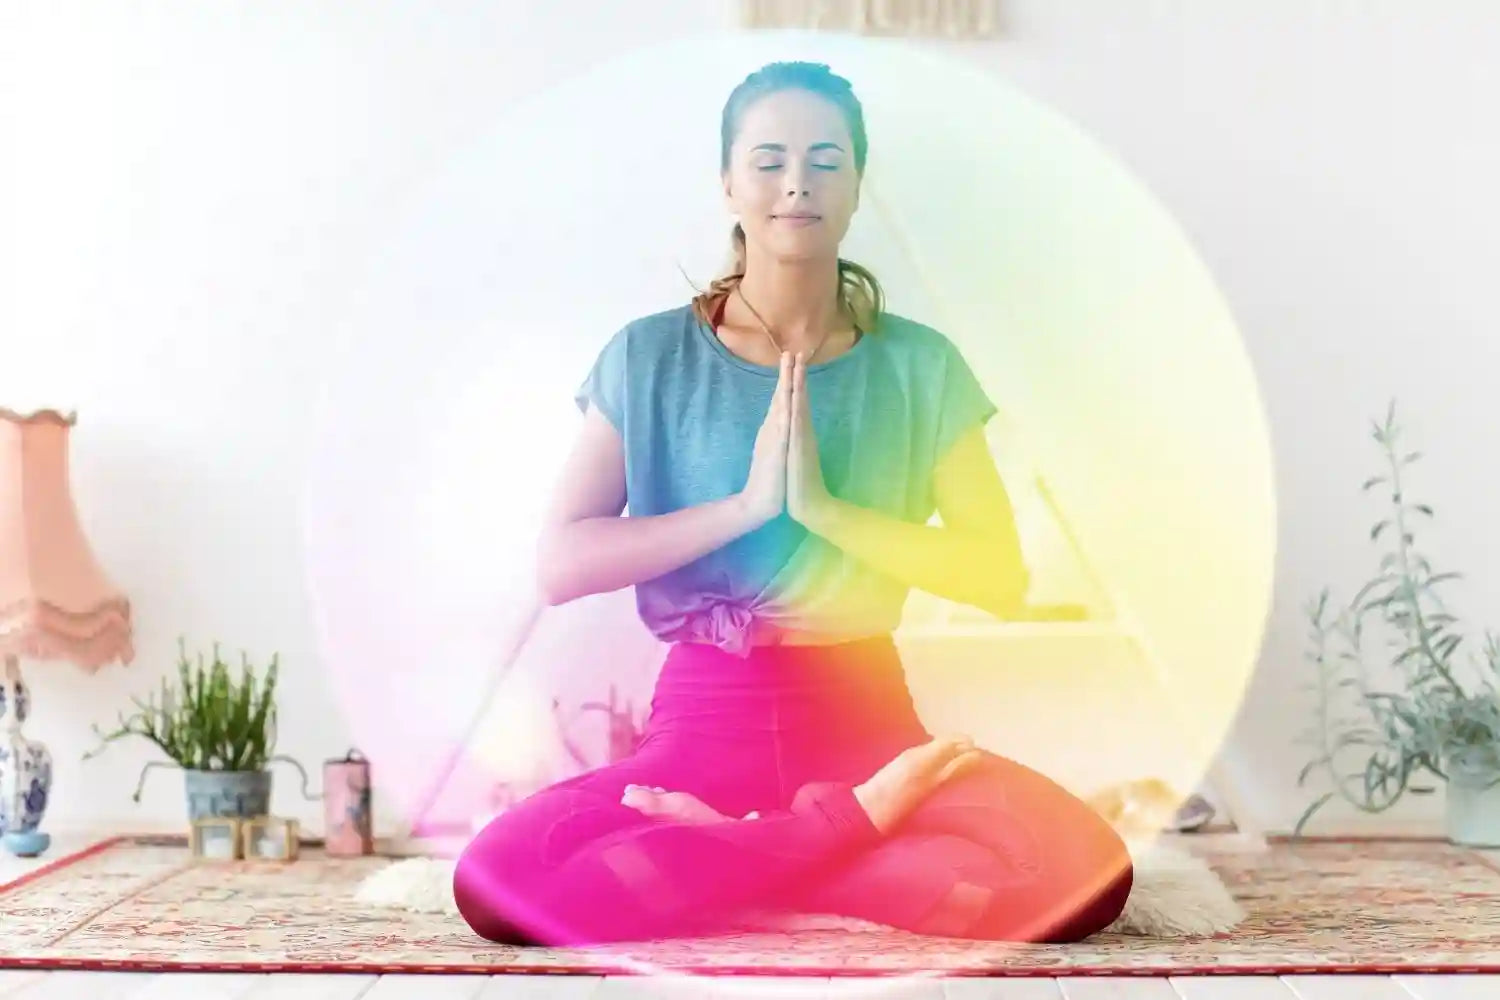
Photo by Ground Picture on shutterstock
The development of aura photography can be traced back to the 1930s. During this time, a Russian inventor named Semyon Kirlian discovered a way to capture the energy fields of living beings using high-frequency electrical currents.
Kirlian photography, as it came to be known, involved placing an object on photographic film and subjecting it to a high-frequency electrical current. The resulting image showed a glowing aura around the object.
Later, in the 1970s, American researchers developed a more refined version of the Kirlian photography technique. This version utilized specialized cameras and software to produce more detailed and colorful aura images. Today, aura photography is popular among those interested in spirituality, holistic health, and personal growth, and it continues to evolve as new technologies are developed.
How does Aura Photography Work?
Aura photography uses an AuraCam, which uses a set of two hand plates to measure the skin's electrical conductivity and translate it into a visual representation of the aura.
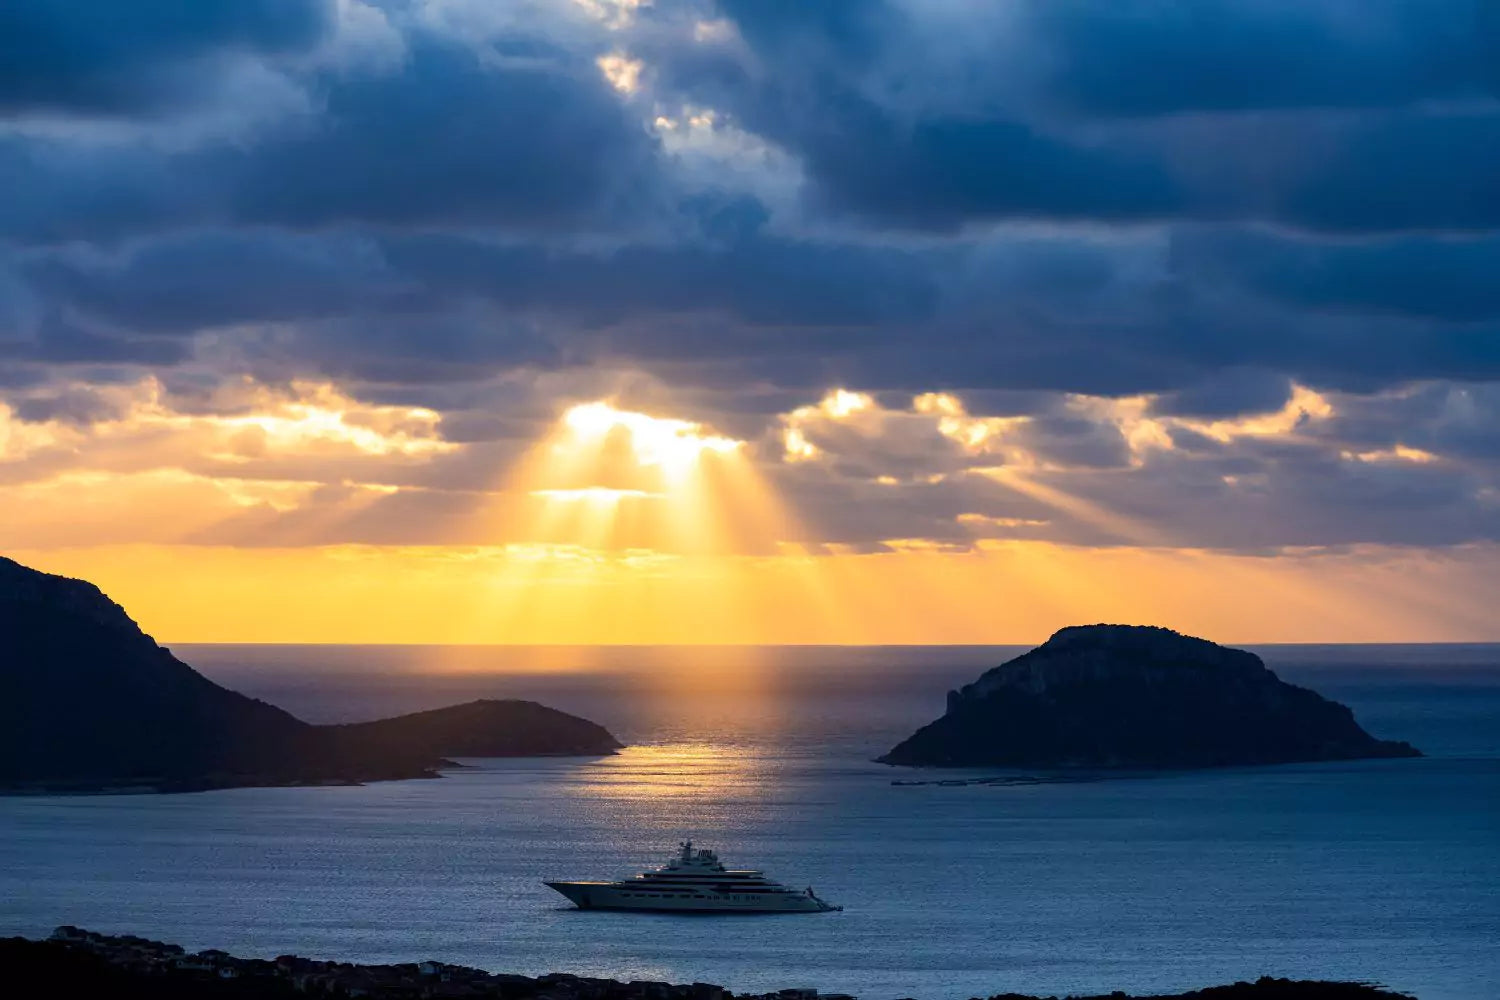
The set-up for aura photography typically involves a dark background and a dark space to shoot in, which helps to reduce interference from external light sources and ensure accurate readings. The person being photographed places their hands on the hand plates connected to the camera, and the camera captures the electrical signals generated by the person's skin.

Photo by Sun ok on shutterstock
The AuraCam then uses a combination of biofeedback and color theory to interpret the signals and generate a polaroid image of the person's aura. The resulting photograph may show different colors and patterns.
The principles behind aura photography are rooted in bioelectromagnetism, which posits that the body's cells and tissues generate electrical fields that interact with the environment. These fields are thought to be influenced by factors such as emotions, thoughts, and spiritual practices, which can alter the frequency and intensity of the field.
Color Meanings of Aura Photography
The colors that appear in the aura can reveal a lot about a person's energies. Here are some common color meanings in aura photography:
- Red: Passionate, energetic, Strong-willed, confident
- Green: Ambitious, healing, friendly, communicative, nurturing.
- Yellow: Optimistic, creative, intellectual, joyful, playful, relaxed, friendly
- Blue: Communicator, intuitive, calm, spiritual, freethinker, collected
- Orange: Spontaneous, enthusiastic, social, adventurous, creative
- Pink: Loving, compassionate, romantic, generous
- Purple: Intuitive, mystical, inspired, playful
- White: Pure, spiritual, positive, wise, healer
- Black: Protective, survival, introspective, stability
- Indigo: Honest, spiritual, peaceful, curious, imaginative
- Violet: Intellectual, visionary, Intuitive, innovative
- Tan: Logical, practical, reliable
- Magenta aura meaning: Eccentric, grounded, free-spirited, fun-loving
Tutorial of Making Aura Photos in Photoshop
To create an aura effect on a shirt, you will need to follow these steps:
Step 1: Remove the Background
 First, remove the background with any tool you want, like Adobe Express, Photoroom, Background Eraser, or Photocut App. This will allow you to have a clean slate to work with.
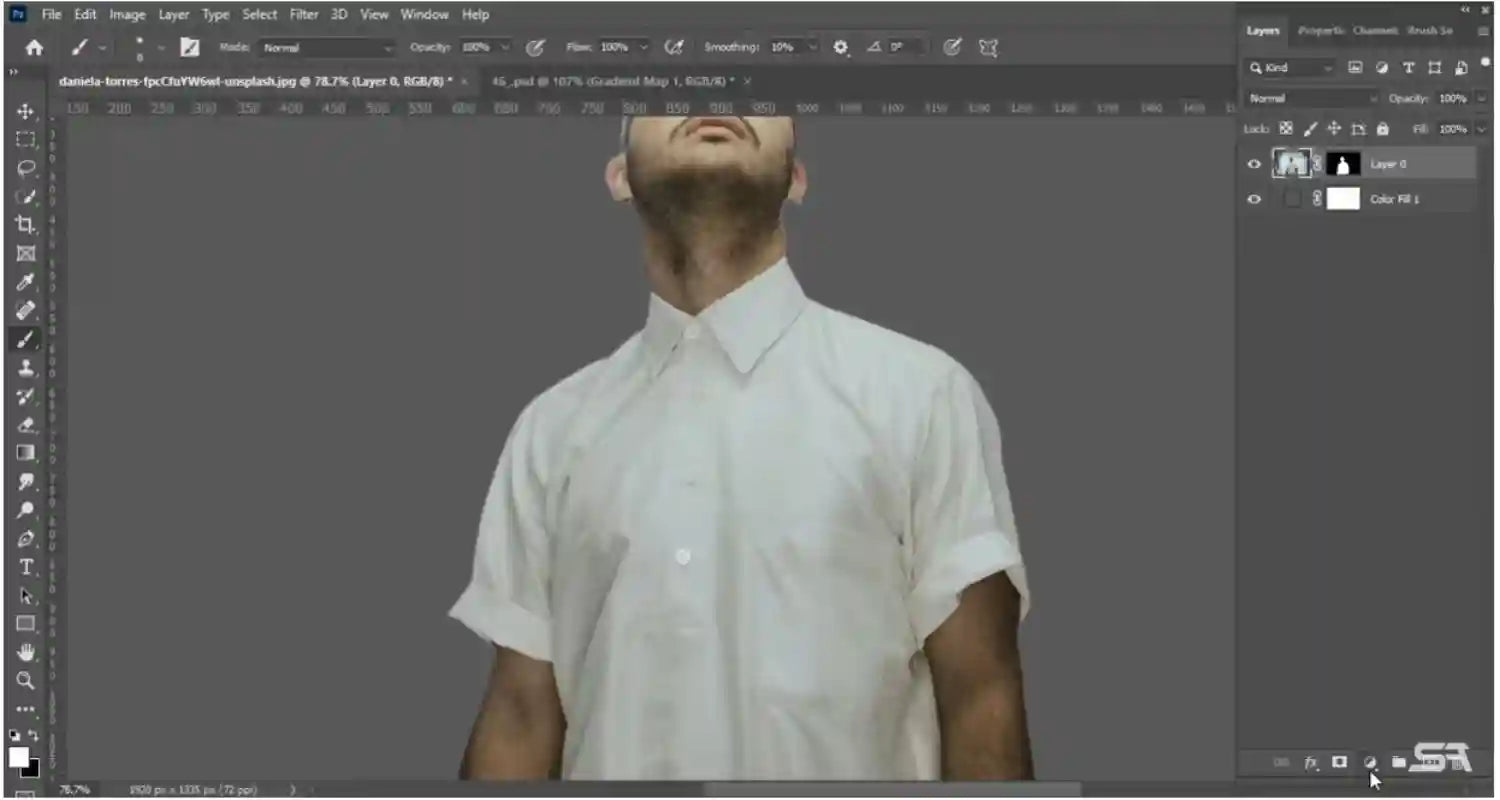
Step 2: Change the Color of the Shirt
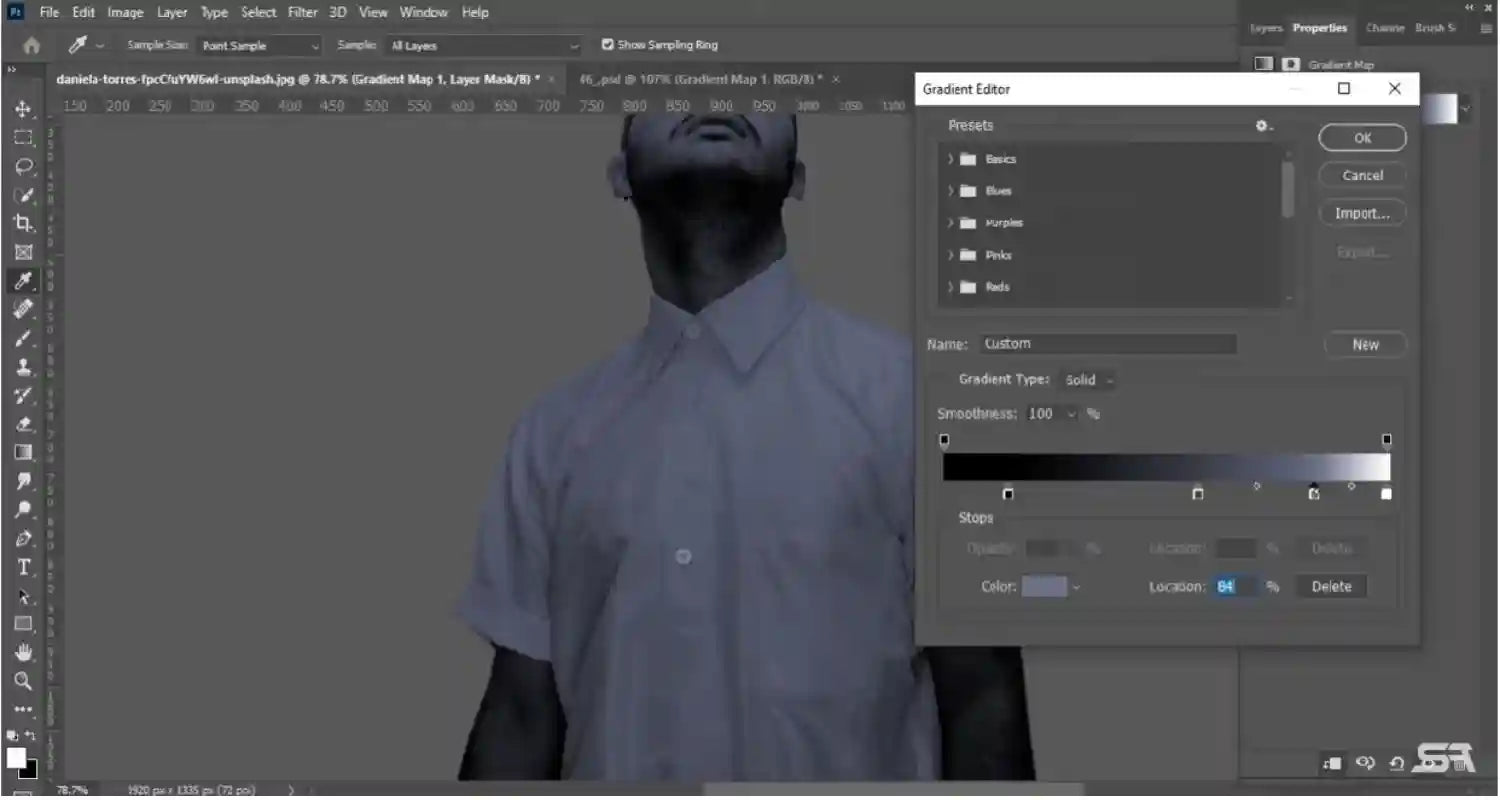 Next, you will change the color of the shirt to your model or image. Go to the gradient map by clicking on image > adjustments > gradient map and choose something with a dark color.
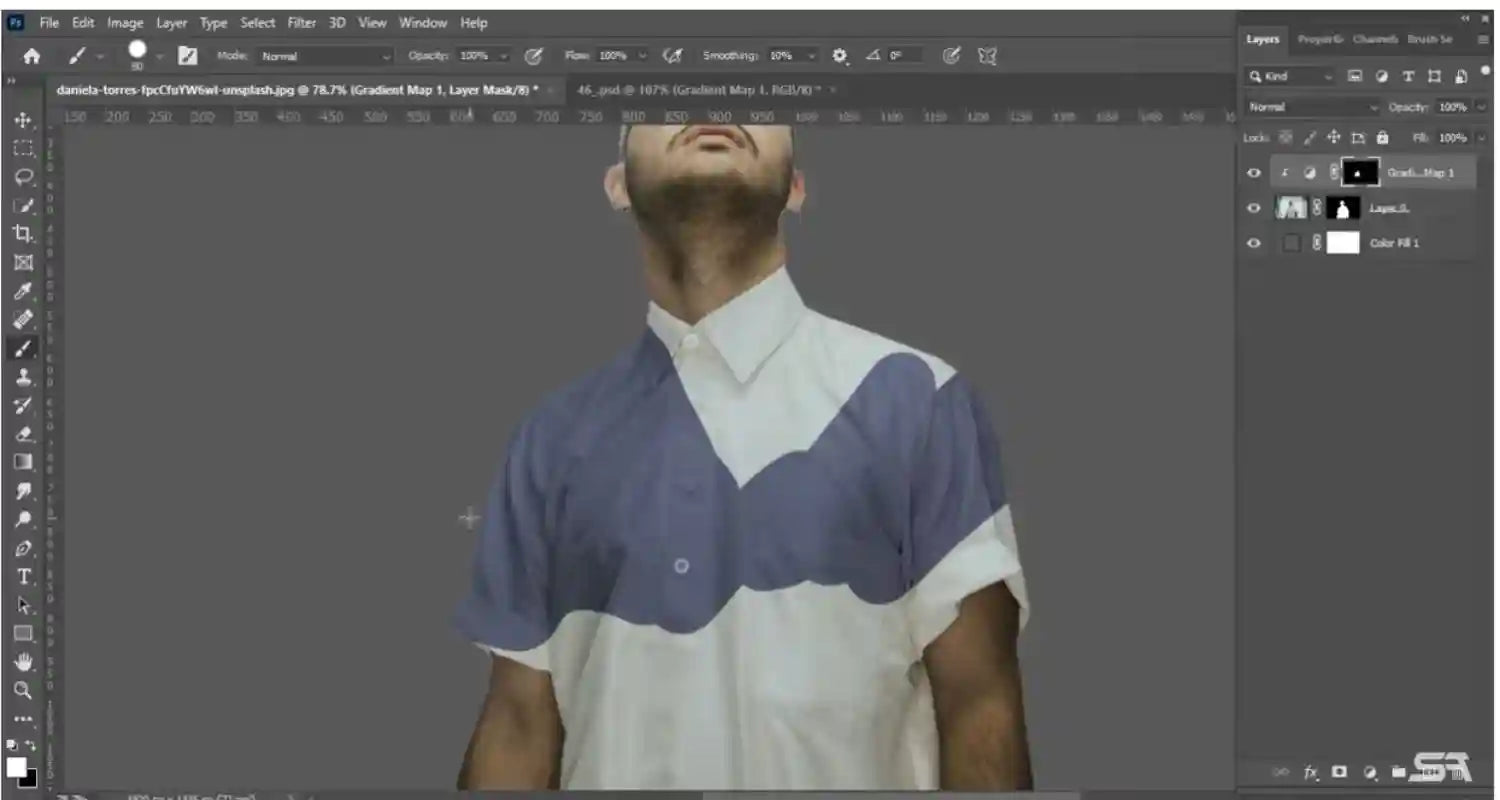 Invert the mask with CTRL I and then paint on the shirt.
Step 3: Change the Background Color to Dark
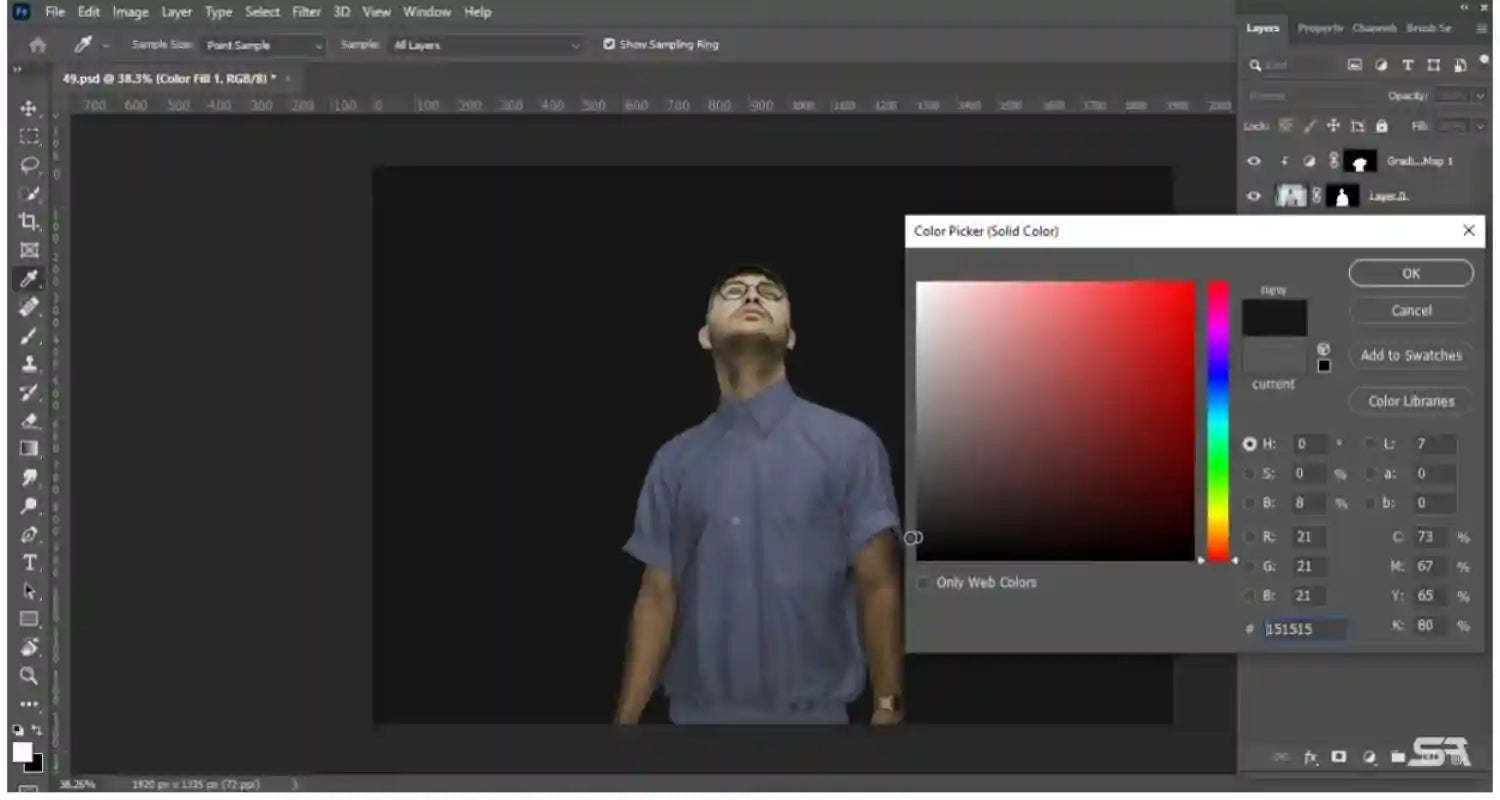 You will then change the background color to a darker one.
Step 4: Add an Aura Image
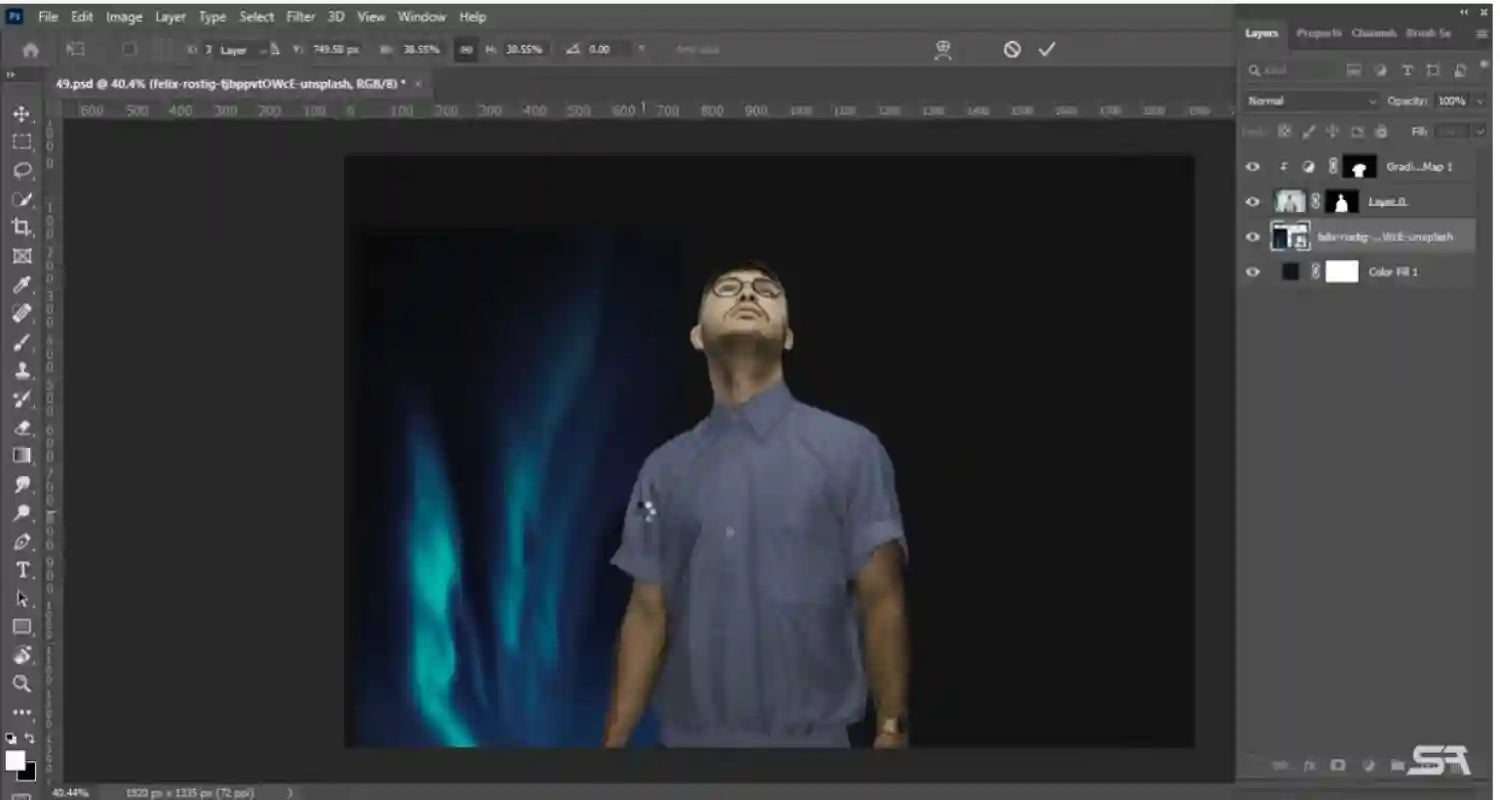 Once you have changed the background color, add the aura image. You can find aura images online or create your own. Then go to filter > noise > medium. Set the amount between 15-16.
 Use the warp to bend the aura image. You can get the warp tool on a PC by clicking Ctrl+T or Command+T on a Mac.
Step 5: Change the Blend Mode to Linear Dodge
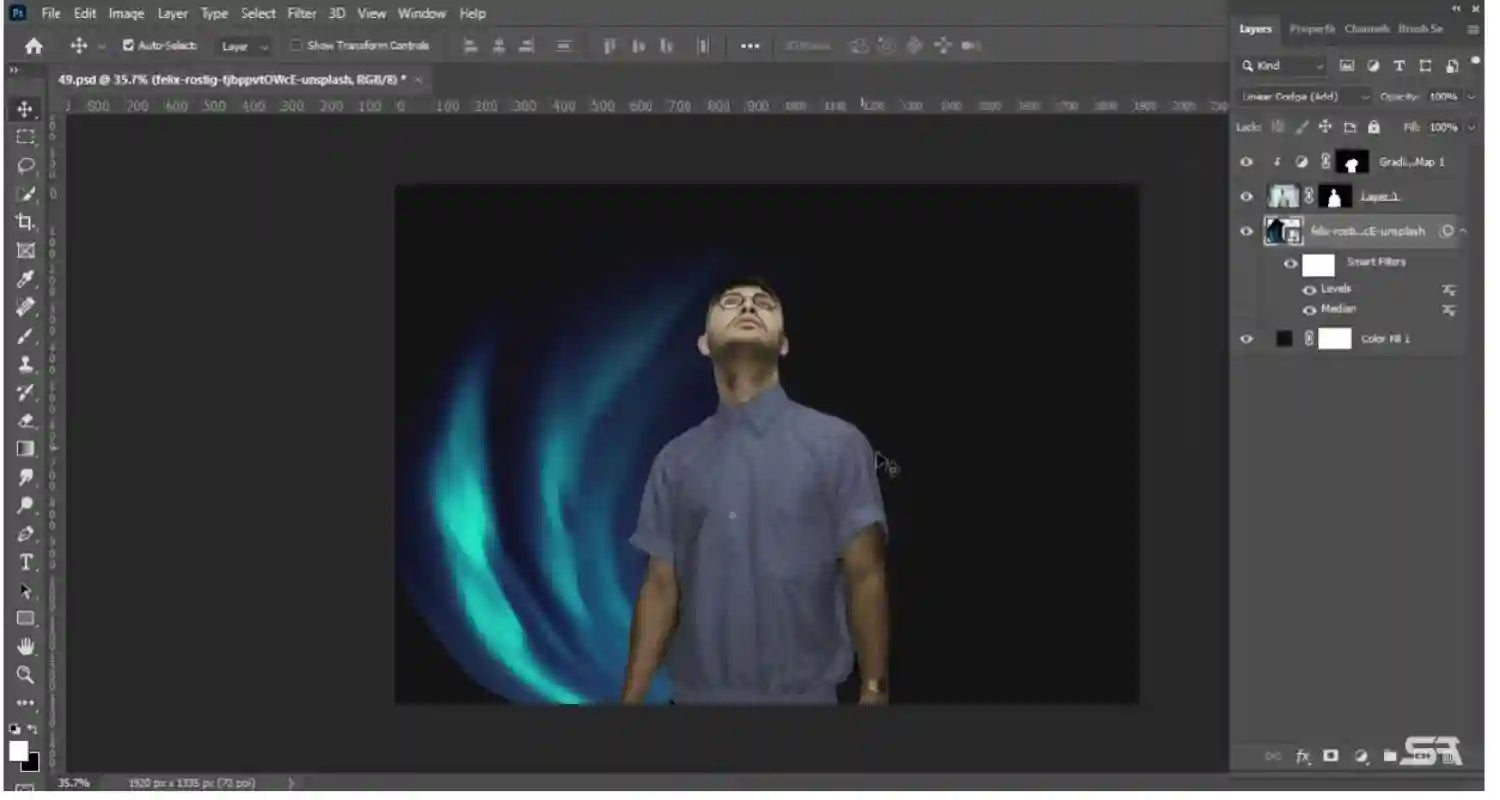 Next, you will change the blend mode to linear dodge. Then go to image > adjustment > levels and move the slider.
Step 6: Reposition the Aura Image

Reposition your aura image and make it rasterize by right-clicking and choosing the rasterize layer. Then add a mask.
Step 7: Remove Unwanted Edges
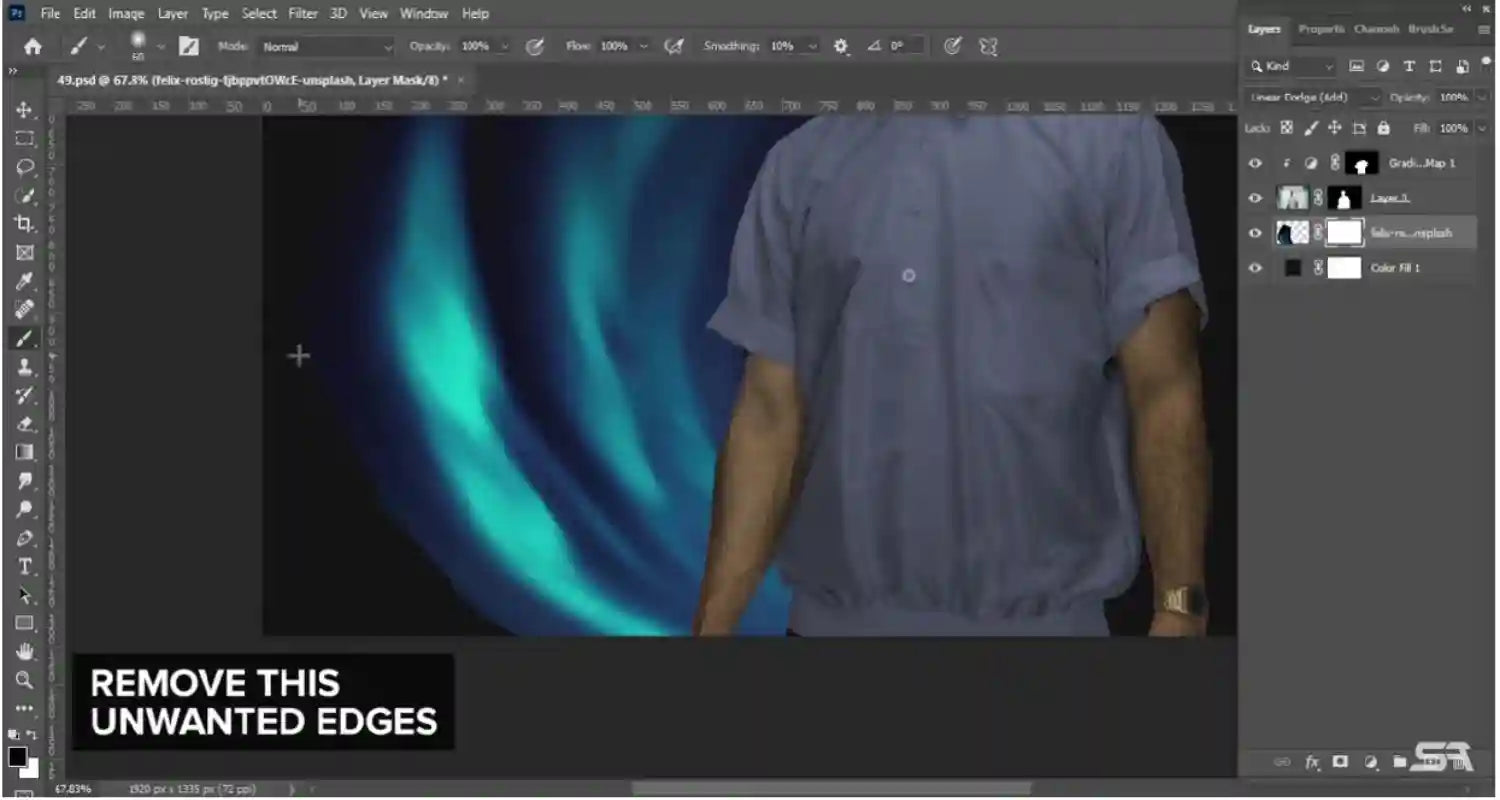 You can remove unwanted edges using a brush. Then take your aura image, make a copy, and put it on the other side.
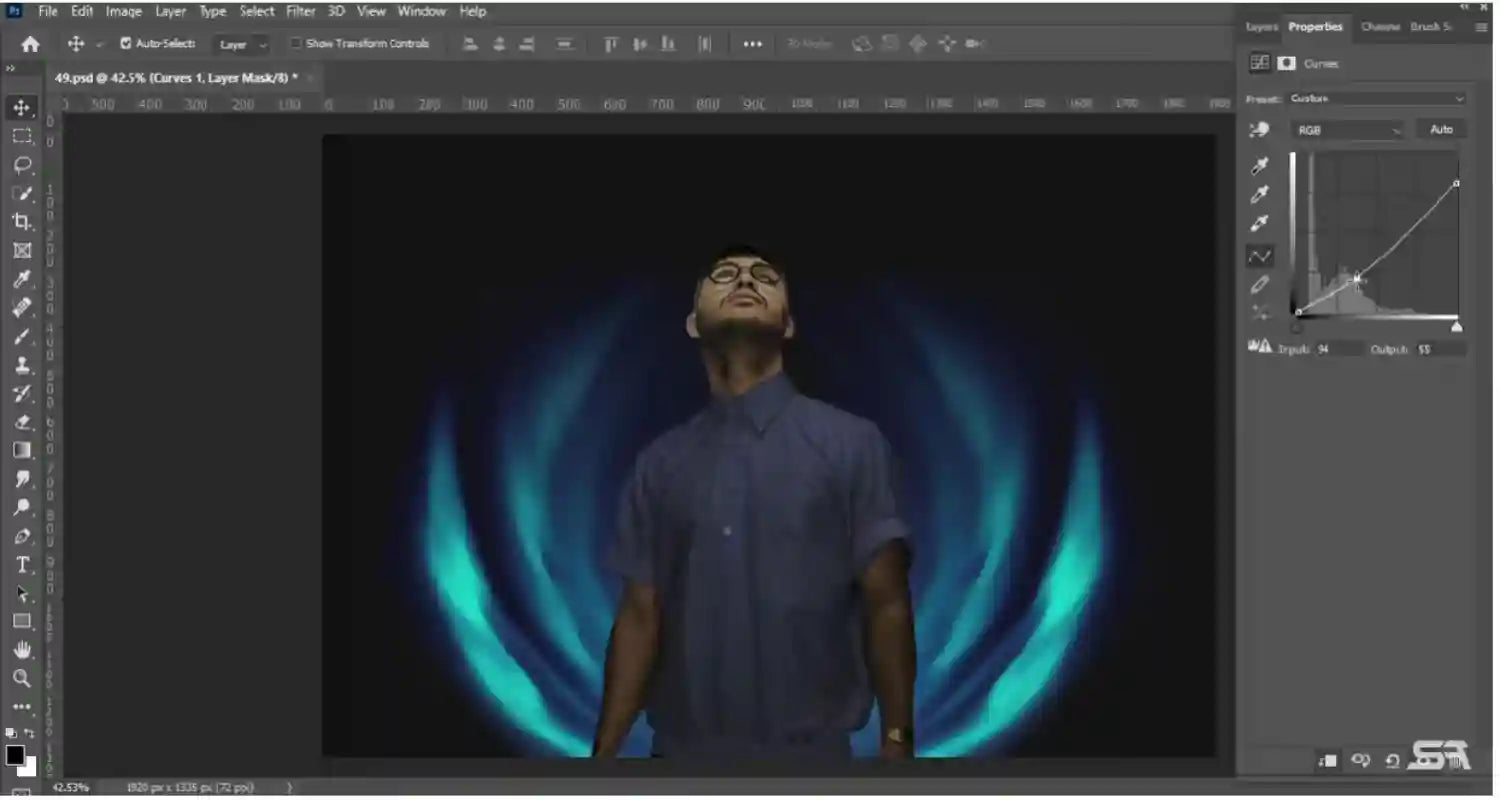 Click on the curves and make your image slightly darker.
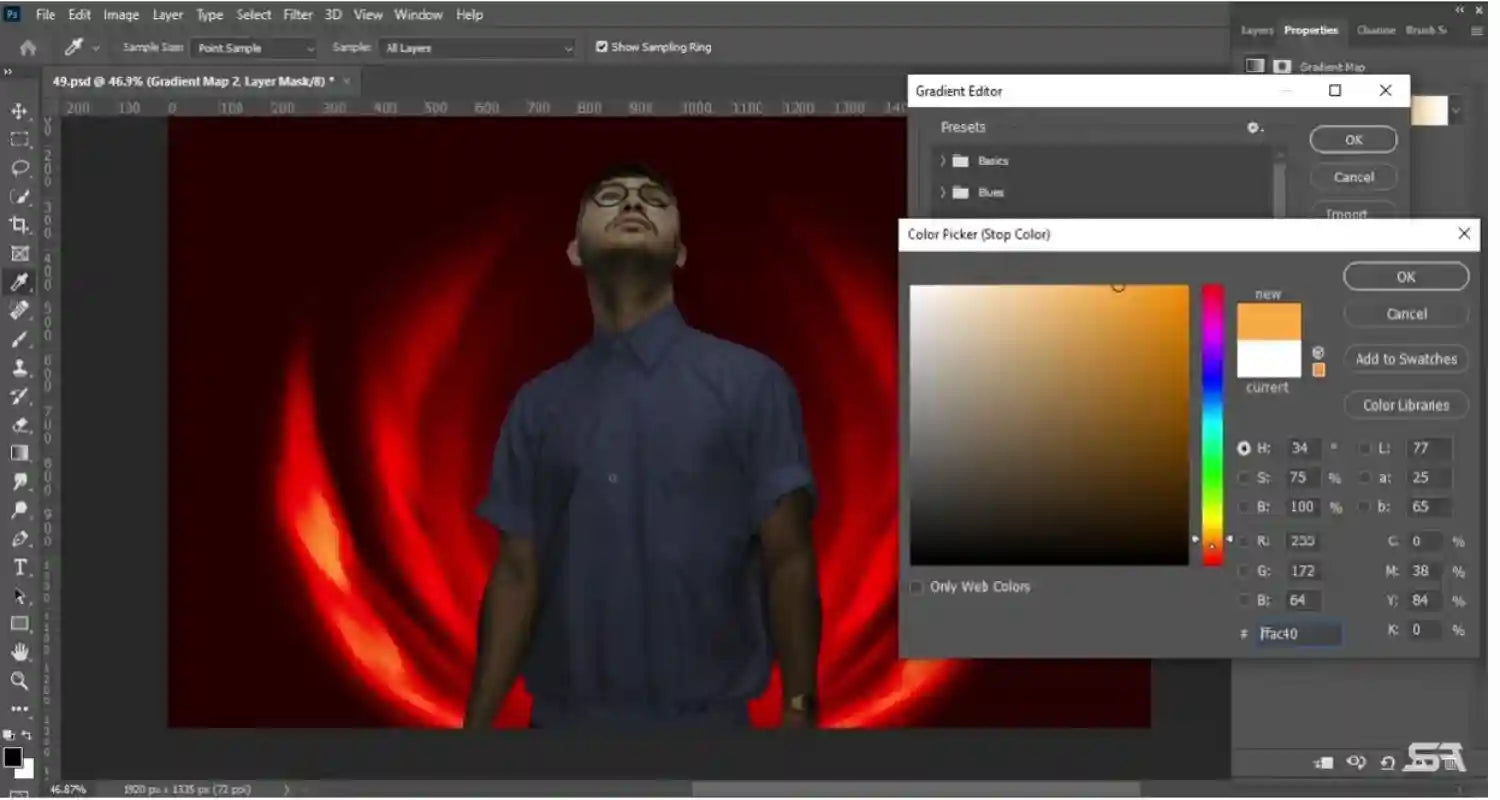 Go to the gradient map and then change the color of your background. In this case, we will change it to red.
Step 8: Add a Black Layer and Change the Color
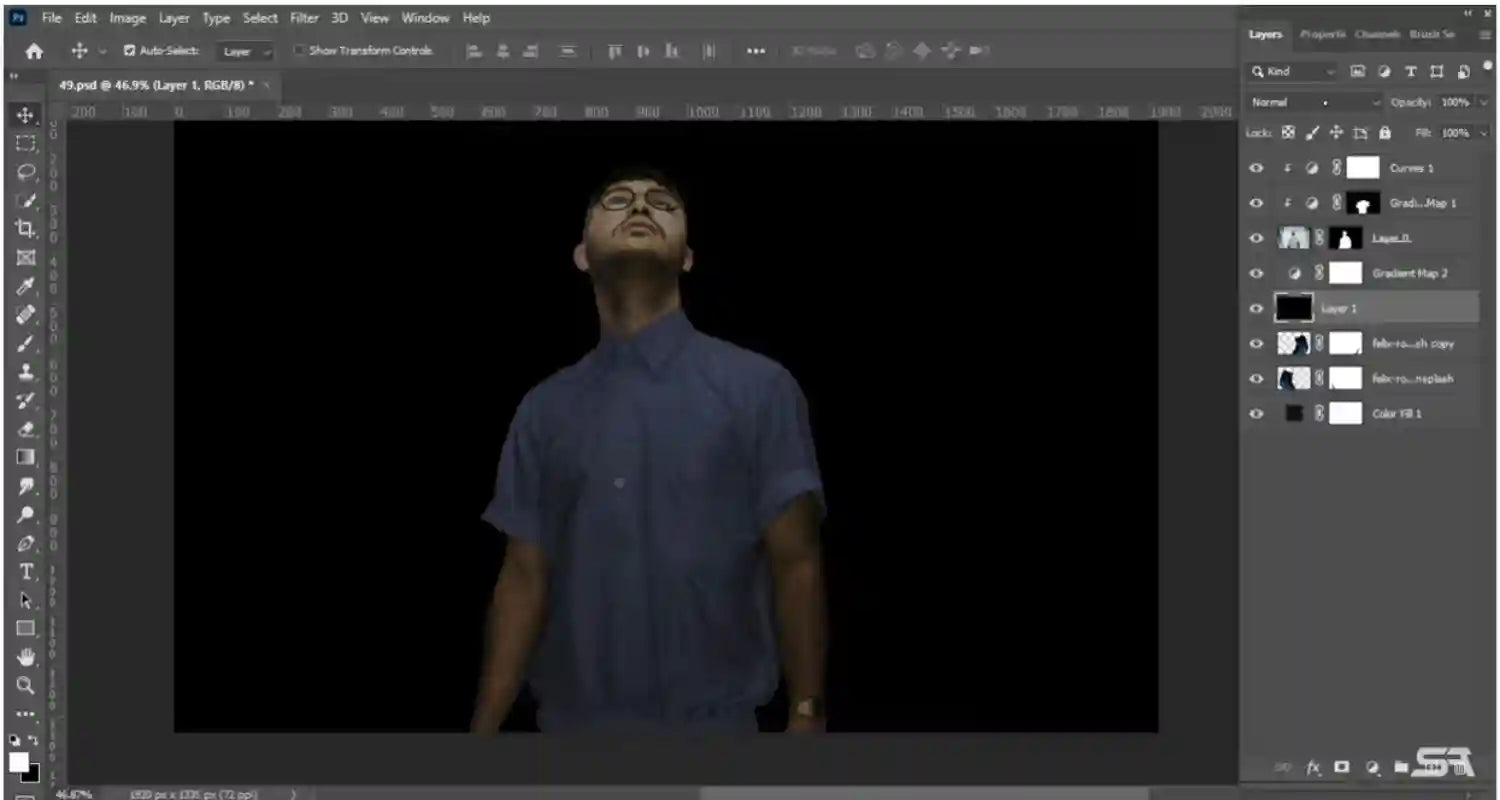 Add a blank layer and change the color to 100% black. Ensure that the blend mode is on screen.
Step 9: Create a Clipping Map
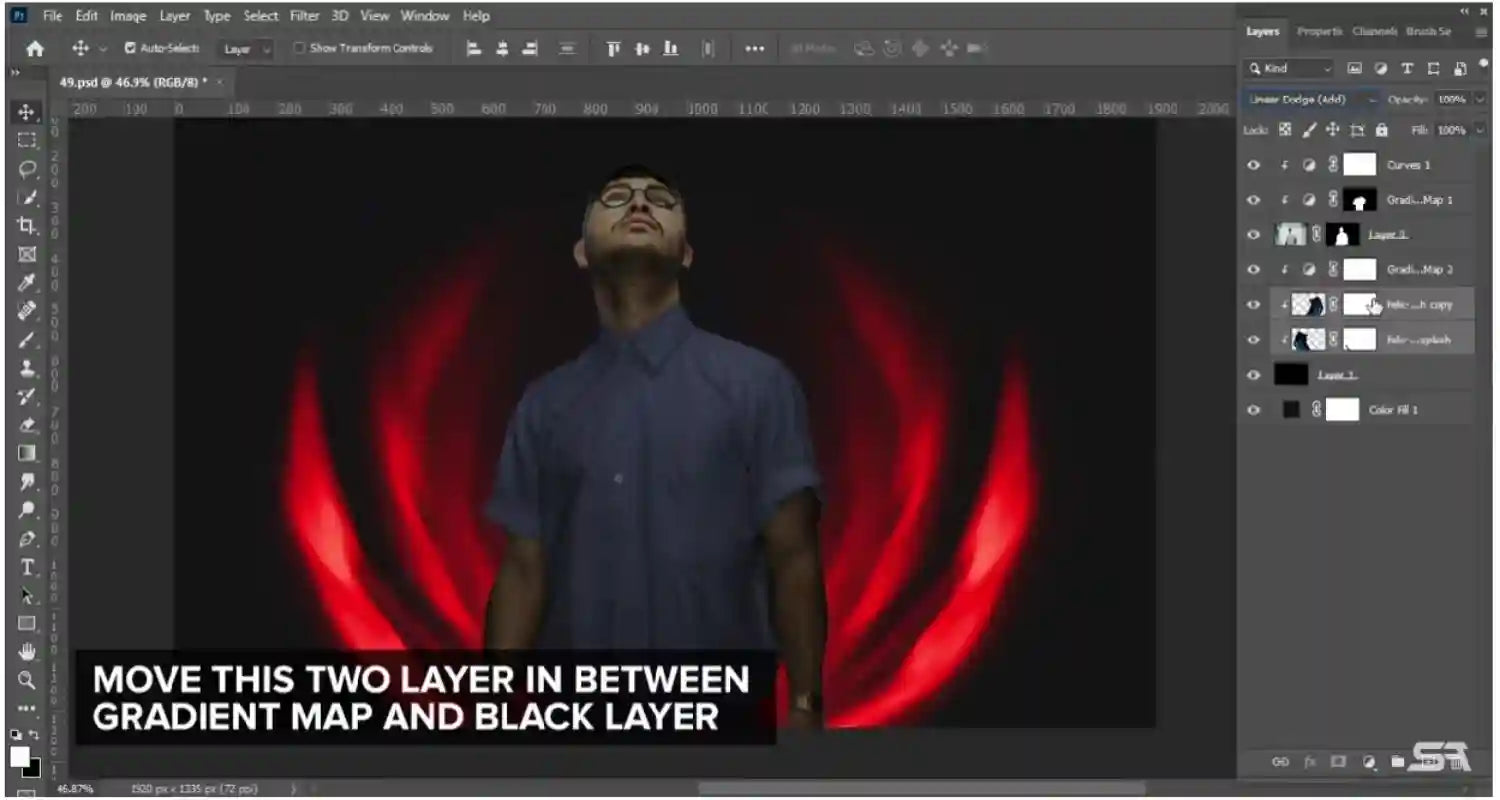 Then move the highlighted two layers between the gradient map and the black layer.
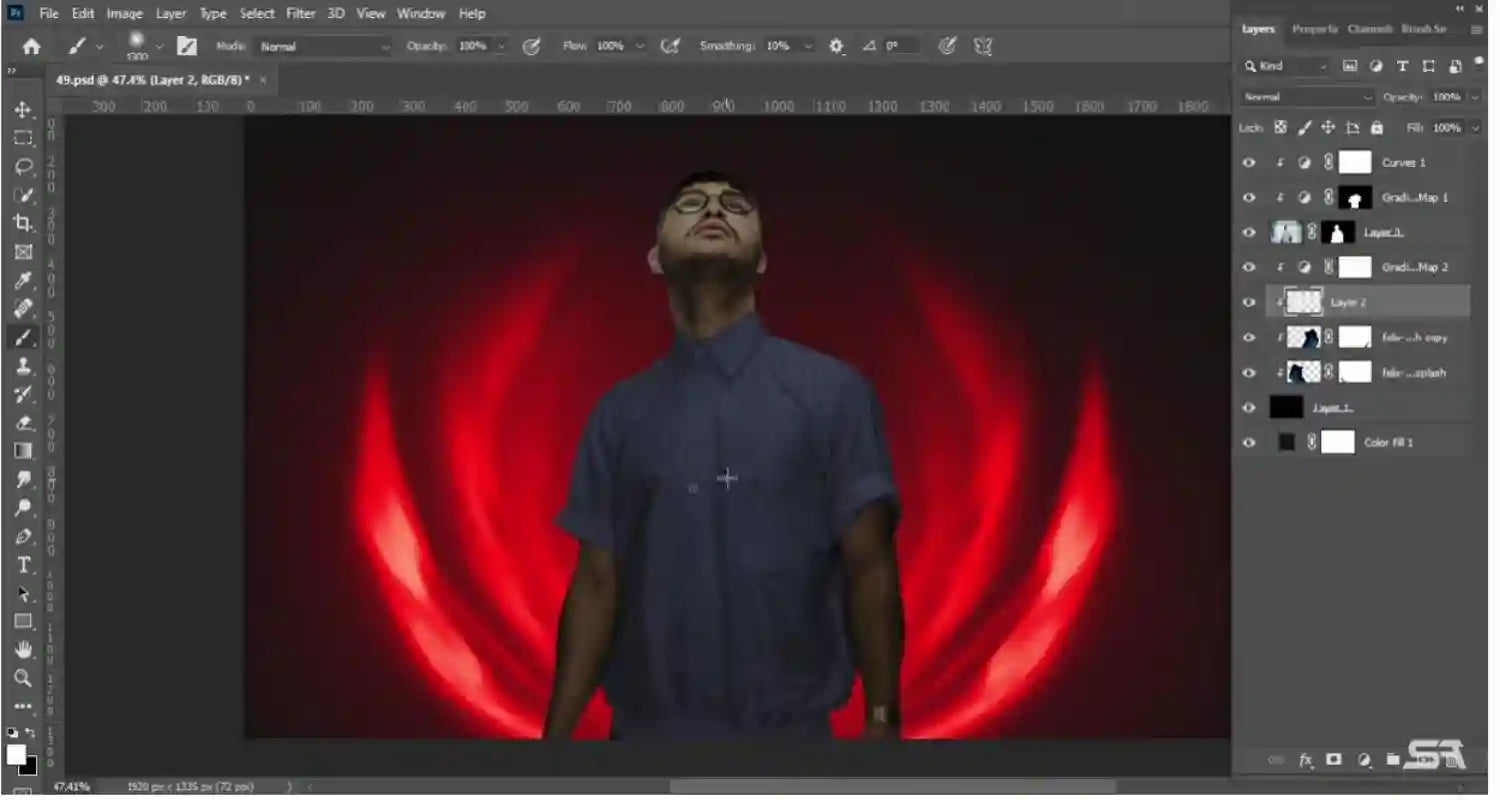 Add a black layer and paint some glow on your background.
Step 10: Remove Some Sparks

Select a picture section with fire sparks, select a position with the sparks, and paste it between the gradient map and the black layer.
 Change the blend mode to color dodge and reposition the aura image.
 Add a mask and remove some sparks and make one more copy of the image.
Step 11: Make the Shirt Darker
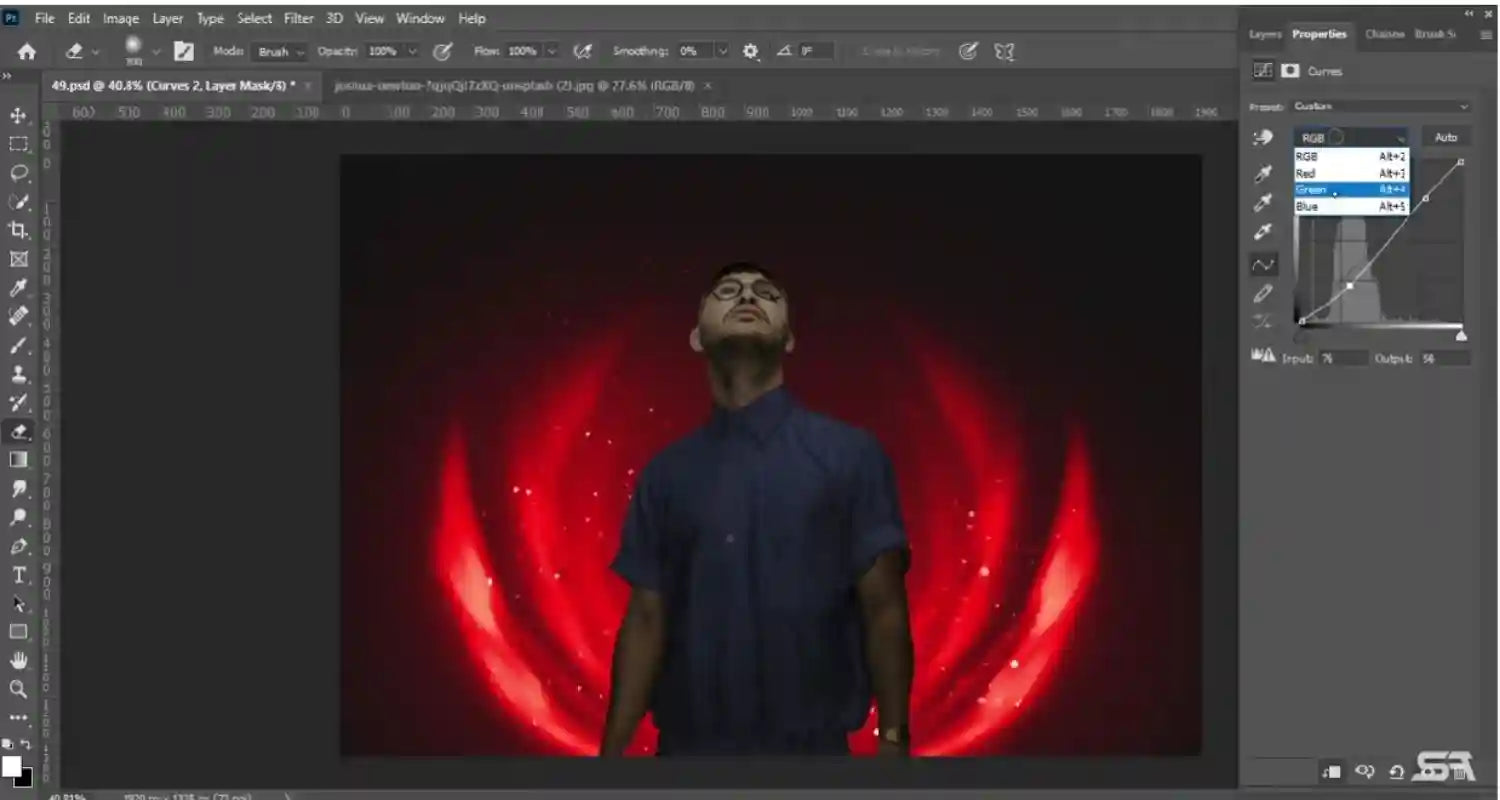 Press CTRL and left-click on the gradient layer to go to curves and make the shirt darker.
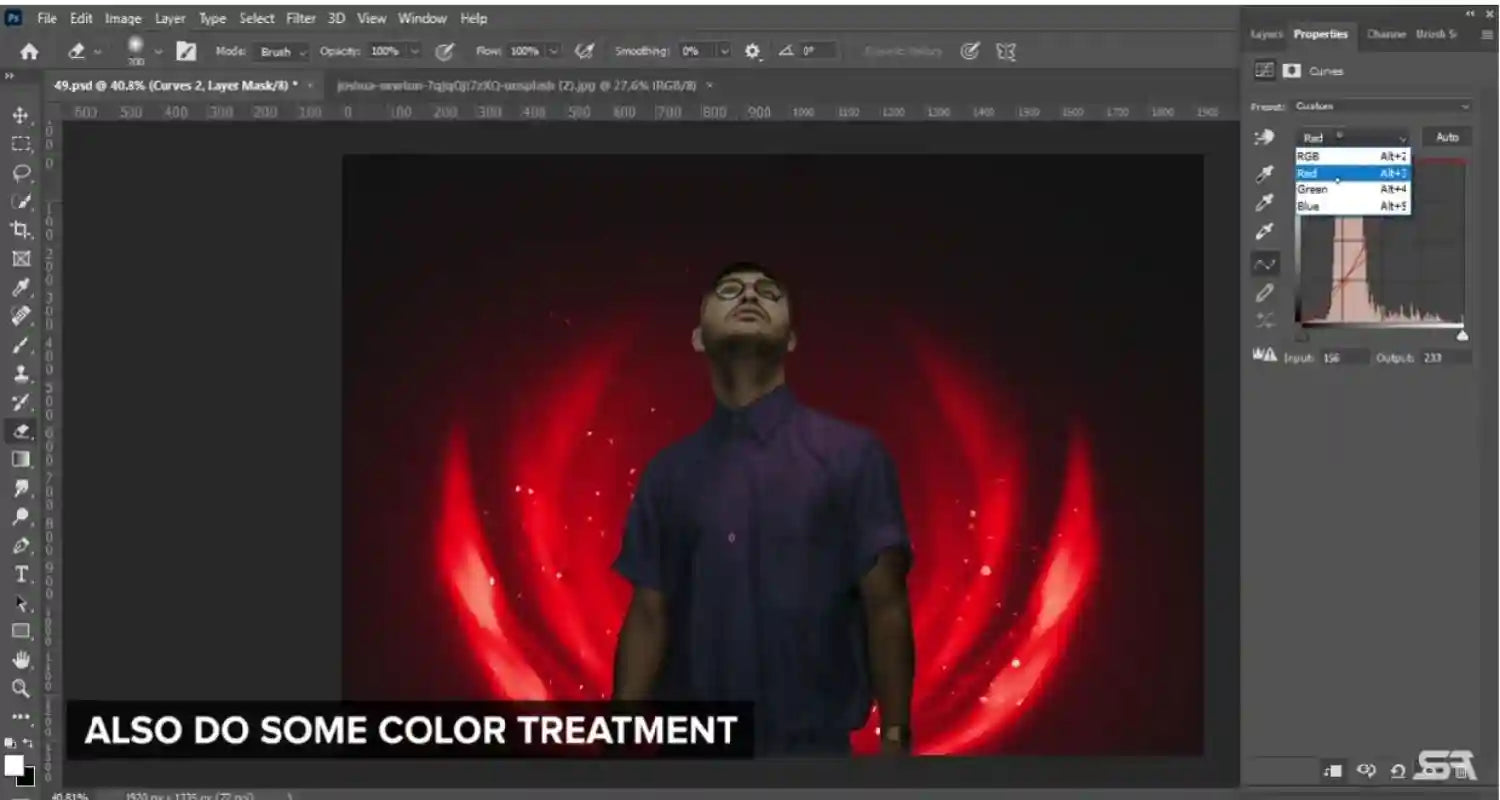 Add some color treatment.
Step 12: Select the Gradient Map Layer
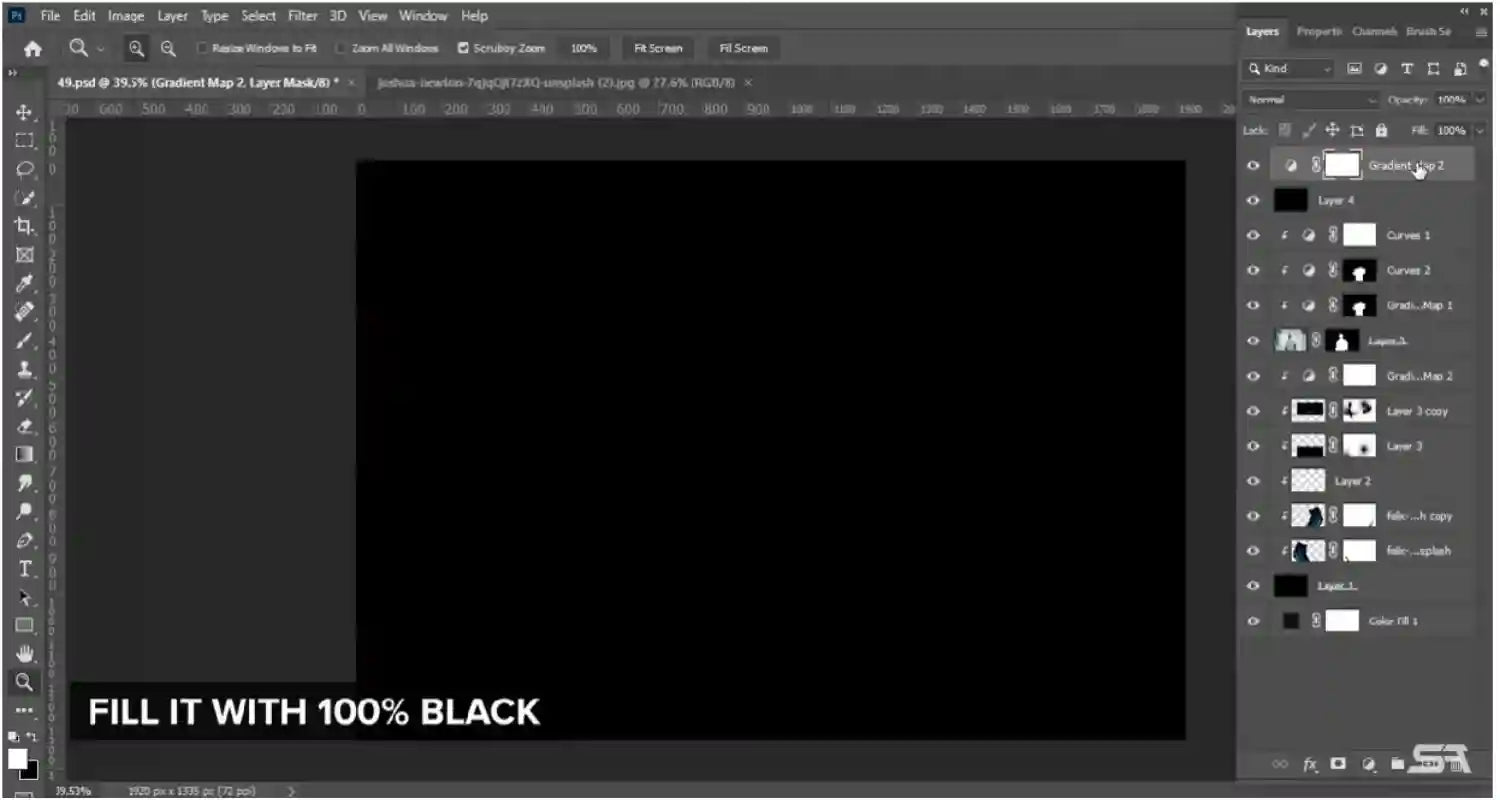 Select the gradient map layer and paste it on top. Then add a black layer and fill it with 100 % black. Create a clipping mask and change the blend mode of the black layer to the screen.
Step 13: Merge All the Layers
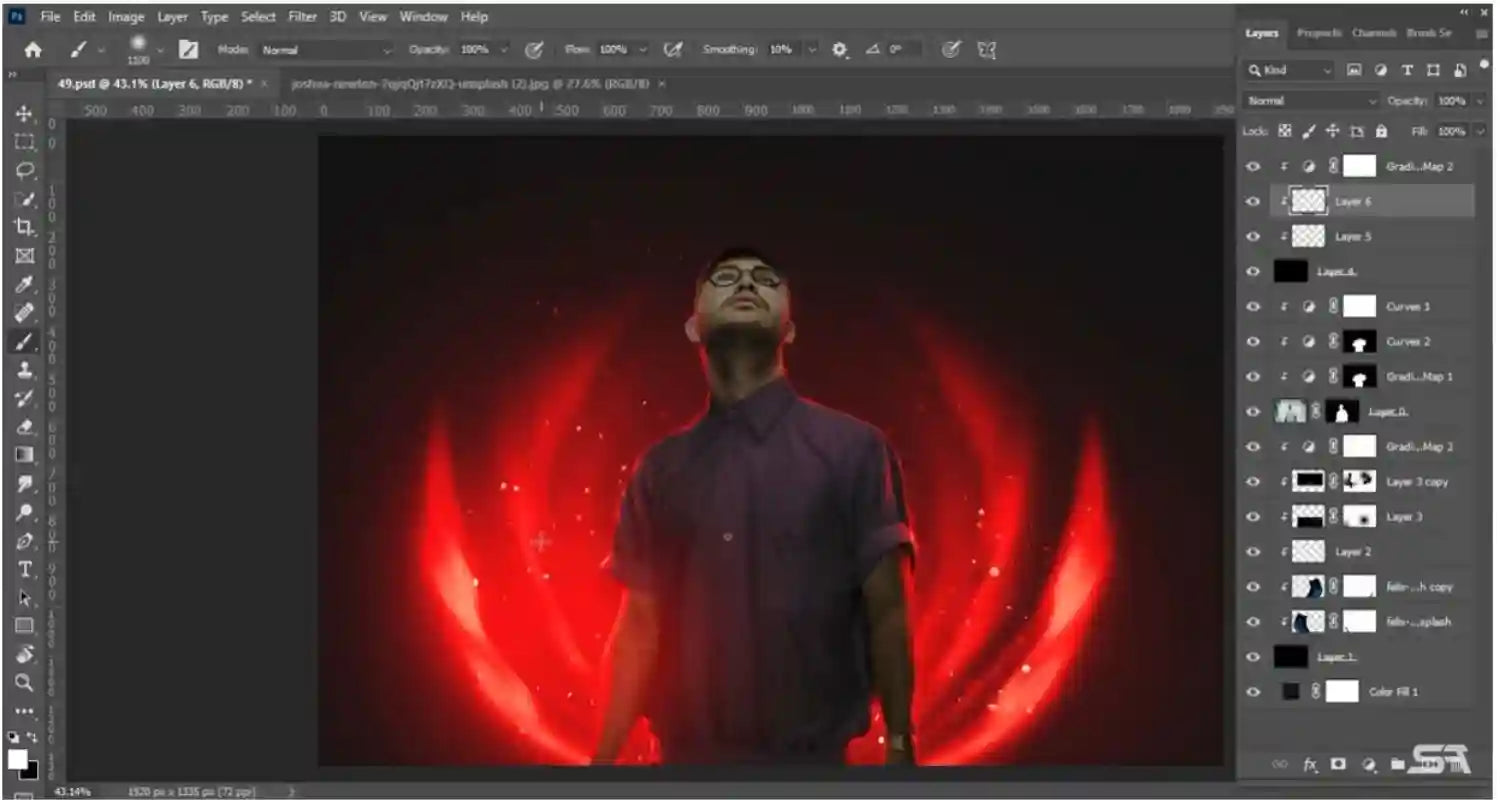 Draw highlights on your image.
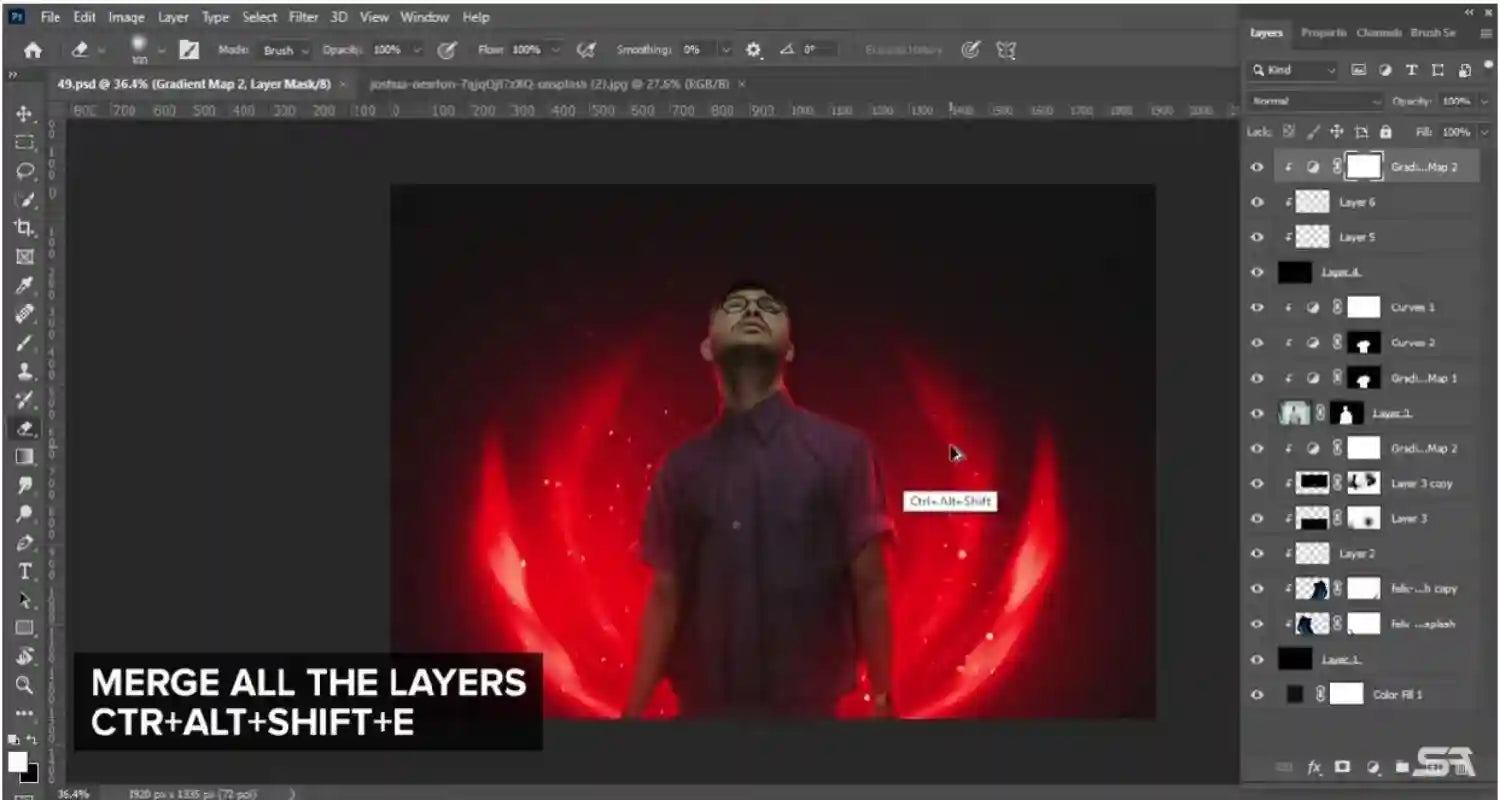 Once you are done, merge all the layers by clicking CTRL+ALT+SHIFT+E. This will create a new layer with all your effects.
Step 14:Adjust the Different Basics
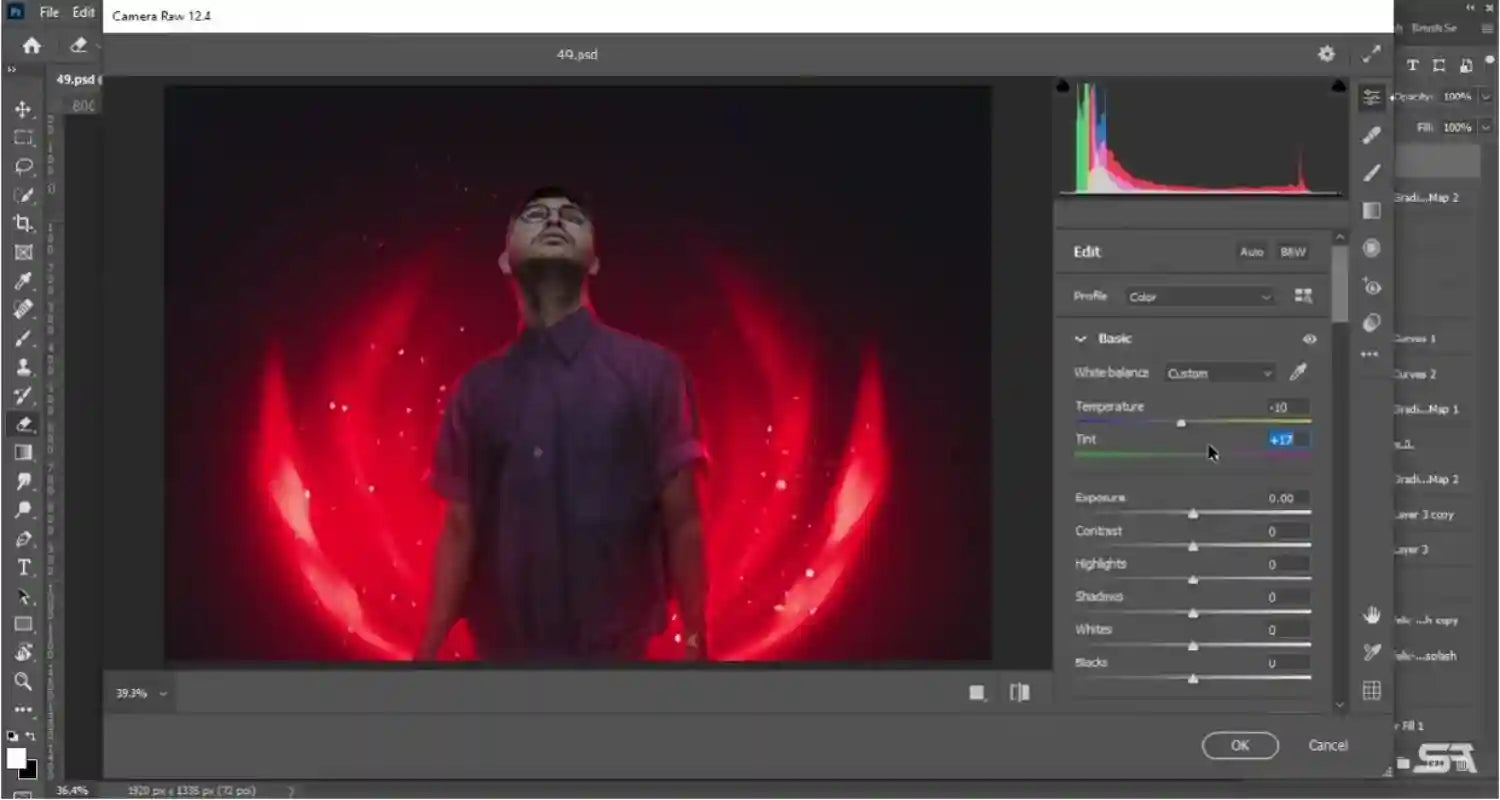 Go to Edit > Preferences > Camera Raw and adjust the different basics. This will allow you to fine-tune your image and make any necessary adjustments.
Tutorial Image Credit:youtube.com
Conclusion
Aura photography is a fascinating practice used for centuries to unlock hidden energies and emotions. This comprehensive guide has provided all the information you need about aura photography, from its definition and history to its science, and a tutorial on making aura photos in Photoshop. We hope this guide will help you understand the process of aura photography and enable you to capture beautiful and insightful photographs.
If you like this article, please share it! Be sure to join our FB Group: https://www.facebook.com/groups/Katebackdrops/ to share your ideas! You can also receive free articles, updates as well as discounts information from https://www.katebackdrop.com/ and our FB Group.