Taking shots of a forest using a camera at hand is always a very challenging task, especially when you want to capture the forest's parts that tell a bigger story about the place. This may make you spend much of your time wondering about your camera capabilities and the height of the woods. This article provides you with the best tips to consider when taking a forest shot for your photography to be more successful.
#1. Take shots at a low angle while looking at the treetops
Taking the forest shot at an angle will make the viewers feel placed in the forest. The viewers will be more focused on looking up the treetops that will appear as immerse trees in the picture. In addition, taking shots at a low angle will emphasize the plant's enormity, which will make viewers develop a feeling of being humbled when viewing the sizes of the trees.
#2. Capture the Forests vastness using Aerial photography
With the new technology, you can use a drone to take impressive aerial photography without straining a lot. The drone is an amazing technique widely used in forest photography. To get the best aerial photography, you will need to take the shots during the day, most preferably a clear day, to have a full and clear view of the top of the trees.
#3. Use moonlight for night forest photography

Kate Natural Forest Backdrop Spring Sunshine Designed by Kate Image
During the night and in blue hours, the forests are always black. Therefore. to make your forest photography more unique at night, take the shots using the moonlight. The moon will be more surprising in cast adequate light, giving you stand a chance to produce unique images, especially when taking the shot of a woodland forest. In addition, when you are taking shots of dark wood, it will be much similar to night photography, as you will have to be more attentive when focusing on the foregrounds of the trees.
#4. Capture the night sky and the stars with the trees
You can take some beautiful shots of the starts and the night stars by looking upwards and at the treetops. However, this can be a challenging activity and require you to shift your shooting positions, enabling you to find the best position where the night sky is visible via the forest.
#5. Use a good camera setting and gear for night photography
When taking the forest shots at night, ensure you have the best camera setting. The setting involves using a camera mounted on a tripod stand, especially when taking shots of wood in the presence of low light. The hand holding of the camera will not be a better option due to the longer exposure time when taking the shots. On the other hand, shift to the long exposures alongside the higher IOS when taking the forest shots at night when it comes to the camera setting. You can also consider adjusting the shutter speed up with your aperture open widely when focusing until you come up with the best exposure that suits you.
#6. Add your own light

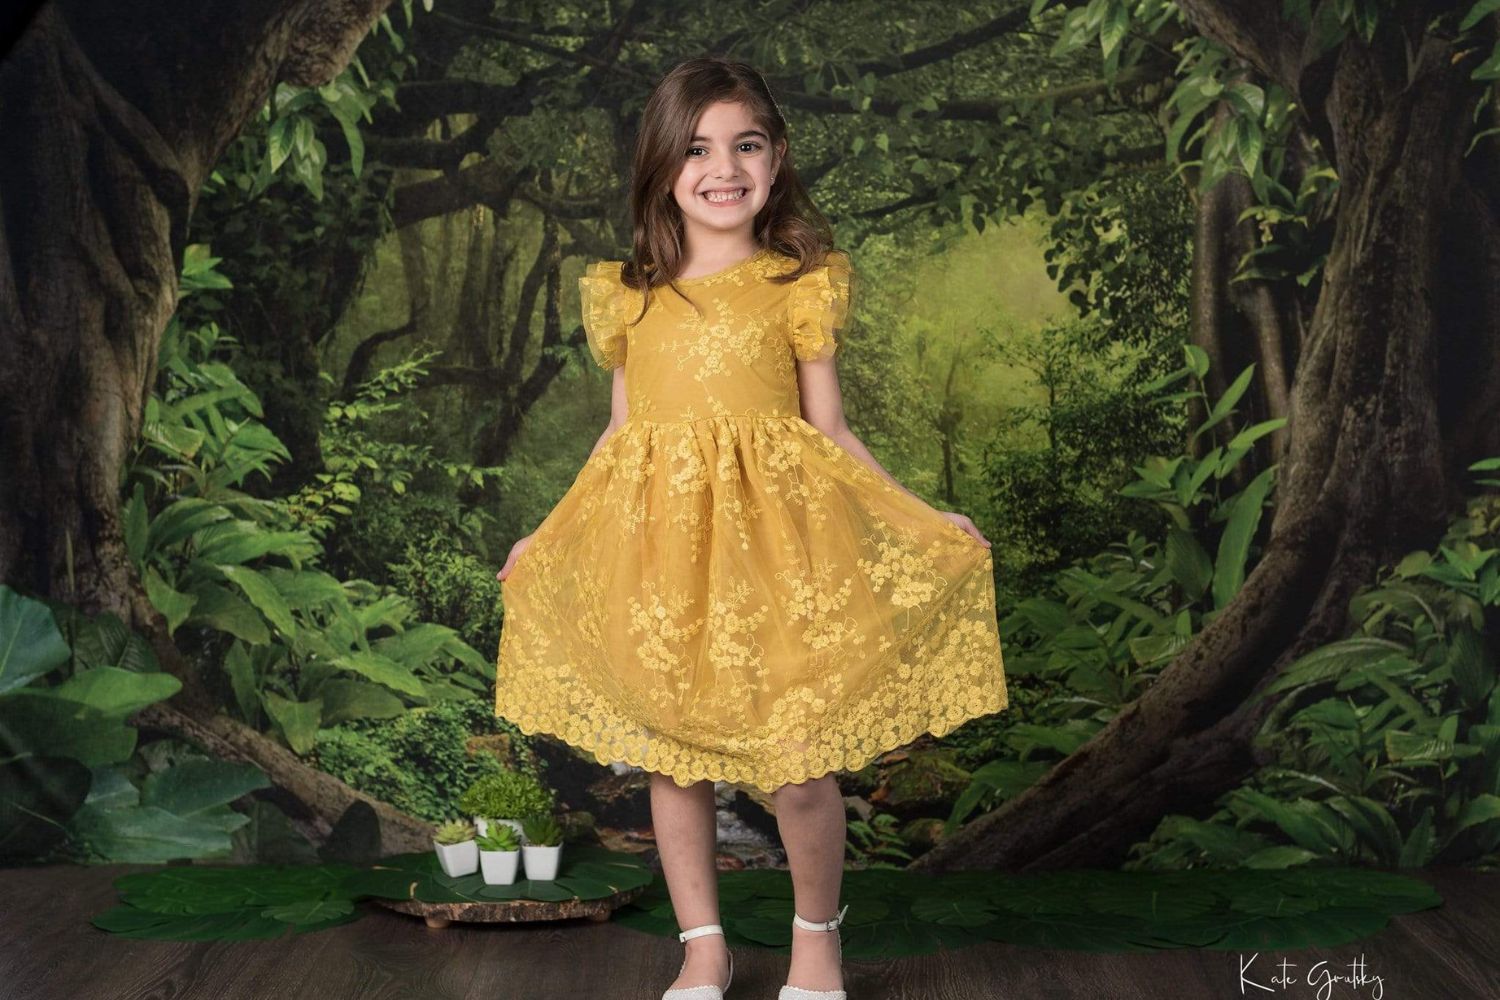
Kate Forest With Green Trees And Creek Spring for photography
In the forest, the trees mostly block the light coming from the sun, which makes the beams of the light track through the tree branches and at the ground surfaces. This will be the best time to take your shots during the day as the warm light creates the yellow sunlight, shaded tones, and a cool environment.
#7. Take your shots at midday when there are contrasting lights
During midday, the incoming light from the sun will lead to the blasting of contrast lights leaving behind a cool shade. Therefore, this will be the best time for you to take pictures with good contrast lights. During the midday, you will be able to capture most of the forest details that will attract the viewers more.
You can also make your shot more successful at midday by removing the cluttered woods by focusing on a specific part of interest. Furthermore, shooting during the daytime will enable you to eliminate the mess of the tree leaves on the forest floor and the chaotic tree branches to make you produce pictures with a greater outlook.
#8. Take a shot of a part that reveals more information about the forest
When taking the pictures, search for a smaller part that displays more information about the forest and the place. For instance, you may consider the parts that display the information about the season experienced in the area. For this reason, a spring bud or autumn leaf will be a better choice as the best part of the forest that more information about the season experienced in the area.
#9. Use different forest elements when creating your compositions of interest

Kate Summer Forest Backdrop Wild One Designed by Megan Leigh Photography
When taking shots, it may be more difficult for you to step back when showing the details of the smaller parts of the forest and shift to the details of the bigger sections. In most cases, the woods do have much chaos, which will make it difficult for you to isolate an interesting and clear composition effectively.
#10. Try the Black and white Forest Photography
You can consider black and white forest photography to produce more classic and beautiful images of the forest area. The black and white pictures will display the dark backgrounds and the shaded tree trunks. However, this type of photography is always tough, and hence it will take your time to learn how to view the details of the forest. For this reason, you will have to practice more on how to apply black and white photography. When using black and white photography, focus more on contrast as scenes with darks and bright light are usually translated more in black and white.
Conclusion
Forest photography is essential in describing the nature of the forest and the surrounding environment. It can also be used to identify the season experienced in an area. However, to achieve this, you must know how to take pictures of the forest that can perfectly show the details of the place. Therefore, considering the tips provided in this article will give you stand a chance to produce the best shots you will desire.
If you like this article, please share it! Be sure to join our FB Group: https://www.facebook.com/groups/Katebackdrops/. to share your ideas! You can also receive free articles, updates as well as discounts information from https://www.katebackdrop.com/ and our FB Group.

 Custom Printed Fabric Backdrops
 Custom Rubber Floor Mats
 Custom Collapsible Backdrops(double-sided)
 Custom Hand Painted Canvas Backdrops
 Custom Vinyl Backdrops
 Arch
Arch


