Custom Printed Fabric Backdrops
 Custom Rubber Floor Mats
 Custom Collapsible Backdrops(double-sided)
 Custom Hand Painted Canvas Backdrops
 Custom Vinyl Backdrops
 Arch
Arch


Creating beautiful soft light can not be hard nor expensive! This video will show you how to do that without the use of conventional modifiers.
The step-by-step guide will explain all the lighting equipment you need, as well as a few tips and techniques on how to control your light. You will find that approaching such a beautifu & professional soft photography lighting can be so affordable & easy!
Jiggie Alejandrino, the portrait & wedding photographer we introduced before, brings about new lighting tutorial this week. He’s the Sony Ph Brand Ambassador, the Zeiss Camera Lens Ambassador, and regarded as one of the most reputable lighting specialists.
In today's video, Jiggie will show you how to create ultra soft light without the use of conventional modifiers. All you need for lighting are:
- A Studio Light - Phottix Indra 500
- A Trigger - Phottix Odin II
Then we move on to: How To Control & Approach Your Lighting?
Before trying the settings, you need to set a shortcut button of Shot Result Display preview, which is the functionality that allow you to see what the exposure looks like.
For example, if you’re shooting indoors at f/8 1/250 and ISO100 with flash, the ambient is going to be pretty dark so you may not be able to see what you’re shooting. Some DSLR cameras like Sony cameras are smart – When they detect a flash they turn off the live preview and there is a good reason behind it so now you can see as if you were looking at a perfectly exposed photo.
For more detailed information of this Simple Camera Hack, please check this video A Simple In CAMERA HACK guaranteed to Make Shooting with OFF CAMERA FLASH a lot Easier.
Then, you need to do with your light is to set it on the right side, make it face the wall and the bounce of the light will bound back to the backdrop itself. (Take Jiggie’s setup in the video as a reference)
We have done:
Step 1: Make light face the wall, let the bounce of the light bound back to the backdrop;
Step 2:Shot Result Display preview, to check Exposure & Ambient Light;
And now you can start to adjust your camera settings by following the guide, in order to approach an ideal soft portrait light without using a Conventional Modifier step by step.
Step 3:Approach an ideal lighting in camera:
- 1/400, F1.4, Iso 100
- 1/160, F1.4, Iso 100
- 1/160, F4, Iso 100
- 1/400, F1.4, Iso 100
Following the above guide step by step, you will see, it can be done without those really expensive large modifiers, because you can create ultra soft light using entire room as a modifier.
Please remember: Getting the light right in camera is always going to be fantastic because immediately you can post this afterwards.
By following his guide, you wil find that the light Jiggie actually creates is very similar to the light that is printed on my backdrop. It's very essential whenever you're adding artificial light: Make sure that artificial light matches the color and the quality of your existing ambient light to make it look as same as possible.
This video shows that creating a beautiful soft light anywhere can be very simple, with just a single white wall bounce it off. It will always be very pleasing for your subjects. It might not give you the dramatic images, but it will give you fantastic clean images at no expense whatsoever, while all you need is just one light.
This is an exercise that you can do with simple equipments & studio space, and of course, you also need a fantastic Photography Backdrop. A fantastic sweep backdrop.
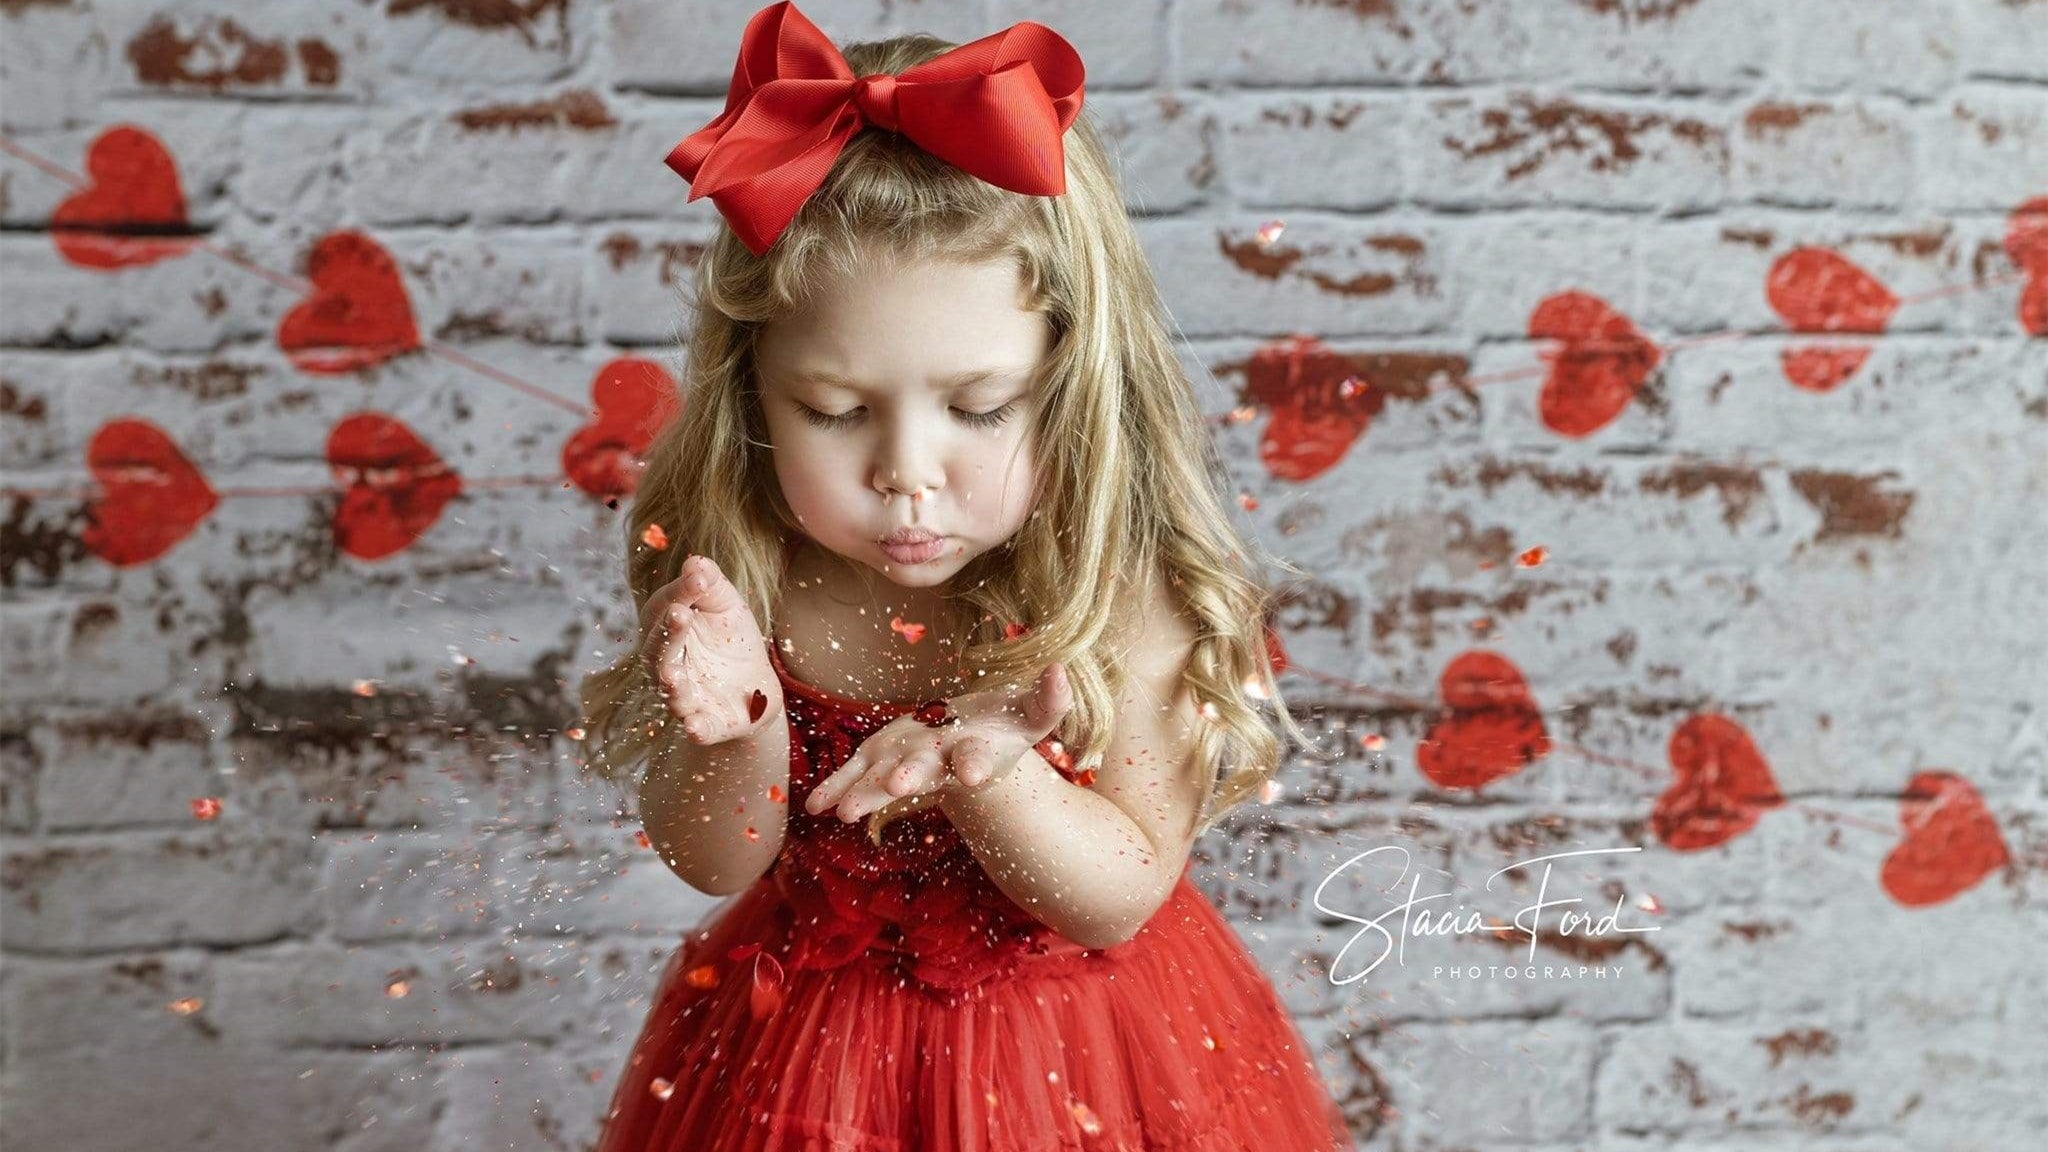
Jiggie chose a 5' x 10' Kate Sweep Backdrop Do Old Brick Wall Wood Floor for Photography, which is made of wrinkle free, non-reflective microfiber. It's so easy to store and at the same time it's very easy to put together.
For More Inspirations: Kate 2023 Sweeps Collection
Read More Resources: Handbook of Photography Backdrop
Photographers always make sure that I want to blend entirely with the scene. We call it a nice transition! A good transition can add amazing visual effects to your final works. It aims to make whole backdrop flows the floor looks very very natural. It is also the key factor to achieve a better ‘blend in’ in order to make your backdrop look as realistic as possible. A Sweep Backdrop can always easily offer you a nice transiton without any other accessories. It is long enough to extended onto the floor naturally!
Hope you can enjoy this video, and get some inspirations on lighting your own portrait photography.
Equipment Used:
Kate Backdrop:
https://www.katebackdrop.com/products/sweep-do-old-brick-wall-wood-floor
Hollyland Mars300Pro: https://www.hollyland-tech.com/where-to-buy/
Camera system:
Sony A7R MarkIV - https://amzn.to/2TXhv78
Sony Zeiss 50mm 1.4 - https://amzn.to/3clvI3S
Lighting: Phottix Indra 500 - https://amzn.to/3eHcSpl
Trigger: Phottix Odin II - https://amzn.to/3mjf37n
If you like this blog, please share it! Be sure to join our FB Group: https://www.facebook.com/groups/Katebackdrops/. to share your ideas! You can also receive free articles, updates as well as discounts information from https://www.katebackdrop.com/ and our FB Group.