


 Christmas


Il tuo carrello è vuoto
×


How to Light a Photography Backdrop
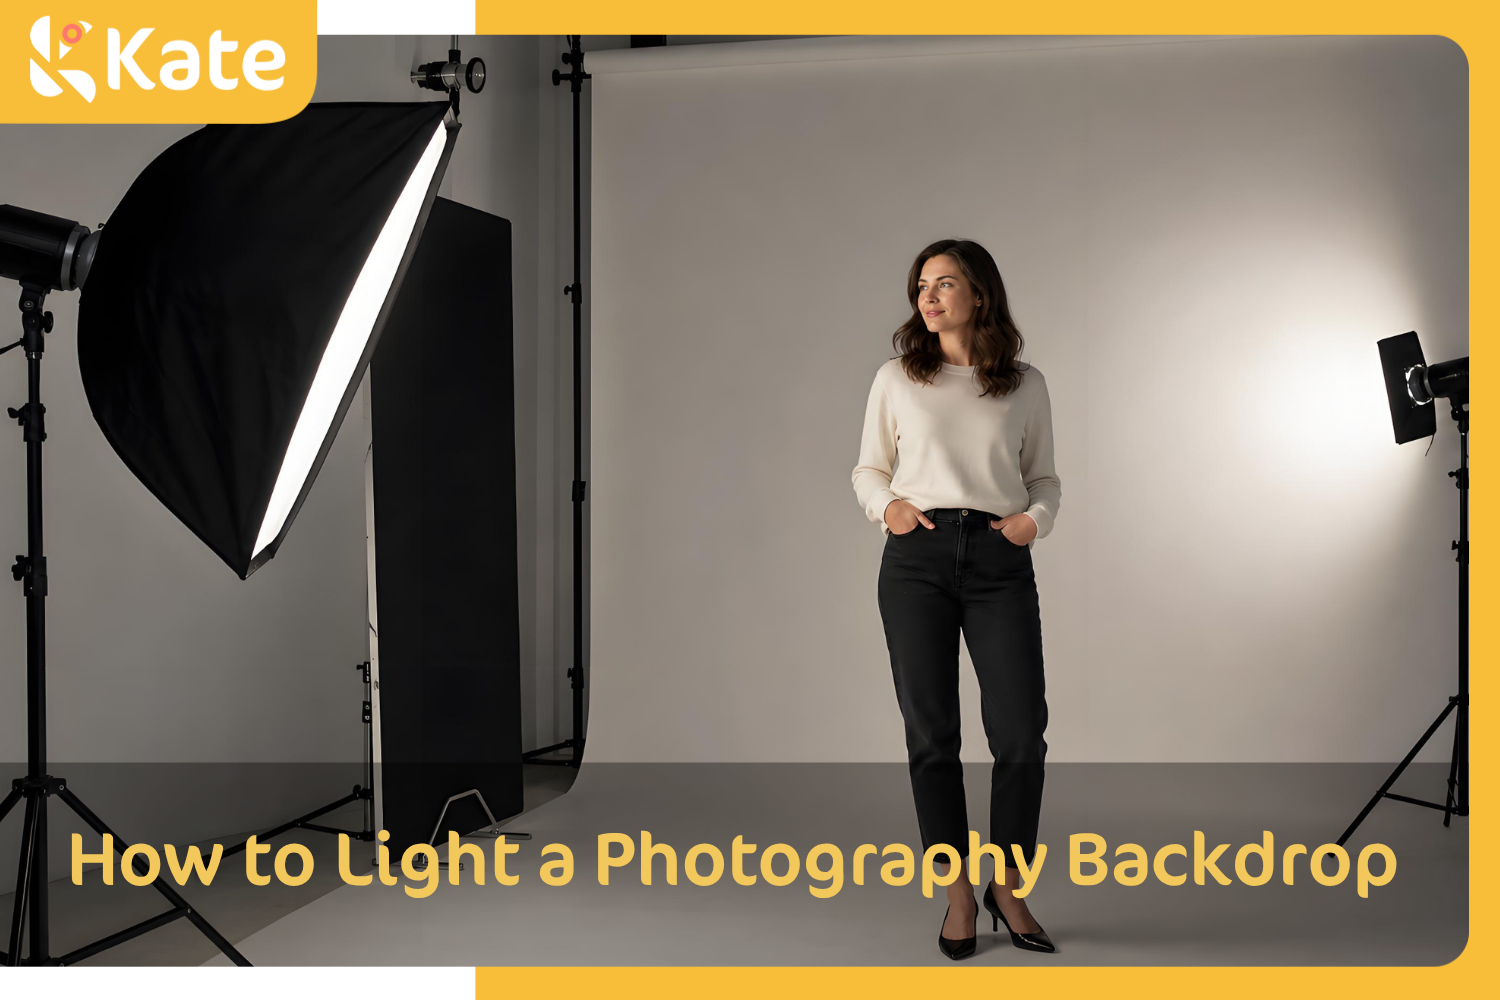
Lighting a backdrop is about control. The goal is to make the background look clean and intentional without letting it compete with your subject. Get it right, and the backdrop supports the image. Get it wrong, and you may end up fighting shadows, hot spots, glare, or uneven color in every frame.
A good backdrop lighting setup usually comes down to three things: distance, softness, and control. The best approach depends on your subject-to-backdrop distance, your backdrop material, and the mood you want in the final image.
Start With Distance
The easiest way to improve backdrop lighting is to separate your subject from the background. When the subject is too close to the backdrop, shadows fall directly onto it, making the background much harder to control.
In most studio setups, giving yourself a few extra feet between the subject and backdrop makes everything easier. The subject stands out more clearly, and your background light has room to spread naturally. With a white or light-colored backdrop, distance matters even more. A small placement change can be the difference between a clean background and a distracting shadow line.
Use Soft Light
Soft light is usually easier to work with than hard light when lighting a backdrop. It spreads more evenly, creates smoother transitions, and helps keep the background from looking patchy or overly dramatic.
A softbox, umbrella, diffuser, or soft window light can all help create a balanced result. If the light is too hard, the backdrop may show stronger shadows, hot spots, or uneven brightness. Soft light is especially helpful when you want a portrait-friendly background that looks clean without feeling flat. It also lets you shape the subject separately without constantly fighting the backdrop.

Image from Pexels
Light the Subject Separately
In most setups, the subject and backdrop should not be lit in exactly the same way. If your main light hits the backdrop too strongly, it can flatten the background, create unwanted spill, or make the whole scene harder to control.
A cleaner approach is to light the subject first, then add a background light only if the backdrop needs more brightness or separation. This helps keep the subject and background visually separated.
For clean white-background work, the backdrop often needs its own controlled light so it can look bright and even in camera. The subject still needs to remain properly exposed, and the background light should be controlled carefully so it does not spill too much onto the front of the subject.
Choose the Right Angle
Light angle changes how a backdrop reads in camera. Lighting from slightly above or from the side can help shape the scene, while direct frontal light often makes the background look flatter.
• For an even background: position the light so it spreads across the backdrop instead of hitting one small area.
• For depth or texture: angle the light more carefully so the backdrop keeps some dimension.
• To move shadows: shift the light vertically or horizontally. Often, a small adjustment is enough to clean up a problem area.
Match Light to Your Material
Different backdrop materials react differently under studio lights:
• Fabric and microfiber tend to create a softer look and diffuse light more gently.
• Paper and vinyl show light more directly and often need more controlled placement.
• Darker or more absorbent materials may need more illumination to stay bright enough in camera.
• Smoother or shinier surfaces need softer light and tighter spill control to avoid unwanted glare.
The right lighting depends not only on your photo style, but also on the backdrop itself. Once you understand how your material behaves under light, choosing the right light source and placement becomes much easier. For a full material breakdown, see the Backdrop Material Guide.
Control Shadows
If shadows still appear, the first fix is usually not more power. It is a better placement. Moving the subject farther from the backdrop, softening the light, or adjusting the light angle solves most shadow problems quickly. You can also use reflectors, flags, or a dedicated background light when you need more control.
The goal is not always to remove every shadow. It is to decide where shadows belong and keep them from distracting from the subject. For darker or moodier backdrops, a little controlled shadow can add dimension and keep the image from looking flat.
For a deeper walkthrough, see Tips to Avoid Shadows on Backdrops.
Common Lighting Setups
• One-light setup: Works well when the subject already has soft, even light. If the background looks too dark, add a second light or adjust the subject-to-backdrop distance.
• Clean white backdrop: Light the background separately and evenly while keeping the subject properly exposed and natural.
• Moody setup: Let the backdrop stay slightly darker and use light direction to create separation instead of pure brightness.
• Reliable studio portrait setup: Use one main light for the subject, one background light for the backdrop, and a reflector or flag for extra control.

Image from Istock
Natural Light Options
Natural light can work beautifully for backdrop photography, especially near a large window. Soft daylight gives a gentle look and can keep the background clean without much equipment.
When using window light, pay attention to where the light comes from and how it falls across the backdrop. If the light is too direct, it may create strong contrast. If it is too weak, the background can look dull. A simple curtain or diffuser can soften window light and make it more useful for studio-style portraits, especially in a small home setup.
Light for the Look You Want
The right setup depends on the look you want to create. A bright, high-key background needs a different approach than a dark, moody setup or a textured portrait scene.
• Clean commercial look: keep the background even, simple, and uncluttered.
• Creative portrait look: allow some falloff and shape the background with subject distance and light angle.
This is where backdrop choice and lighting choice work together. A printed fabric backdrop, solid-color backdrop, paper backdrop, or vinyl backdrop can all create different results even under a similar lighting setup.
Common Mistakes to Avoid
1. Subject too close to the backdrop
This is the most common mistake. It makes shadows harder to control and leaves little room for separation.
2. Light too hard or too close
Hard light can be useful in some creative setups, but it often makes backdrop shadows and hot spots more obvious.
3. Trying to fix everything with one light
One light can work, but separating the tasks usually gives cleaner results. Use one light for the subject, one for the backdrop when needed, and make small adjustments to control spill.
Keep It Repeatable
The best backdrop lighting setup is one you can repeat. Once you find a setup that works for your space, material, and subject, keep it consistent and make small adjustments instead of rebuilding from scratch each time.
A reliable setup is more valuable than a complicated one. It also helps your images feel more cohesive from session to session, especially for regular studio work, client portraits, product photography, or seasonal mini sessions.
Backdrop Lighting Takeaway
Lighting a backdrop comes down to balancing distance, softness, and control. Manage those three well, and the background will support your subject instead of fighting it.
Start simple, test your setup, and adjust one variable at a time. That approach is usually more effective than adding more equipment before you understand what the light is doing.
If you want to strengthen your lighting fundamentals overall, read 50 Types of Lighting in Photography. And when you are planning your full room, the Photography Studio Setup Guide ties spacing, lighting, and placement together.


Weekly Picks 15%OFF