


 Christmas


✨ Build your dream setup!
×


Night Photography: A Beginner's Guide to Master the Night

Night photography is both intriguing and challenging, loaded with possibilities and yet a significant learning curve. If you want to learn how to become a good night photographer, you will need to deepen your understanding of photography basics like exposure and the exposure triangle of aperture, shutter speed and ISO, especially shooting at higher ISO settings than you might be used to. White balance is critical too, as is learning how to overcome the dangers of noise, over- and under-exposure and color issues.
When competency is achieved, night photography is an excellent way to express the world in a completely different light. Nighttime images of landscapes, cityscapes, or the night sky have deeper depth, emotional richness, and a sense of emptiness or abandonment than daylight photographs of the same location. That said, capturing meaningful photos at night can be easier if you are prepared.
This night photography guide will help you understand the requirements for taking high-quality shots in low-light environments. Essentials covered include equipment for night photography, proper settings and adjustments, focusing in the dark, composition rules and techniques for success and how to perfect photos in post processing.
What Is Night Photography?
Night photography is a type of photography captured in low-light circumstances, between the golden hours of last light and first light of the day. In night photography, the photographer commonly relies on artificial lights like streetlights, city lights and vehicle lights with artistic effect. Astrophotography of the moon and stars is also considered night photography and relies on long exposures and high ISO to capture the scarce light sources.

The color palettes of night photography tend to be darker purple, blue, and black tones. Photographing at this time of day is a wonderful excuse to step outside your comfort zone with your camera and experiment with manual mode, where you select all the settings yourself rather than depending on the camera's default presets.
Capturing photos at night produces different results than during the daytime at the same location. In night photography, instead of looking for bright light to reveal all the details and secrets of the subject we photograph, we look for subtle light sources that bring specific details to life while hiding others, revealing a different reality than the one we see by the day. The shutter speed, aperture, and ISO must be dialed correctly to achieve these meaningful shots and show the world from a different perspective. We'll now go through the most crucial exposure settings and equipment to help you stand out with your nighttime photos.
What Equipment Is Needed for Night Photography?
Before heading out, here are some important equipment needed when shooting photos at night.
-
A mirrorless or DSLR camera with a full-frame sensor Cameras with a full-frame sensor gather more light than those with a crop sensor, and light gathering is essential to a camera’s performance in night photography.
-
Sturdy tripod - The most important thing to remember regarding night shooting is that the camera needs to be stabilized on a tripod. When shooting long-exposure photographs, the camera detects shaking, resulting in blurry images. A good rule of thumb when deciding whether a tripod is required is that if the shutter speed is slower than one over the focal length of the lens used, it should not be handheld. So, for a 20 mm lens, you should not hand-hold the camera if you’re attempting to use shutter speeds slower than 1/20th of a second.

-
Shutter release - A remote shutter release is another helpful tool for nighttime photography. These range from basic push buttons to computerized programmable ones, capable of capturing any sequence of time-delay shots you desire. Remote releases allow you to trigger your camera’s shutter without touching it. That’s right; even the act of gently touching the shutter button on the camera will introduce shake into the picture.
-
Lenses - The final piece of equipment needed for your camera is a good-quality lens. Fast lenses with large apertures are preferable at night. The faster the lens, the lower the ISO, and the faster the shutter speed, both of which are desirable. The best options are lenses with f-stops at least as small as f/2.8, if not lower. F/4.0 lenses can be used too. However, each higher f-stop requires a slower shutter speed or higher ISOs.
In addition to these essential pieces of equipment for night photography, consider a headlamp to provide light for changing settings and gear, extra batteries since long exposures use up batteries quickly, extra memory card for storing high-resolution nighttime images, a lens hood to keep unwanted light from producing lens flare, neutral density filter to boost the exposure performance during long exposures, light pollution filter and a lens warmer to keep condensation off your lens in cool night temperatures.
Why Exposure is Important for Night Photography
Exposure plays a vital role in night photography due to the naturally low-light scenarios and the need to capture sufficient light for a proper exposure without introducing noise or overexposing the image. To achieve good exposure, it helps to understand how the exposure triangle of shutter speed, aperture and ISO are properly balanced, and that when you adjust one, the others must be changed too to maintain the balance. For example, if you boost ISO to make the camera more sensitive to light, you might need to narrow the aperture, increase shutter speed, or both.
Raising ISO produces the exposure challenge of noise - so you have to work with your settings to achieve a balance of ISO and shutter speed that reduces or eliminates noise, resulting in cleaner images.
A third challenge is to balance bright light and shadows when the scene includes vehicle lights, street lights and other bright sources starkly contrasted to deep shadows. Failing to consider this can lead to overexposure and glare.
Accurate exposure values can dramatically change how our photos look at night. You can change them as you see fit, depending on the type of look you're going for. It's also important to know never to underexpose or overexpose your shots, as this gives you more freedom in post-production since you retain as much detail and color information as possible.
What are Exposure Settings for Night Photography?
Exposure consists of three main parameters: shutter speed, ISO, and aperture, which form the exposure triangle. They work in tandem to create your perfect nighttime shot.
A wide aperture is used for night photography. Also called a low f/stop, f/1.4 to f/4.0 are used depending on light conditions, your other settings and the effects you want the shot to contain.
Long shutter speeds from a few seconds to more than 30 seconds are necessary for gathering enough light to get a good exposure.
An ISO setting of 800 or higher, depending on your camera’s capabilities and the other settings you choose make the sensor sensitive enough to gather light in low-light conditions.
Tip: Shooting in RAW allows for greater dynamic range and gives you maximum control over exposure adjustment, white balance, noise reduction, color correction and image detail/sharpness in post processing.
In addition to those primary settings, choose auto white balance when shooting RAW; otherwise, custom 3000K to 5000K that matches light conditions from the moon, street lights, etc. is appropriate for night shots.
Shutter Speed
Shutter speed of a few seconds in well-lit cityscapes, for example, to 30 seconds or more for astrophotography are used.
Since the camera will require a lot more light to enter its sensors in order to produce a correctly exposed image, you’ll have to slow down the shutter speed. In auto, the camera will usually use shutter speeds that are longer than one second - sometimes significantly longer. Or you can set a custom shutter speed and use trial and error to get a good exposure. Here’s a reminder that a tripod is essential here since the shutter speeds are longer than normal, any movement during this time will cause your image to blur. And a remote shutter release will be invaluable too.
Using aperture priority mode and letting your camera adjust your shutter speed is an option.
Bulb mode is another method of capturing images at night and is used to keep the shutter open for more than 30 seconds. This mode is effective when wanting to capture precisely timed long-exposure photos. It is most often used to capture light trails, seascapes, and cityscapes.
Aperture
The recommended aperture settings are f/8, f/11 or f/16 for night photography, in general. This is to create what's called a long depth of field, which allows you to create an image that is sharp from the foreground to the background. As with shutter speed, you can make your shots lighter or darker with the aperture. It's best to start at f/11, and if the image is too light, go for f/16; if it's too dark, go to f/8.
For astrophotography, an f/stop of 2.8 or wider will be necessary.

ISO
ISO of 100 to 3200 are used for night photography depending on the scene. In a well-lit cityscape, start at 100 or 200; for astrophotography, start at 800 ISO.
If you're not trying to capture motion at night, use a low ISO setting and compensate with a wider aperture and/or slower shutter speed. High ISO leaves noise and makes your photos look grainy, especially in night photography, where dark areas of your picture tend to show more digital noise than lighter areas. The ideal ISO value would be either 100 or 200. Noise in an image creates a speckled look with dull colors. To get a clean, crisp, and colorful night photograph, you will need as little noise as possible.
Because of the importance of exposure in night photos, shooting in manual mode gives you the most control over each of these settings vital to exposure. Experimenting with your ISO, aperture and shutter speed triangle will give each shot a unique look.
Note that many cameras also have a night mode with one or more preset options.
How to Focus in Night Photography
In the dark, it is hard for a camera to focus. Here’s how to focus in night photography: Focus on something lit in the distance, then switch the lens to manual focus to fix the focus point. Once you have the focus set, recompose your picture and press the shutter button to take the picture. This can be frustrating, but during the night, the camera doesn't have anything to focus on, as there is no contrast in dark scenes.

If you prefer to use autofocus, here's a handy tip: grab a flashlight and shine it on the subject you want your camera to focus on. If the subject is within a reasonable distance, the flashlight's light should be enough for your camera to focus. Don't forget, using the right aperture can also help bring back sharpness and contrast for the camera to focus on, enhancing the effectiveness of this technique.
Some lenses have hyperfocal markings to aid in maximizing depth of field and achieving critical focus. Many manual focus primes have this, along with a hard infinity stop. Focusing on the markings should help bring the background and foreground together to create a sharp image.
What are Common Composition Rules and Techniques for Night Photography?
There are general composition rules and techniques for night photography and those specific to shooting at night. You must know how to change your camera settings and apply different techniques to get great shots in low light.
-
Rule of thirds - This technique applies to all types of photography, including night photography. This rule creates a 3x3 grid by dividing the image into equal parts on both horizontal and vertical axes. You can use the junction of these lines as the image's focus point, which creates a balanced and visually appealing composition that draws the viewer's attention to that point.
-
Framing - This method can give your shots depth and interest by using natural or artificial items to frame the image's subject. In night photography, this can include trees, arches, or other items.

-
Symmetry - This technique involves splitting an image into two equal halves. In night photography, symmetry can be accomplished by utilizing natural reflections or taking images of the same subject from different angles. Images with symmetry can have a calming effect on the eye and create a sense of peace.
-
Create light trails and star trails - Experiment with slower shutter speeds to capture blurry light trails from moving lights from vehicles, planes at takeoff or a sweeping panoramic series of shots - multiple shots that can be stitched together in interesting panoramas. For star trails, very long exposures are required, with the camera on a tripod and the shutter activated by a remote release.
-
Highlight negative space - One of the beauties of shooting at night is that you can use the darkness to highlight the image you’re capturing. Use the rule of thirds to bracket the object with negative/dark space.
-
Produce silhouettes - Somewhat the opposite of using negative space, this night photography technique uses backlight to surround and silhouette the main object.
-
Add bokeh - When there is light in the background, use a wide aperture, resulting in a shallow depth of field and a dreamy blur behind the silhouetted subject.
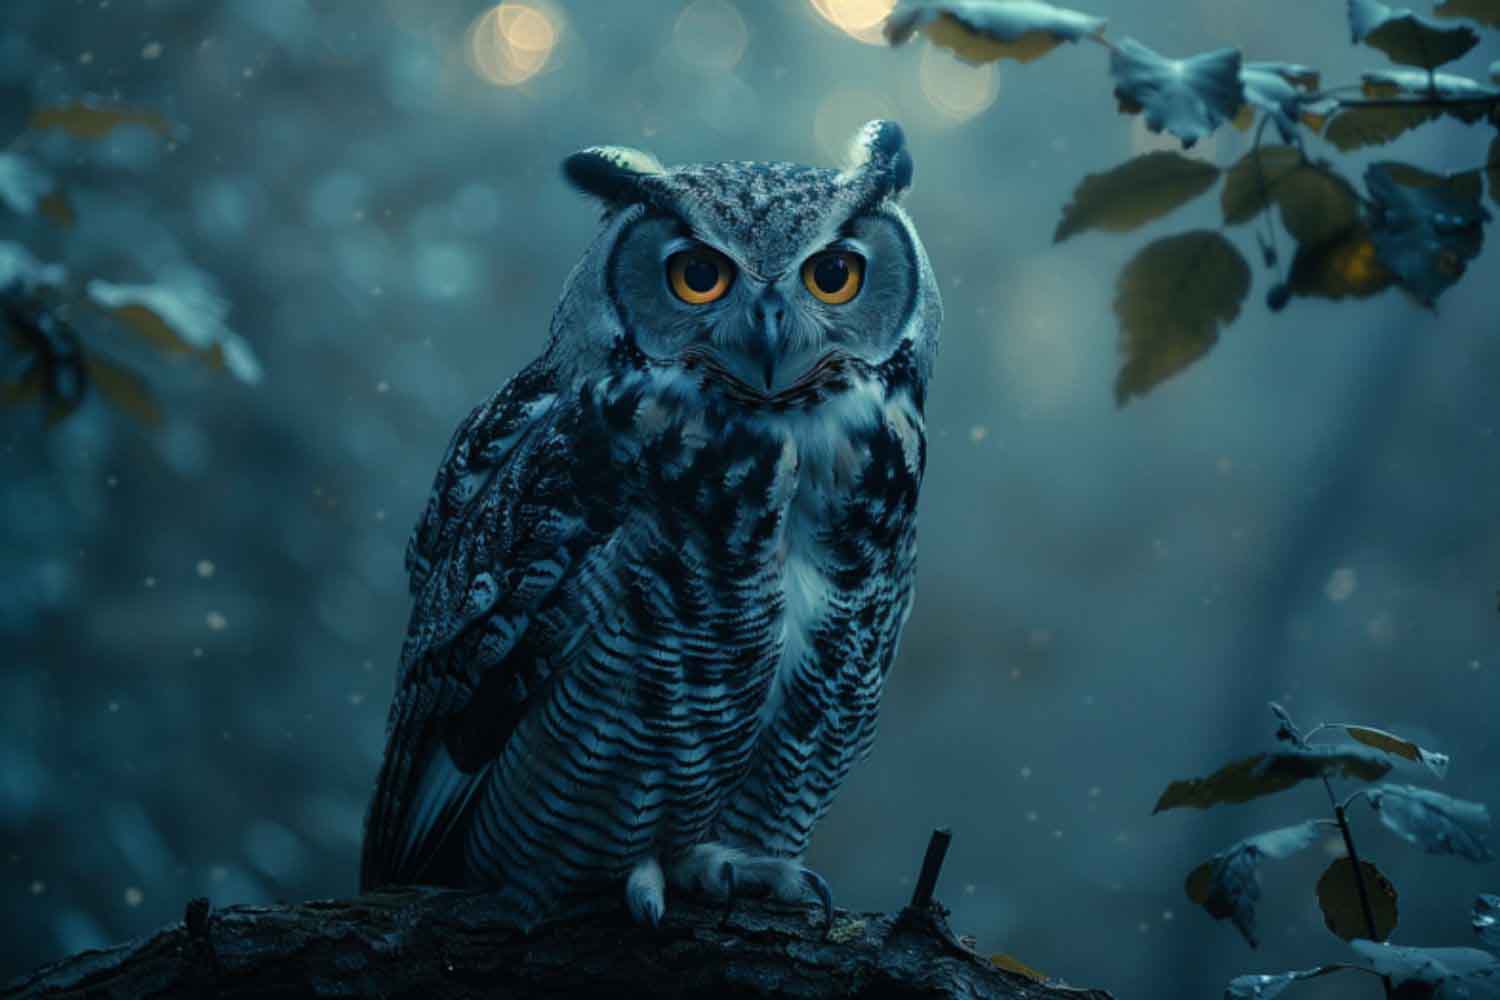
What are the Subjects of Night Photography
Here are some night photography subjects to get your creativity going.
-
Street lights - Street lights can provide a point of interest in a blank area in the picture, whether they're the main focus or just a background object. Multiple lights are excellent at creating leading lines in the photograph. To capture them with reduced noise, use a low ISO of 100-400. Set a narrow aperture of f/8 - f/16 for greater depth of field and a low shutter speed of 1-10 seconds to create beautiful trails.
-
Portraits - When capturing portraits at night, you want to use the lowest possible aperture. The lower it is, the more light you can let into your camera. Typically, anything from f/2 to f/2.8 will do. Drop your shutter speed until you allow enough light in to achieve your desired exposure. 1/10 or 1/30 should do. The ISO I target is around 400 to 800, but you can go as high as 1600.

-
Landscape - There are no universal settings for landscape photography, so it's all about experimentation. To maximize the light entering the camera, I recommend using focal lengths of 14 to 300 mm and speeds of f/1.4 to f/2.8. Shutter speed should be relatively low—about 15 seconds should do. On the other hand, ISO values can be set a little higher. Start with 5,000 and work your way up if that isn't enough.
-
Wildlife - Wildlife can be tricky to capture, and as a photographer, you need a high response time before the moment is gone. When it comes to shutter speed, aim for 1/80 to 1/150. This should let enough light in to create a meaningful image. A wide open aperture of f/2.8 to f/4 will allow a lot more light in. ISO should not drop below 3200.
What are the Common Camera Settings for Night Portrait Photography?
The ideal shutter speed for most night shots is 1/10-1/30. This slow shutter speed will help you capture the best possible portrait. The ISO should typically be set to 400 or higher. It'll ensure that the images get ample exposure without creating much noise. An aperture of f/2 to f/2.8 should do. Night Portrait Mode, if your camera has it, is an auto mode that you should try, as it'll give a slower shutter speed, resulting in better images.
A wide aperture, slow shutter speed and higher ISO are common settings for night portrait photography.
Auto white balance works in many nighttime scenarios. Where artificial lights cast a yellowish tint, you can reduce it with the Tungsten setting for night portrait photography. Choose spot metering, which means the camera will measure the light hitting your subject or being emitted by it, if you’re photographing a light source, even though the rest of the frame is dark.
Exposure compensation is used in night shots to boost or reduce the brightness of the photo. This setting can be critical at night because the low-light conditions, sometimes with one or a few bright lights, make it difficult for the camera to correctly measure available light and choose the best setting.
If you have the equipment, an external flash gives you control over flash brightness and direction. And when you take the shot, manual focus will give you the result you want, since autofocus can be confused in low-light scenes.
What are the Essential Techniques for Night Photography Post Processing?
The best techniques to learn for night photography post processing include shoot in RAW, adjust the exposure, reduce noise, correct white balance, enhance color, fix contrast, improve clarity, sharpen the image and dodge and burn the image.
-
Shoot in RAW Shooting RAW at night allows you to make larger and finer changes without degrading the image quality in the post-processing phase.
-
Adjust exposure Tweak highlights and shadows to achieve a pleasing balance. Fine tune the exposure.
-
Reduce noise Use a noise reduction tool in Photoshop, Lightroom or Topaz DeNoise.
-
Correct white balance This includes fine-tuning the color temperature and tint, or using a custom white balance in neutral areas.
-
Enhance color Use your preferred tool to tune color saturation and vibrancy and boost the colors in specific features of the image.
-
Fix contrast Increasing the contrast gives depth to the image, but too much contrast leads to a loss of detail.
-
Improve clarity Use the clarity slider to obtain the clarity you want for the shot.
-
Sharpen the image Fine-tune general/global sharpness across the image or selectively sharpen details you want to emphasize.
-
Dodge (lighten) and burn (darken) These techniques allow you to emphasize or obscure areas of the image.


Weekly Picks 15%OFF