


 Christmas


✨ Build your dream setup!
×


A Step-by-step Tutorial to DIY Giant Easter Egg Photo Prop

There's no fun in purchasing prop designs you can make yourself as a professional photographer.
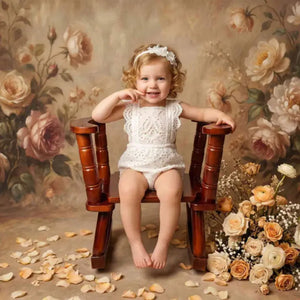
With Easter just around the corner, there are numerous Egg ideas, like a DIY giant Easter you can try for baby shoots. This prop will help your project have the desired touch to your Easter photoshoots, parties, or decorations.
We shall give you a step-by-step tutorial on one of the best Easter Egg photo props for kids on this happy Easter.
Things you may need
You can create a giant Easter egg that will impress with just a few supplies and some creativity. Here is everything you need to make the following DIY giant egg photo prop:
- Newspaper and Printing Paper
- 16-inch balloon
- 4L PVA Glue + Water
- 1 kg Plaster of Paris
- Acrylic Paint
- Decorative items (optional)
- Cutting tool: Scissors or box cutter
- 2024 Easter backdrops
Step-by-step Tutorial
TutorialFirstly, you must prepare your equipment and supplies, which are the actions to take before you begin the process.
Prepare Your Supplies
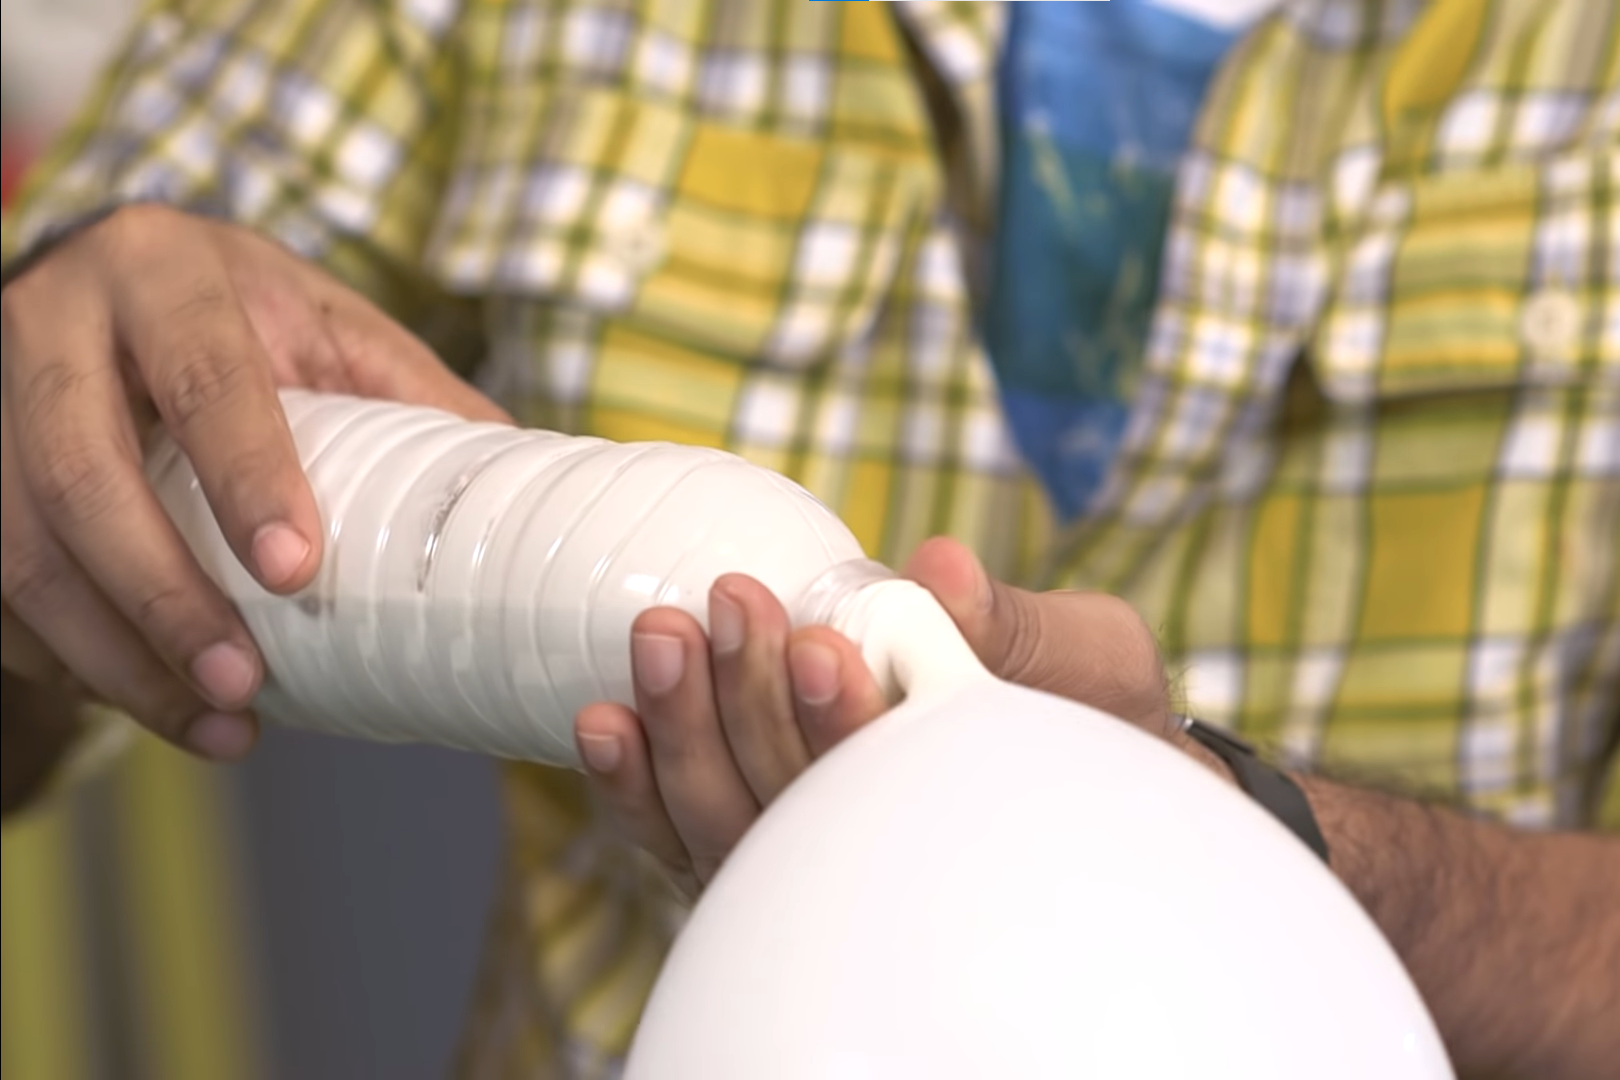
- Start by inflating the balloon and placing it in a plastic wrap-covered bowl.
- Cut your newspaper into strips.
- Prepare the papier-mache solution:
- You can use glue + water in the ratios, 3:1 or 2:1
- Or, Mix flour with water plus a little white glue if you like.
Step 1: Apply newspaper strips to the balloon

Go ahead and dip these strips in your paste of choice, then place them smoothly on the balloon's surface.
Continue placing these paste-covered newspapers until the balloon is fully covered with these strips.
Step 2: Add a second layer Using the Printing Paper and Let it Dry

It's time you use printing paper, which follows the same procedure as the newspaper strips. These second layers help add solidity features to the final DIY giant egg photo prop.
You can now wait for the hardening process, which can take 2-3 days.
Step 3: Applying Plaster Mixture

Your egg project should be coming along after it dries off. You'll notice the finish isn't the smoothest, requiring some additional finish work.
Start by flattening the bottom to get a stable base, and cut the balloon's top to get the exposed area. Follow this by making the plaster mixture with water to get a clay-like solution, then apply it to your project. Moreover, you can have the dried results overnight.
Step 4: Improving the Final Finish

Image Credit (resources from): youtube.com
You can now do different decorations with the DIY giant egg photo prop. However, you can do a few essential finishes, including smoothening the dried plaster surface plus the top edges with sandpaper or any relevant tool.
Practical Tips With Different Props and Easter Photo Ideas for Kids
- Using Big Balloons for Older Kids: A 16-inch balloon may not be enough for a 3-year-old or older.
- More layers for a thicker shell: Getting more layers on top of the newspaper strips will make your balloon sturdy and hold relatively bigger or heavier kids.
- Using various paint decorations: You can use different color painting after smoothening your balloon project.
- Designing different shapes of the egg caps: these caps can be worn by the kids or act as the actual egg’s broken shell.
- Including other easter prop designs like dragon egg designs.
Bonus: DIY Dragon Egg for Easter Decoration
The dragon egg design follows a different tactic compared to our DIY giant egg photo prop project. Follow these steps to get your DIY Dragon Egg for Easter Decoration:
- Get a small-sized balloon and partially fill it with air.

- Mix plaster plus water in a bottle, and add it to the inflated balloon.
- Knot its top and rotate it to distribute the plaster mixture to its walls.

- After some time, the solution will solidify on the walls, where you can peel off the balloon to remain with a perfect egg shape.

- Paint the egg photo prop with the necessary dragon eggs' colors for authentic results.

Image Credit (resources from): youtube.com
Conclusion
The DIY project allows for customization while crafting and lets you decide on the type of decoration to utilize. Also, the DIY Easter prop assists you in saving money and also engages your creative skills off the camera lens.


Weekly Picks 15%OFF
Save 15%


Save 15%


Save 15%


Save 15%


