Custom Printed Fabric Backdrops
 Custom Rubber Floor Mats
 Custom Collapsible Backdrops(double-sided)
 Custom Hand Painted Canvas Backdrops
 Custom Vinyl Backdrops
 Arch
Arch


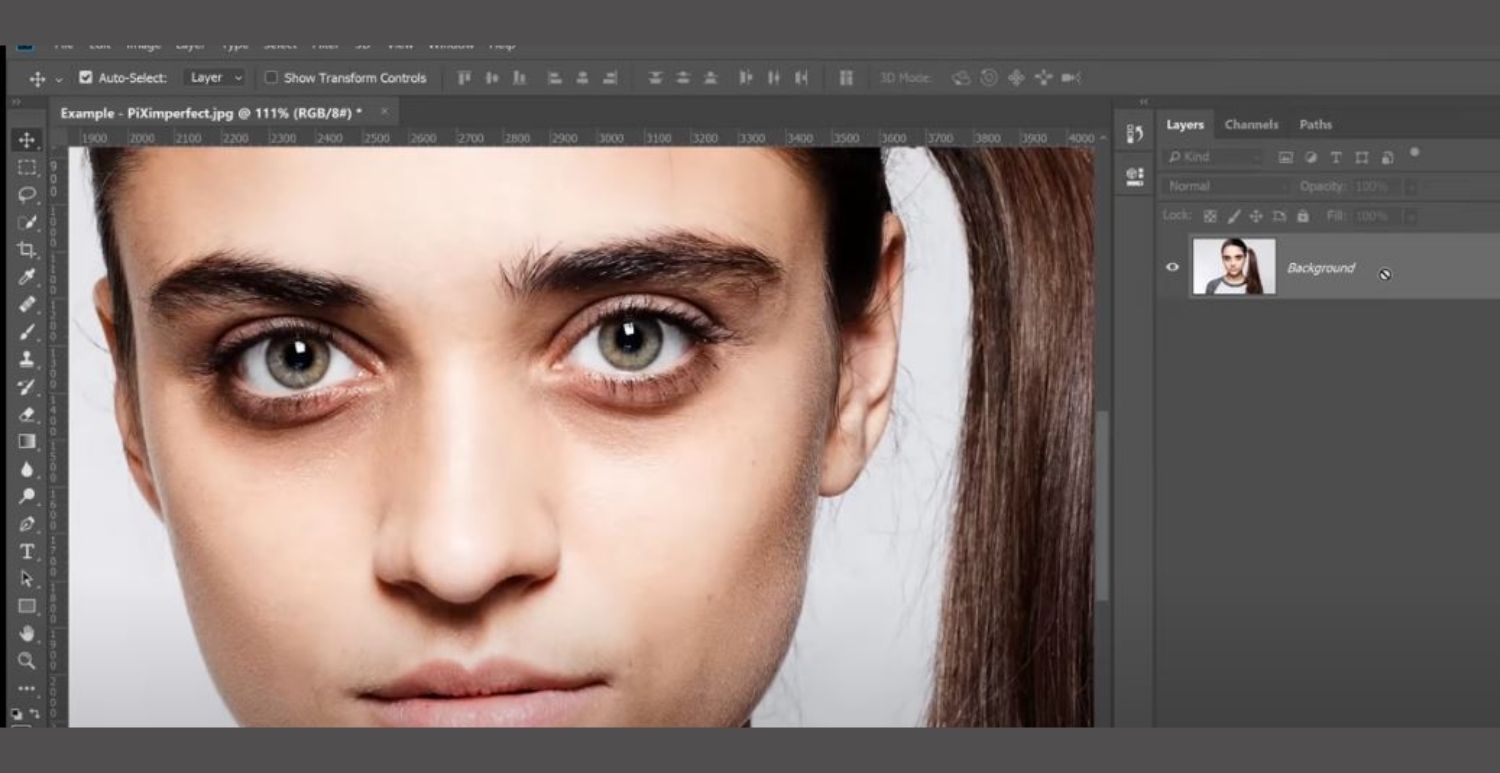
You are in the right place if you've ever wondered how individuals on social media have flawless, picture-perfect faces staring back at you. Interestingly, you don't need to spend a fortune on expensive skincare products or lose sleep trying to banish those pesky dark circles.
You can depend on Photoshop or Lightroom to understand how to remove dark circle under eyes and achieve that flawless look. The steps for using Adobe products are outlined in the following article as a few pointers for getting quicker and better results.
Photoshop Tutorial: How to Remove Dark Circle Under Eyes
Photoshop is quite convenient, even for a beginner learning its dynamics. The Adobe software boasts a variety of tools, updated in the latest versions, that help with activities like eliminating dark eyes. Here is how to use Photoshop's features and tools:
Step 1: Launch Your Photoshop Software
Your first step after uploading your photo (by selecting "File" > "Open") will be to create a copy of the picture by pressing Ctrl+J/ Cmd+J, followed by creating another empty layer between the original and the copy.
Step 2: Zoom in on the Affected Area / Create a 'High Pass' Layer
You can isolate the dark eye circles in the app in several ways before you can start working on your photo.
- Zoom in: By holding down the "Ctrl" key and swiping your mouse wheel over the impacted portion of your photo or by choosing the zoom tool from the toolbar and clicking on the desired region, you can zoom in on the area.
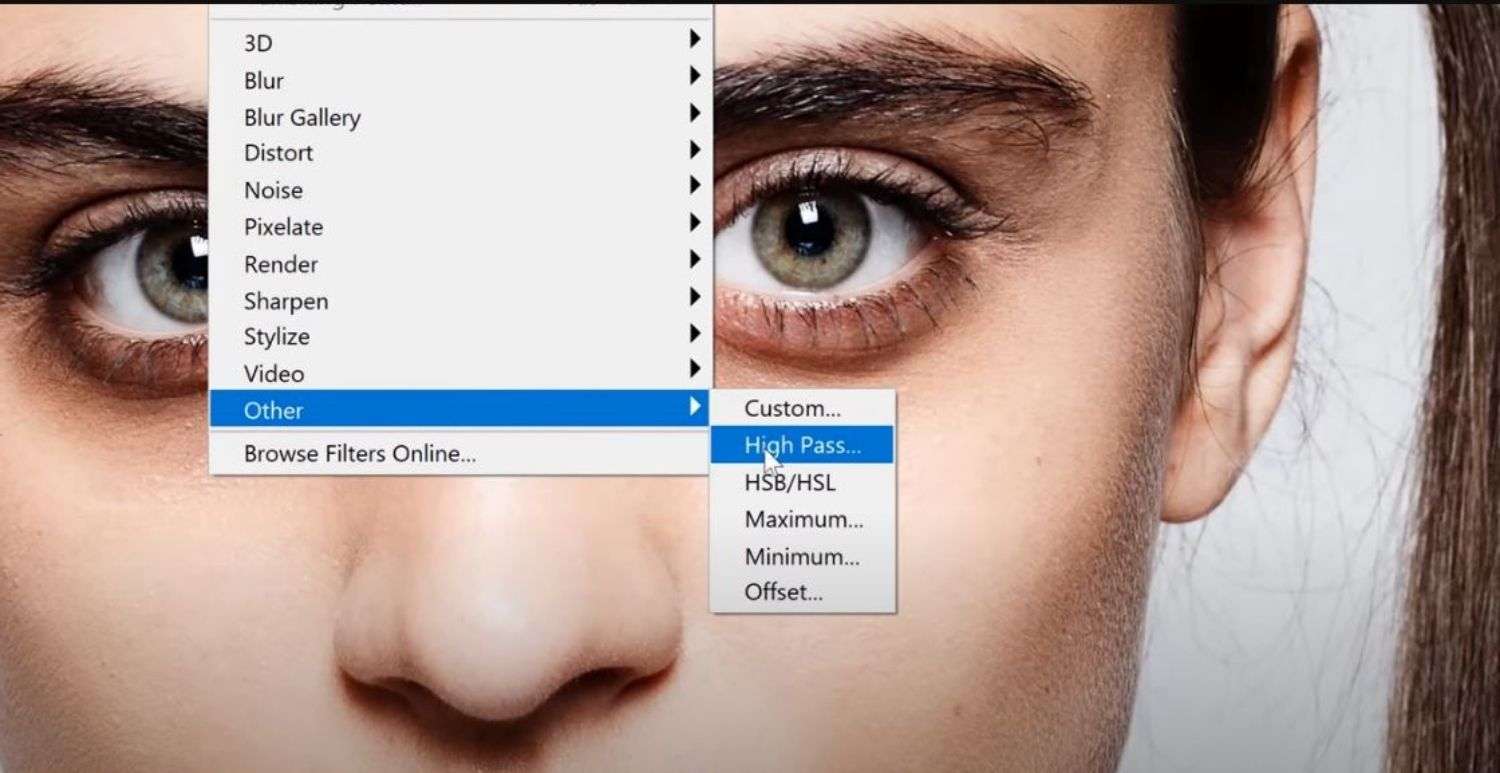
- Creating a filter layer: visit the filters section to convert your image into a bright object. Toggle back to the filter section, scroll down to others, and use the 'High pass' setting. Your photo will be covered in a layer whose opacity you can control to see the circled section of your model.
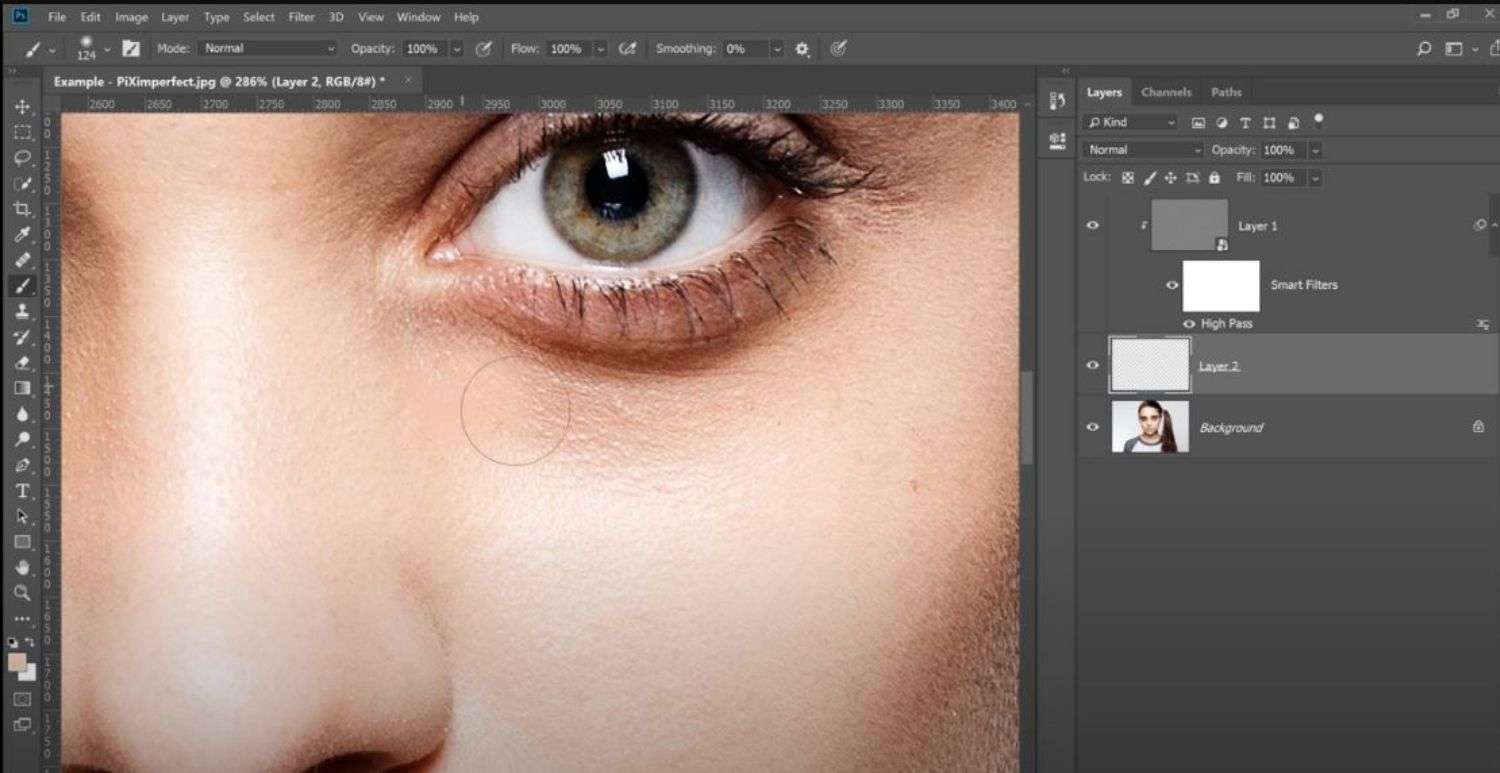
Step 3: Select the Spot Healing Brush Tool and Adjust the its Size
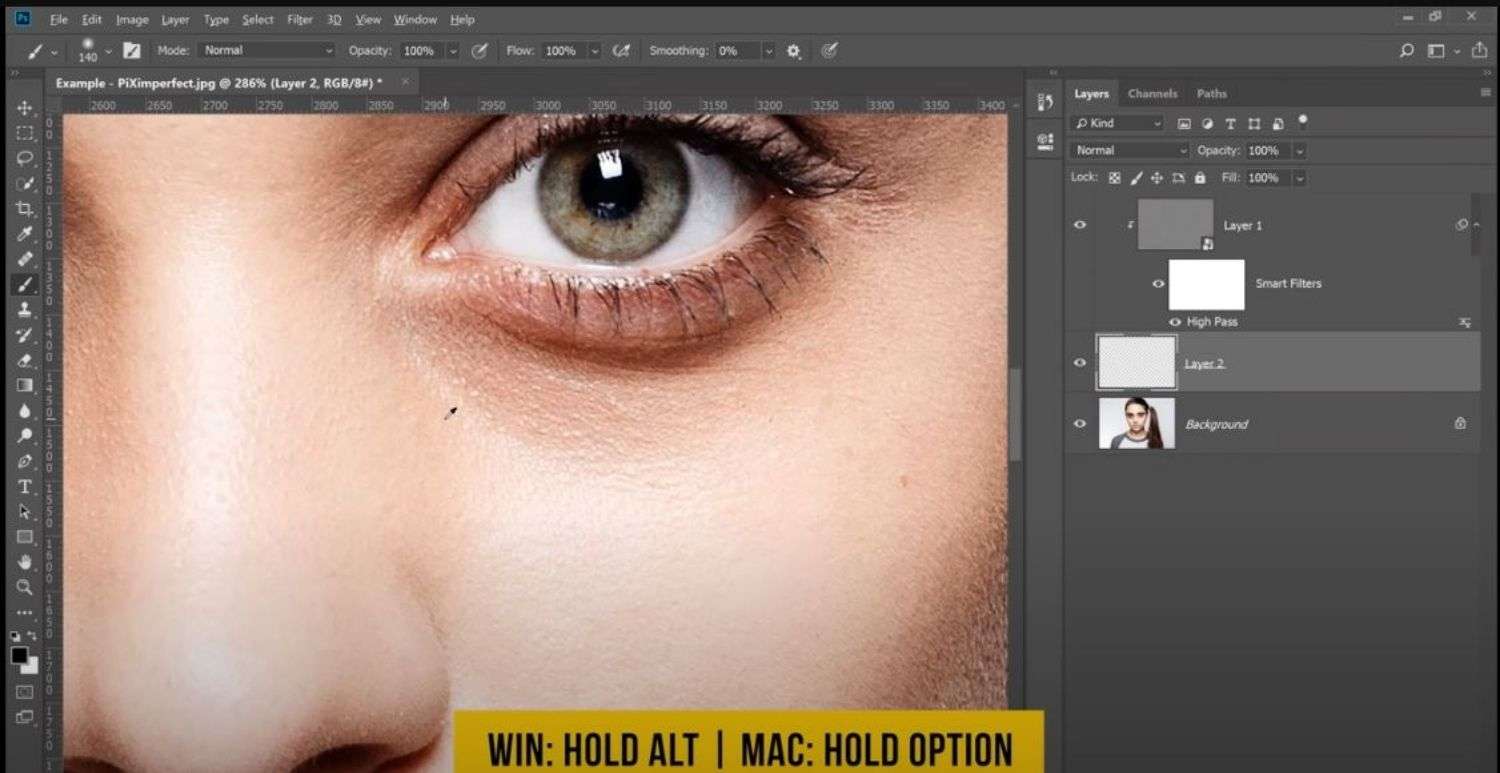
After closely seeing all the affected areas, the next step is to select the "Spot Healing Brush" tool from the toolbar. This tool looks like a bandaid and is excellent for removing blemishes and imperfections from your photos, including dark circles.
It is essential to change the brush size as working with a wider variety can make unnecessary changes to unaffected areas. You can easily do this by using the bracket keys on your keyboard or adjusting the toolbar slider.
Step 4: Click and Drag Over the Dark Circles Under Eyes
After making the necessary tests and adjustments, click and drag the Spot Healing Brush tool over the dark circle. The tool will automatically blend the set pixels around your chosen area with the surrounding pixels to produce a seamless, natural-looking result.
Step 5: Repeat the Process for Refined Results
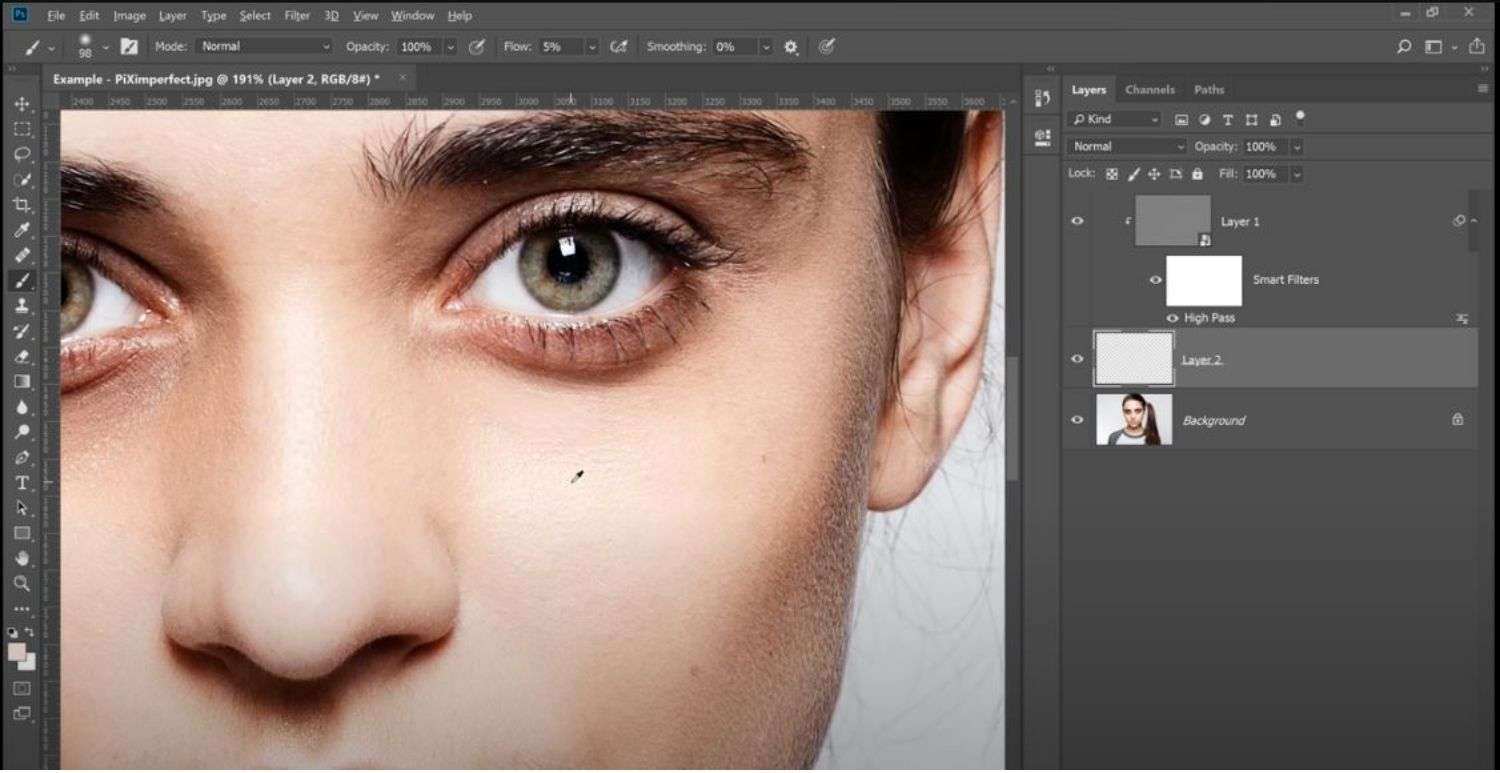
Image credit: youtube.com
You should continue making configurations as in step 4, depending on how your set brush works in step 5. Be careful not to overdo it, as this can result in an unnatural, overly airbrushed appearance.
Step 6: Save Your Edited Photo
You can save your image if you’re happy with the finished results, or explore other editing options with photoshop tools.
Lightroom Tutorial: Remove Dark Circles under Eyes
Another software is Adobe Lightroom, which can be pretty easy to use if you've interacted with Photoshop before. Here's how to remove dark circle under eyes with the Adobe product.
Step 1: Open your photo in Lightroom
Start by opening your photo in Lightroom by going to the Library module and selecting the photo you want to work on. Follow by clicking on the Develop module to access the Lightroom editing tools.
Step 2: Zoom in on the affected area

You'll get more accurate editing results by zooming in on the bags under eyes. You can achieve this by using the zoom slider at the bottom of the screen or pressing the "Z" key and clicking on the area you want to zoom in on.
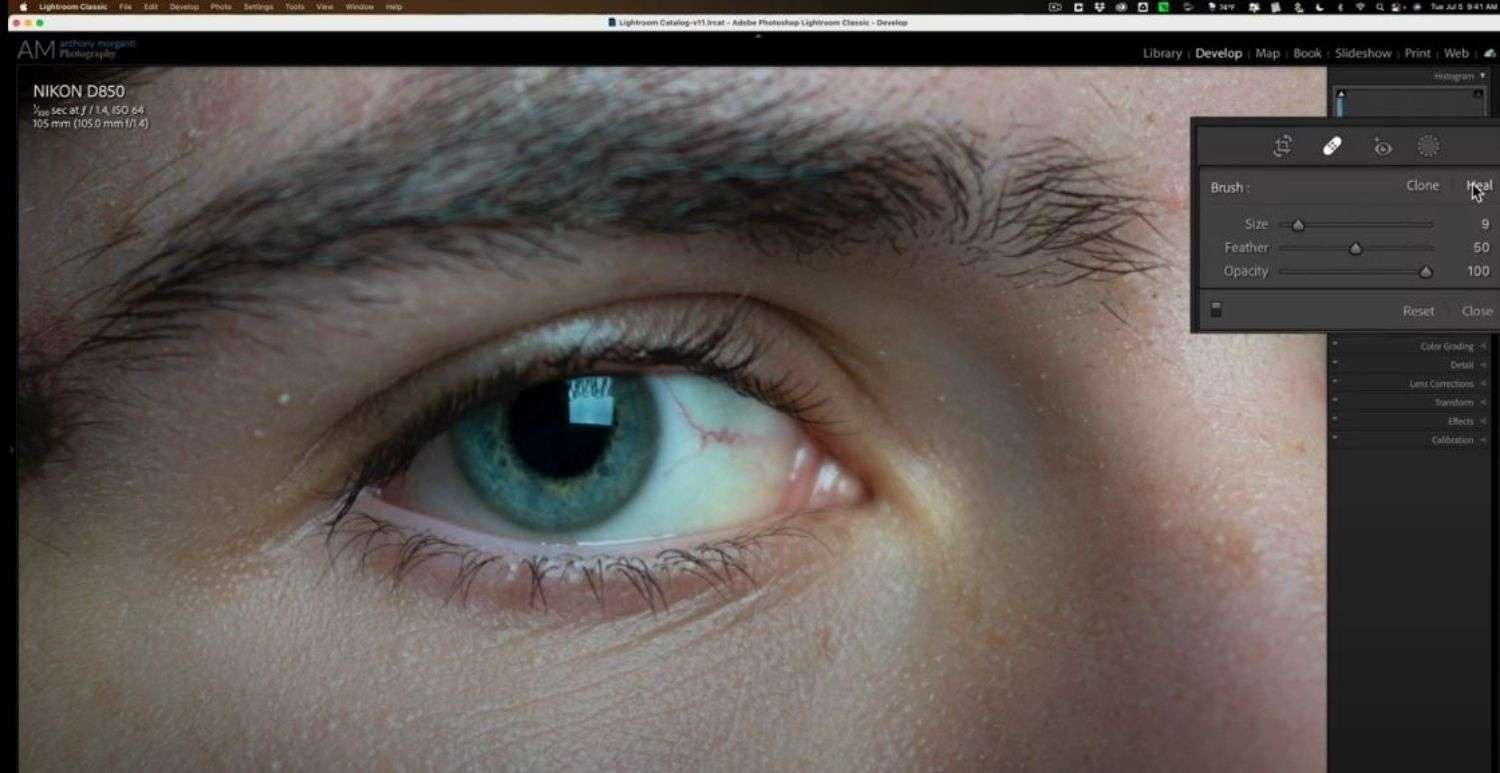
Step 3: Select the Adjustment Brush tool and Adjusting the Sizes
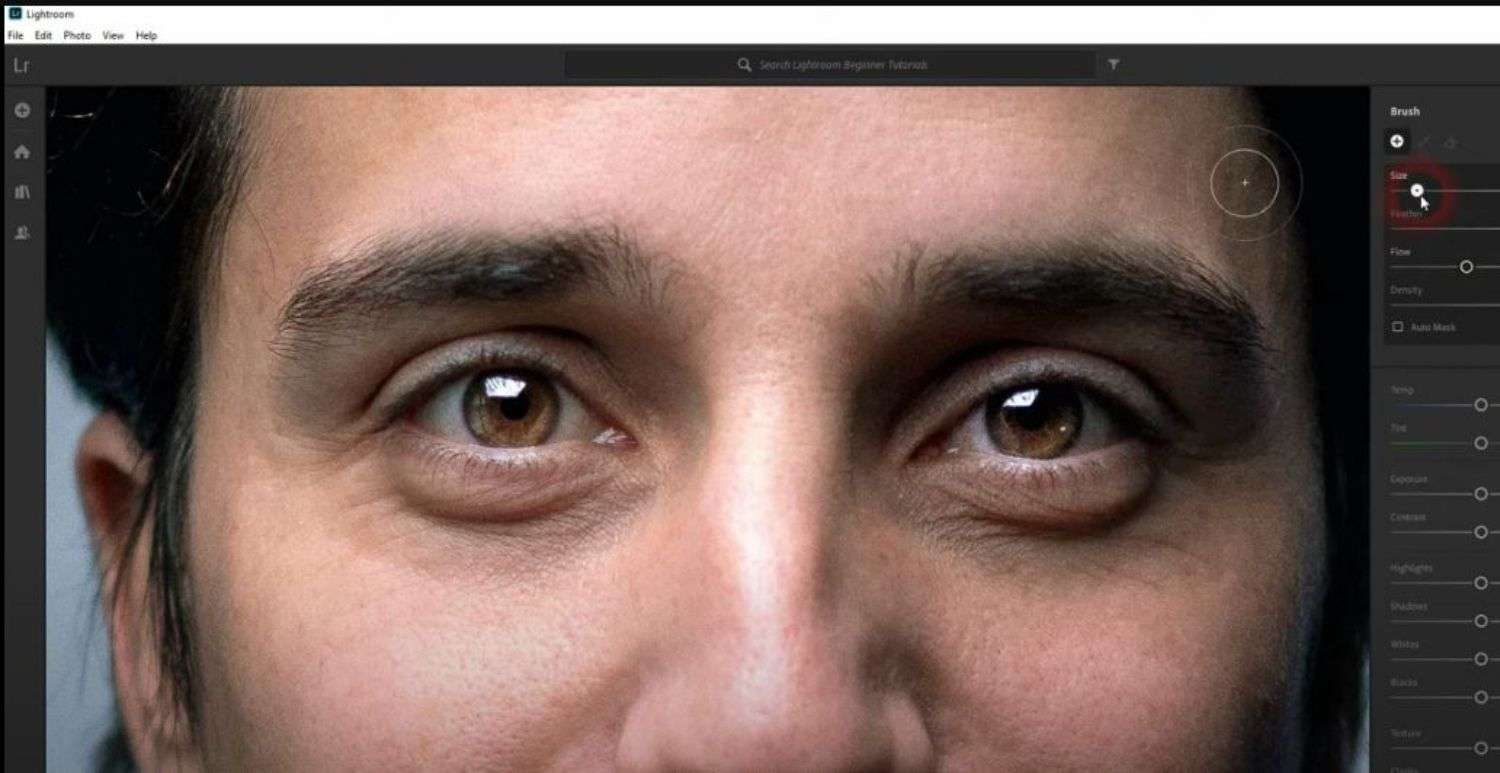
Navigate the layout's right side to get the Adjustment Brush tool from the toolbar. It's the brush icon with a plus sign next to it.
Adjust the brush settings to your liking for a smooth blend between the edited and unedited areas. You can also adjust the exposure, contrast, and other settings to brighten up the section and reduce the appearance of dark circles.
Step 4: Cover/Paint over the dark circles
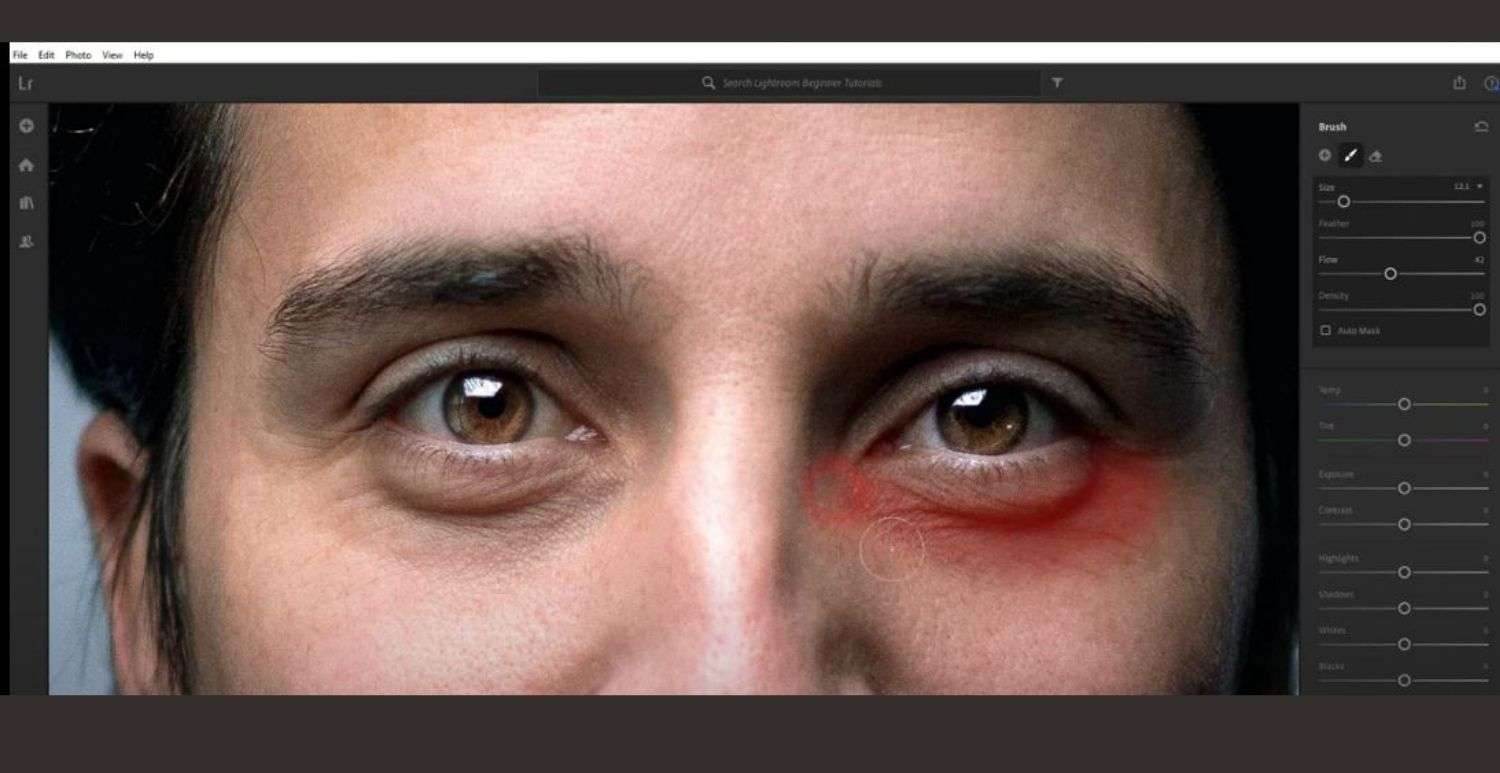
With the ideal adjustment settings on your brush, start painting over the bags under the eyes. Continue modifying the brush size to correct different sections of the model's face.
Step 5: Polishing Your and Save Your Edits
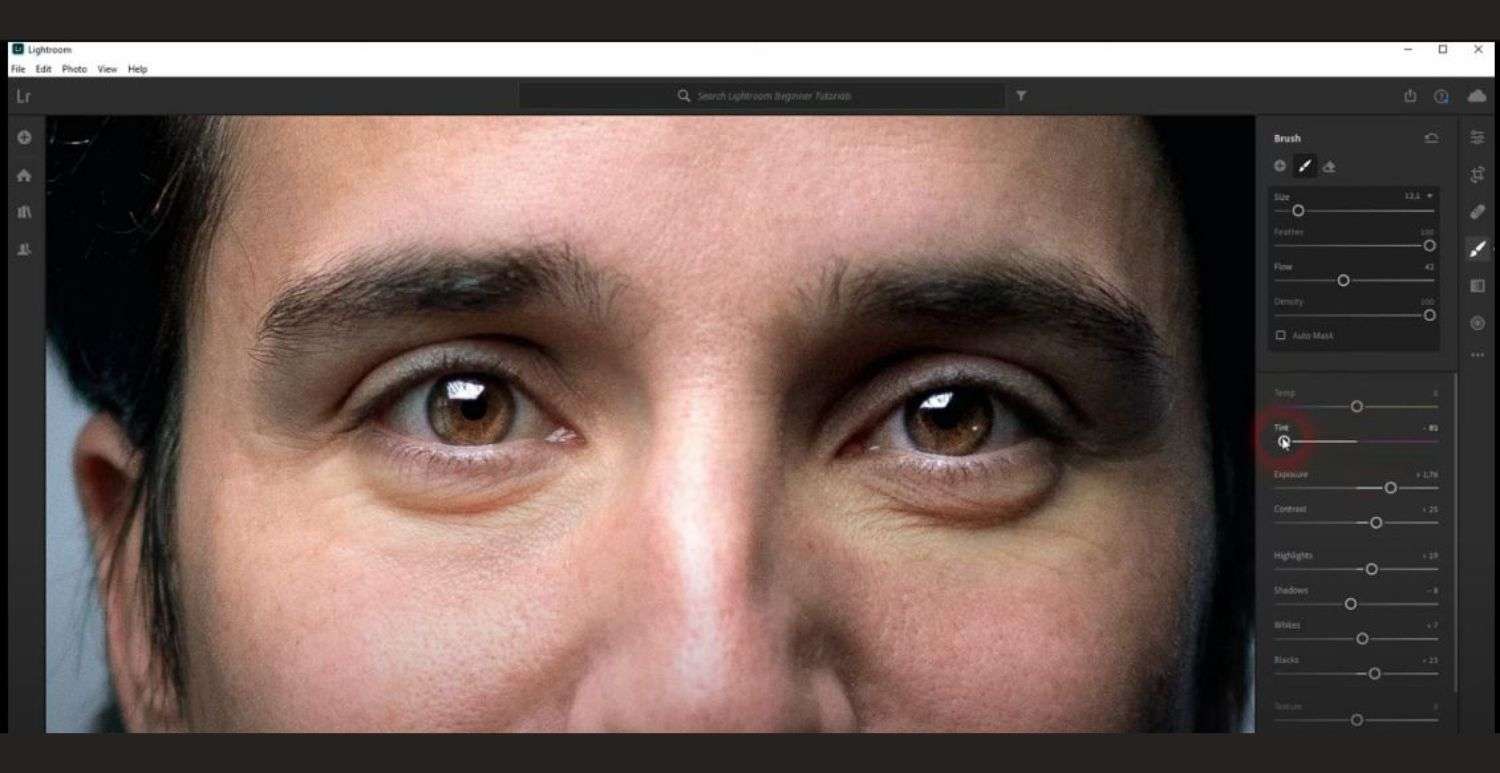
Image credit: youtube.com
The bags under eyes may appear overexposed or saturated compared to the rest of the image. Try finetuning your edits by adjusting the sliders in the right-hand panel, where, for instance, you could lower the exposure, saturation, or other settings.
Follow by saving your changes by clicking on the "Done" button at the bottom right-hand corner of the screen. Lightroom will then apply the edits to your photo and save it as a new file.
Bonus: Tutorial on Blood Vessels Removal
We've got you covered on what most photo-editors will consider a complex task regarding removing eye blood vessels. It is, however, relatively easy if you understand your software dynamics, and here is how to go about it:
After importing your photo to the app, you can use the following steps:
Photoshop Tutorial
- Step 1: Create another layer by copying the image using Ctrl+J, then right-click on Layer 1 to use adjustment colors.
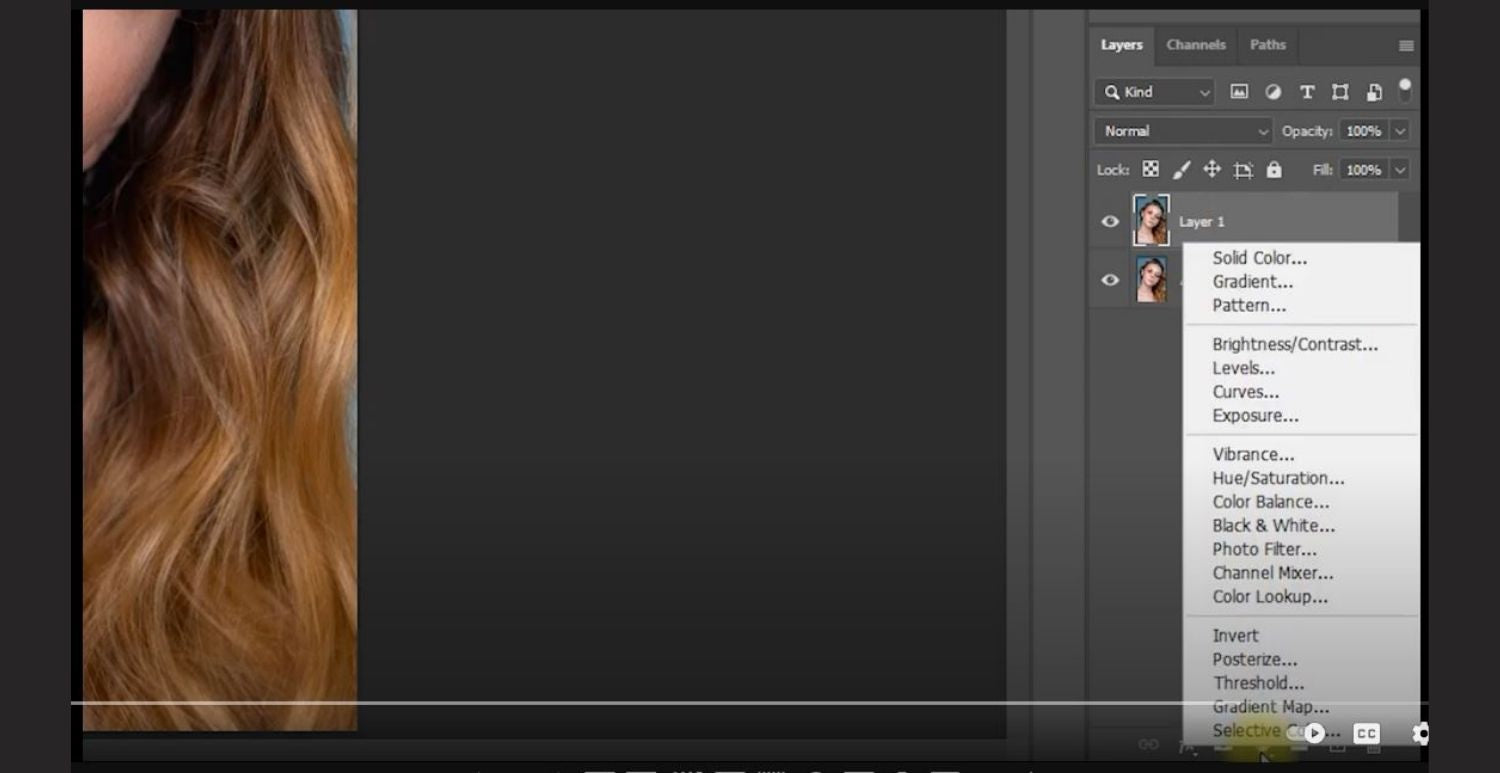
- Step 2: You can start by using the red color, reducing its opacity until the red-eye effect starts fading. Do the same with the preceding colors; blue and Magenta then click the color mask and Ctrl ‘I’ to invert it.
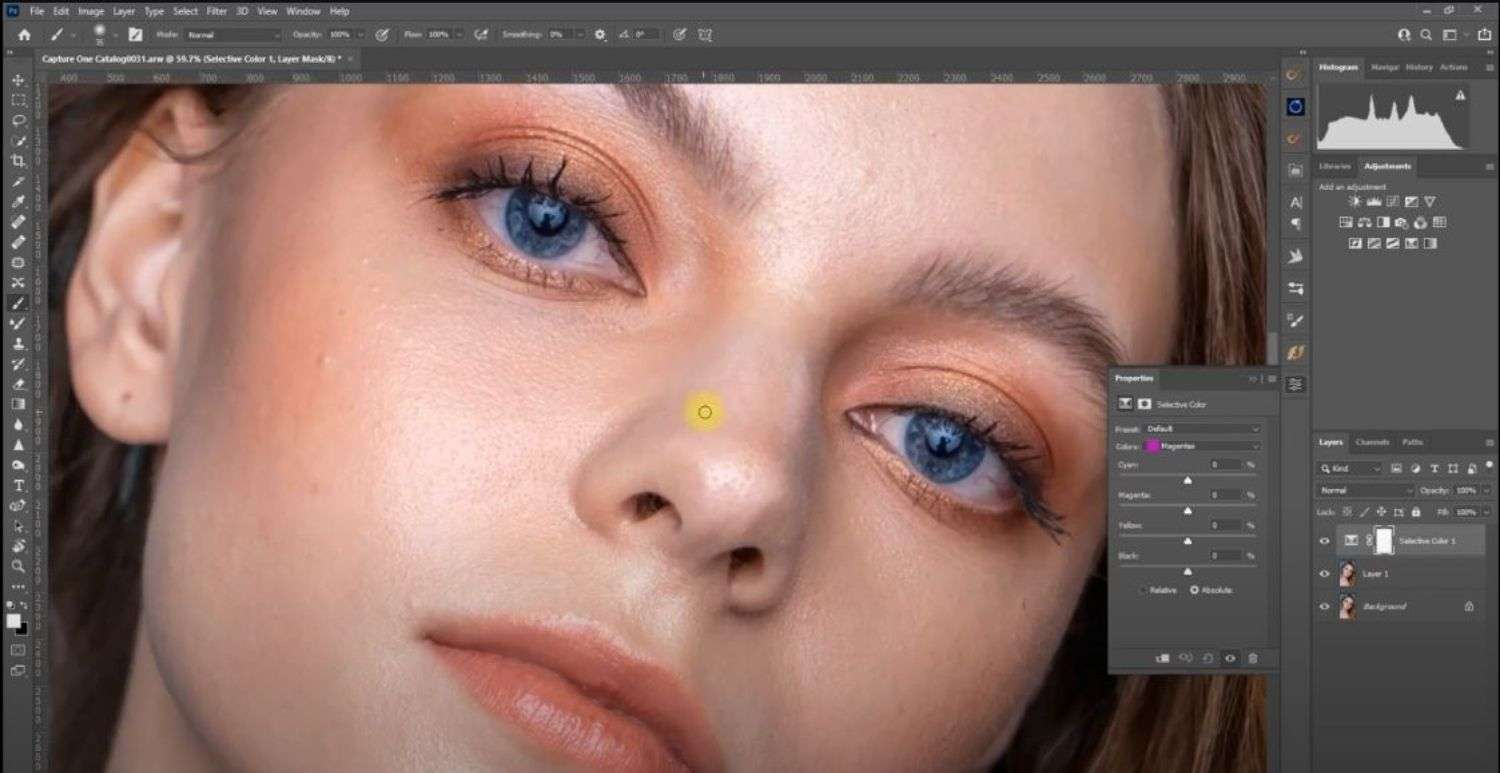
- Step 3: Paint the red parts of the eyes using a white brush tool, which you can access on the left-hand side of the screen. You can compare the results by clicking the different layers on the right.
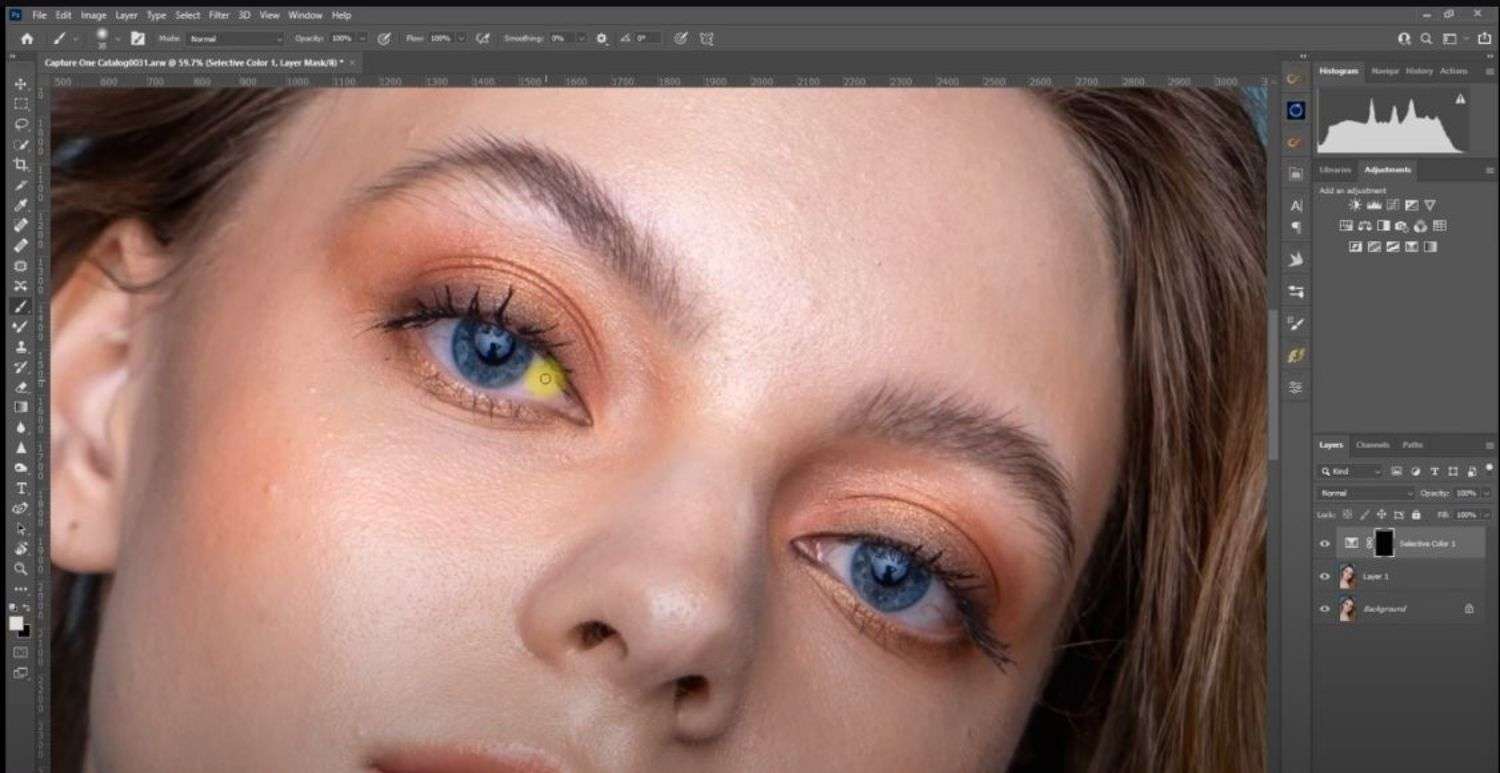
- Step 4: On the bottom layer, use the clone stamp tool (lighten mode) by pressing 'Alt' to sample a white section before brushing and covering the vessel.
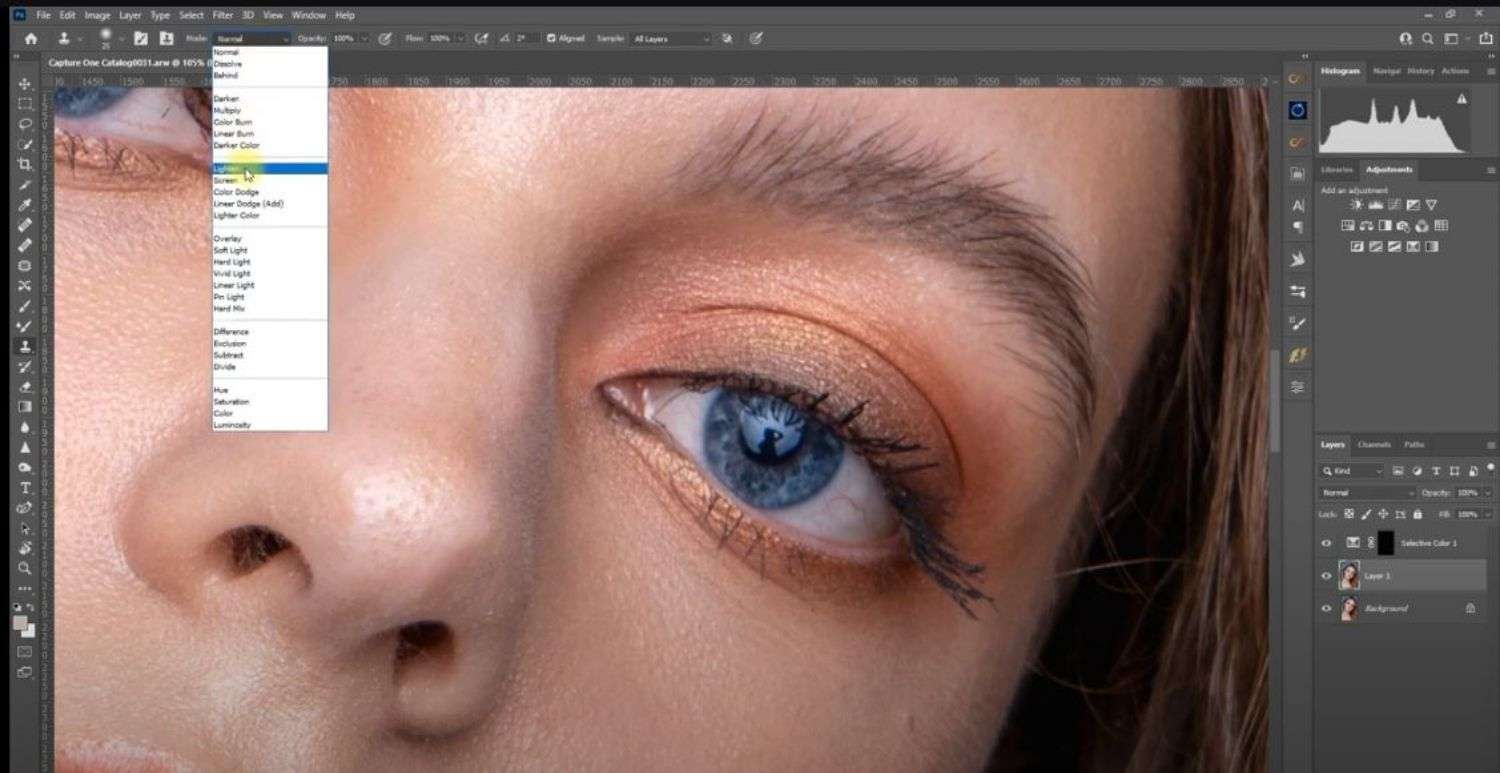
Image credit: youtube.com
Lightroom Tutorial
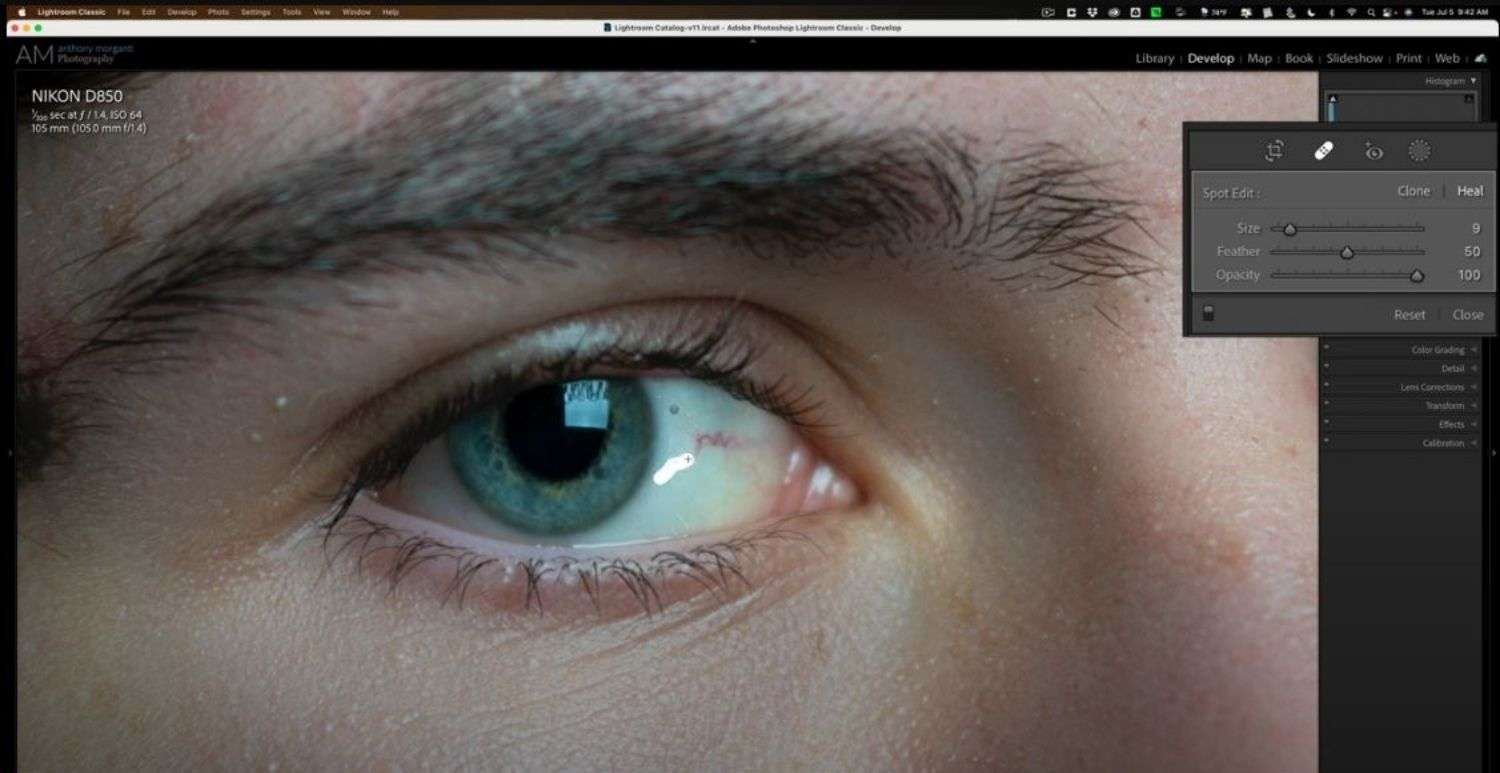
- Step 1: Start by zooming in to see which sections have the red effect.

- Step 2: Access the brush tool on the right side of the layout, and make several settings on the brush size, feather, and opacity.
- Step 3: Draw a line with the brush over the vessel when zoomed in. You can conveniently press 'h' to hide the initial overlay. Although not necessary, you can remove all the vessels to maintain the authenticity of your photo
- Step 4: Zoom out to see your results.
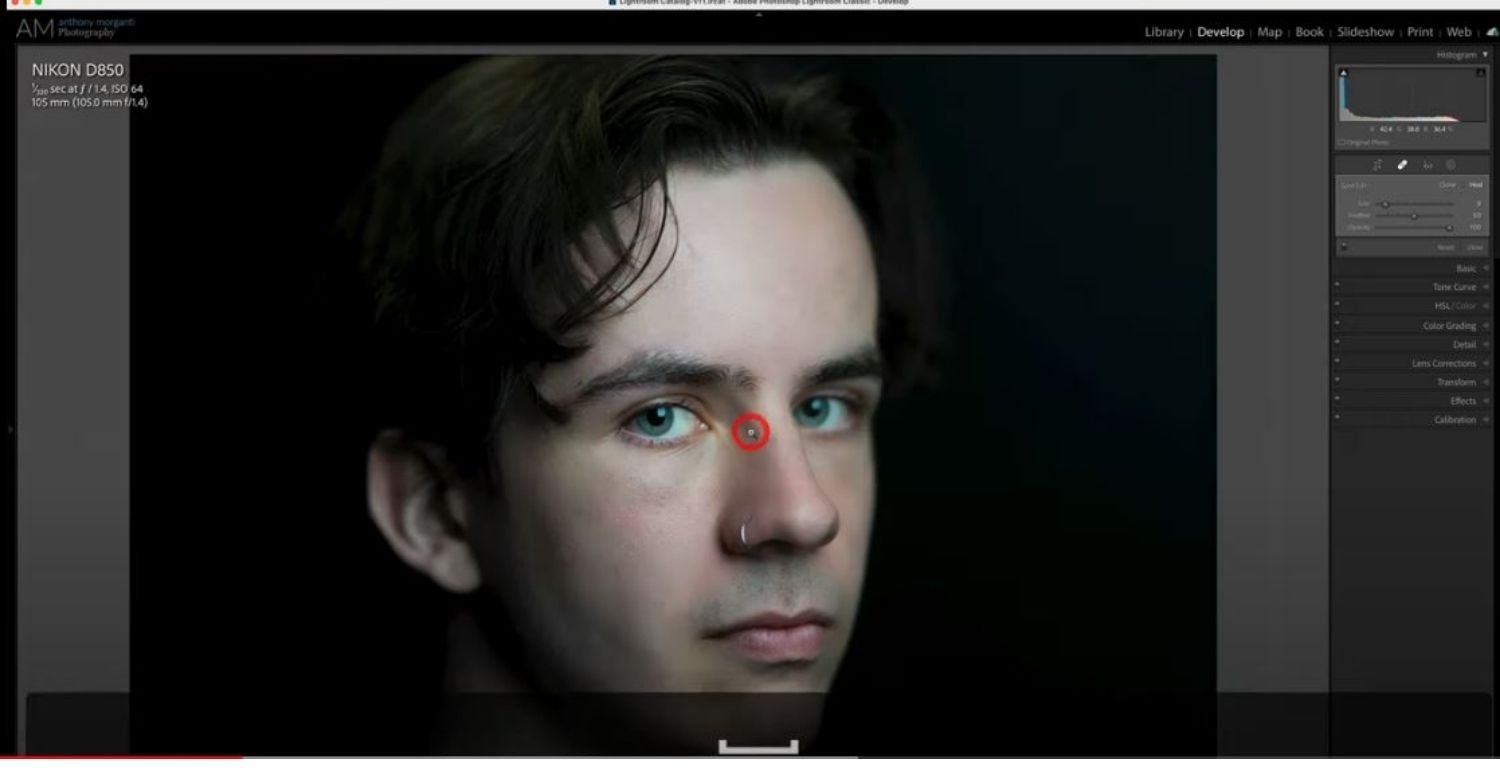
Image credit: youtube.com
Conclusion
There you have it, and you can now effectively edit out bags under your eyes using Photoshop and Lightroom. These Adobe products are pretty similar in terms of the tools you can use, but they will generally have different editing dynamics. Depending on your chosen software, you can explore additional ways and tools and compare the results.
If you like this article, please share it! Be sure to join our FB Group: https://www.facebook.com/groups/Katebackdrops/ to share your ideas! You can also receive free articles, updates as well as discounts information from https://www.katebackdrop.com/ and our FB Group.