Easter🐇


✨ Build your dream setup!
×


What is a Snoot and How to Use in Photography?

There are only a few times in photography you need to light up the whole scene. In other instances, you may want to focus only on a specific point or part of your subject. You can do this by pointing the light from your flash in a certain direction using a snoot.
This article is a comprehensive guide to snoot photography; what it is, when to use it in photography, and different ways of effectively controlling snoot photography.
What is a Snoot?
A snoot is a gadget that modifies light by controlling the light spread from a flash in photography. It is a conical or cylindrical tube attached to the head of a flash and is designed to control how the light spreads.
It will focus the light in a specific direction, rather than scattering the beam of light in all directions. This helps you project light onto particular areas or objects that you need to light up without it spilling over into areas where it is not wanted.
A snoot is not only used to direct light in your scene but it is also used along with other lights, to help balance the illumination of a scene from the leading light and add highlights in certain spots.
There are so many different types of snoots in the market. However, they are designed differently and it is important to understand which are the best for your given needs. Let’s take a closer look at the main types of snoots:
1. Homemade Cardboard Tube Snoot

Image Resource: youtube.com
This is the simplest type of snoot and also the cheapest. It is very easy to make. All you need to do is fold a thick piece of cardboard into a tube-like shape and tape it onto the front of the flash head.
The radius of the tube, just like the length, can be adjusted to whatever you need. If you want a more solid snoot, use a thicker cardboard tube.
A convenient application tip for using this snoot to add low-budget honeycomb grids is to fill the tube with half-size cut straws before attaching it to the flash head.
2. Metal Snoot
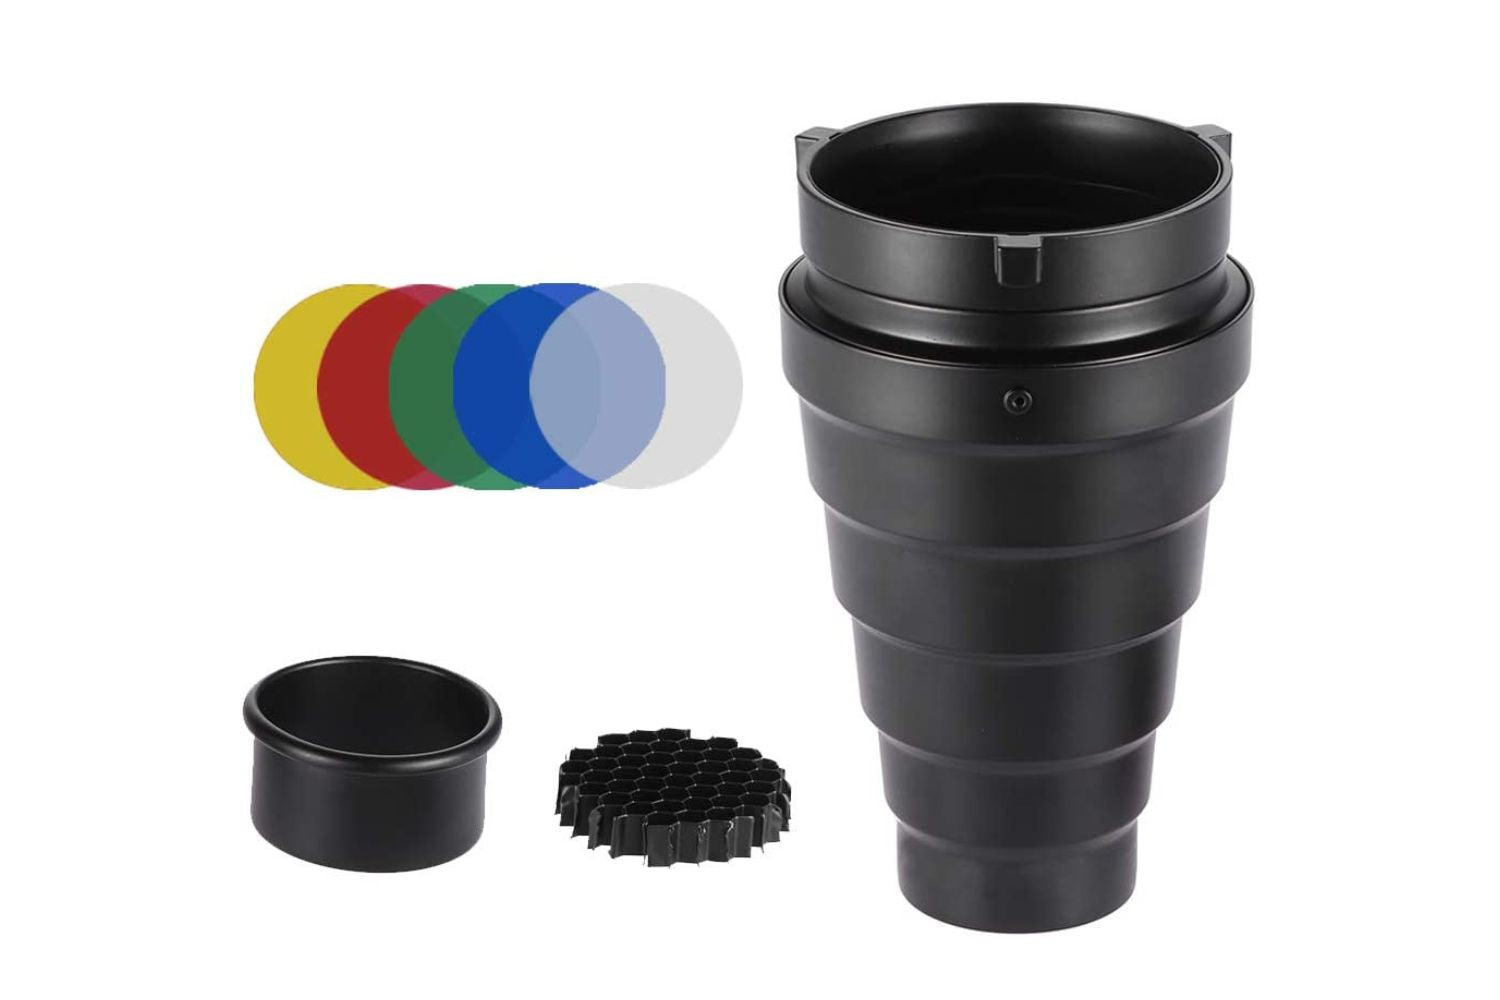
Image Resource: amazon.com
With this type of snoot, you get excellent control over the light durability because of its robust design. It mounts to any studio light source with a Bowens type of mount or you could use the adaptor clamp with other types of such flashes as Speedlite.
One of the reasons that make the metal smooth is the adjustable barn doors, which allow you to point the light in a particular direction.
3. Fabric Snoot
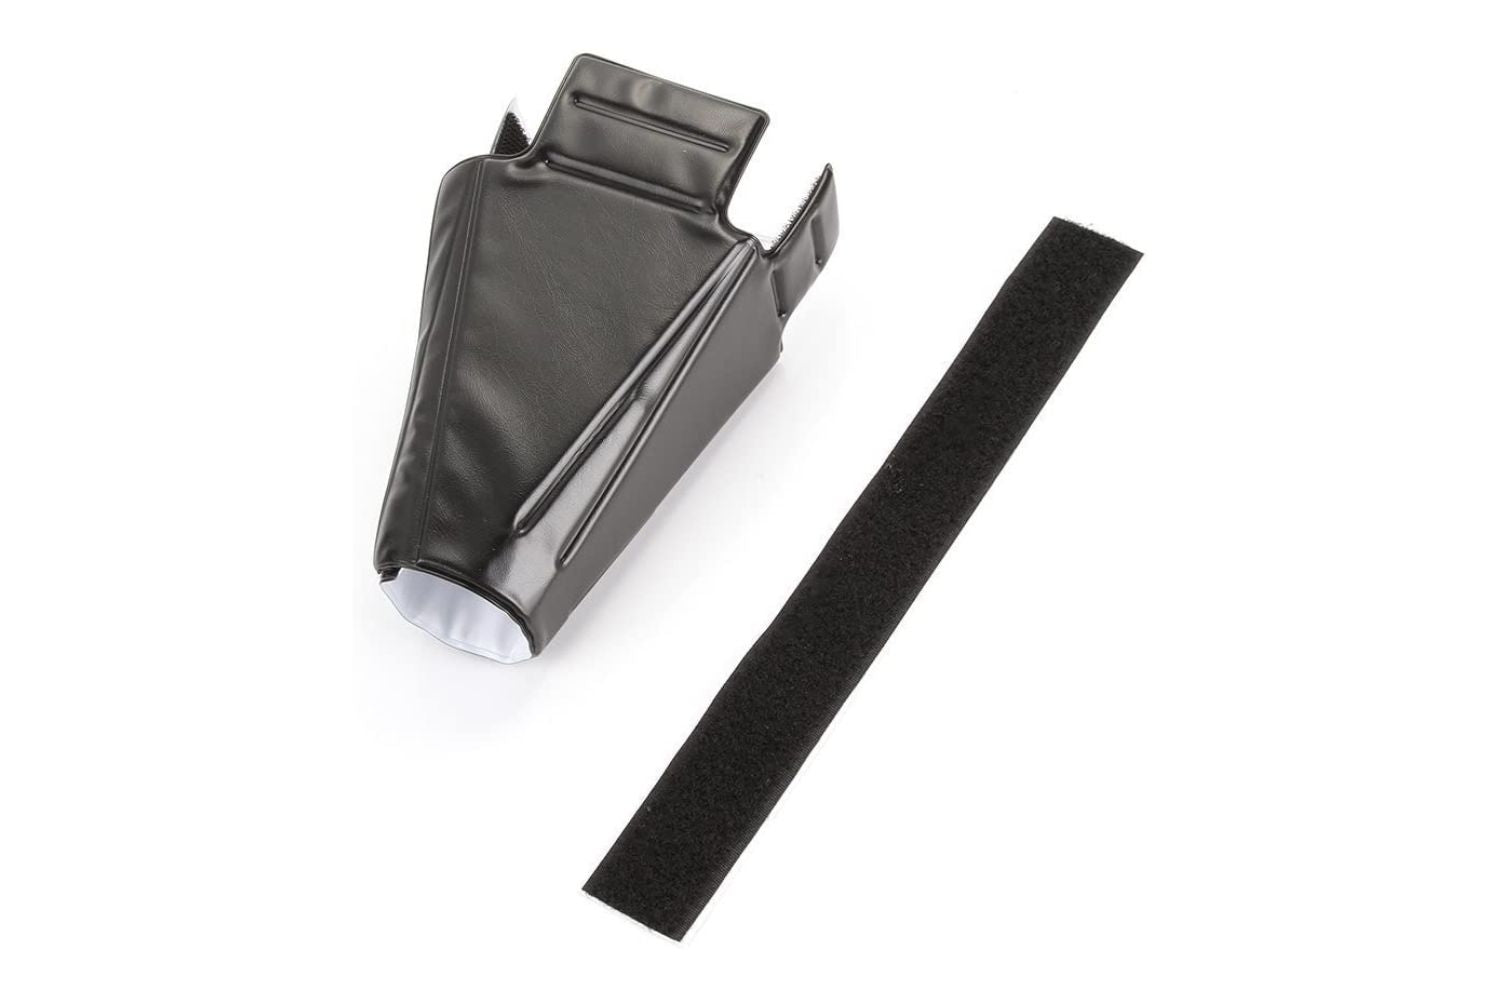
Image Resource: amazon.com
This kind of snoot is made using black nylon cloth. In most cases, the snoot is fastened to the flash head using a Velcro strap.
A fabric snoot is very convenient for photographers who need a cheap, portable, and lightweight snoot. It can easily be carried around and set up.
When to Use a Snoot Light in Photography?
The are so many situations you can apply a snoot light to your advantage. Here are some of these scenarios;
1. To Create a Spotlight Effect on Your Subject
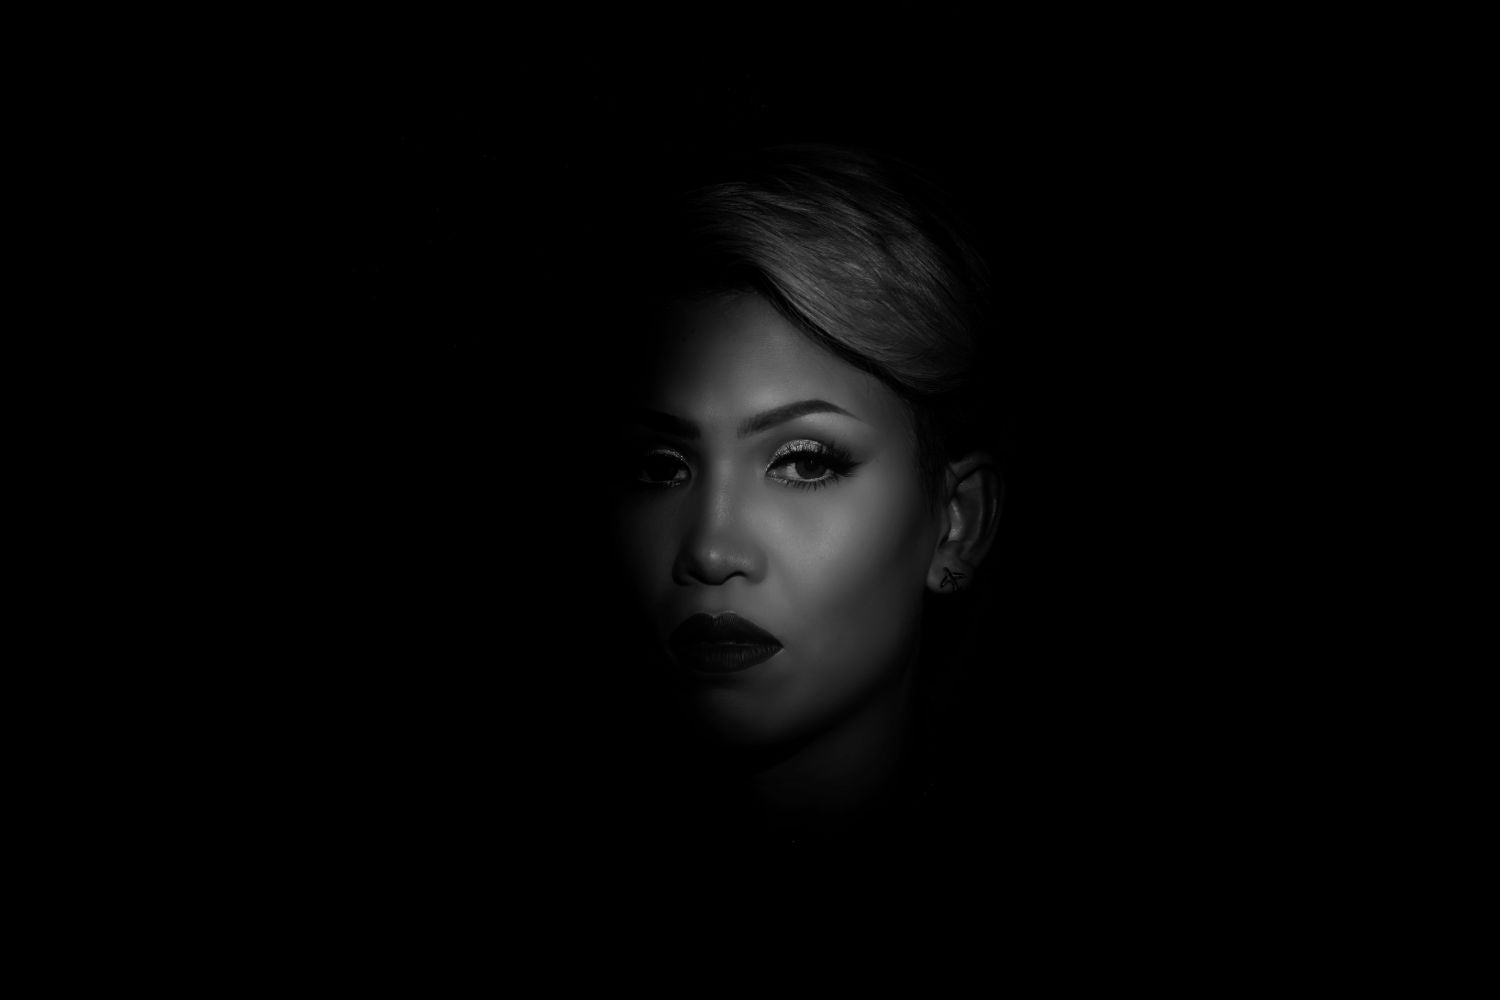
Photo by Holger Kleine on Shutterstock
This is particularly ideal for close-up shots or when shooting a portrait.
When taking the shots, ensure you have a dark background against your subject since it is going to make the spotlight effect more noticeable.
2. To Add Highlights to Specific Areas
During landscape or architecture photography, you might want to emphasize specific parts like windows or part of a wall. You will be able to do this by directing light onto that area with a snoot.
The narrow beam of light will create a more focused and precise highlight that will draw the attention of the viewer to the particular area.
3. To Light up a Background
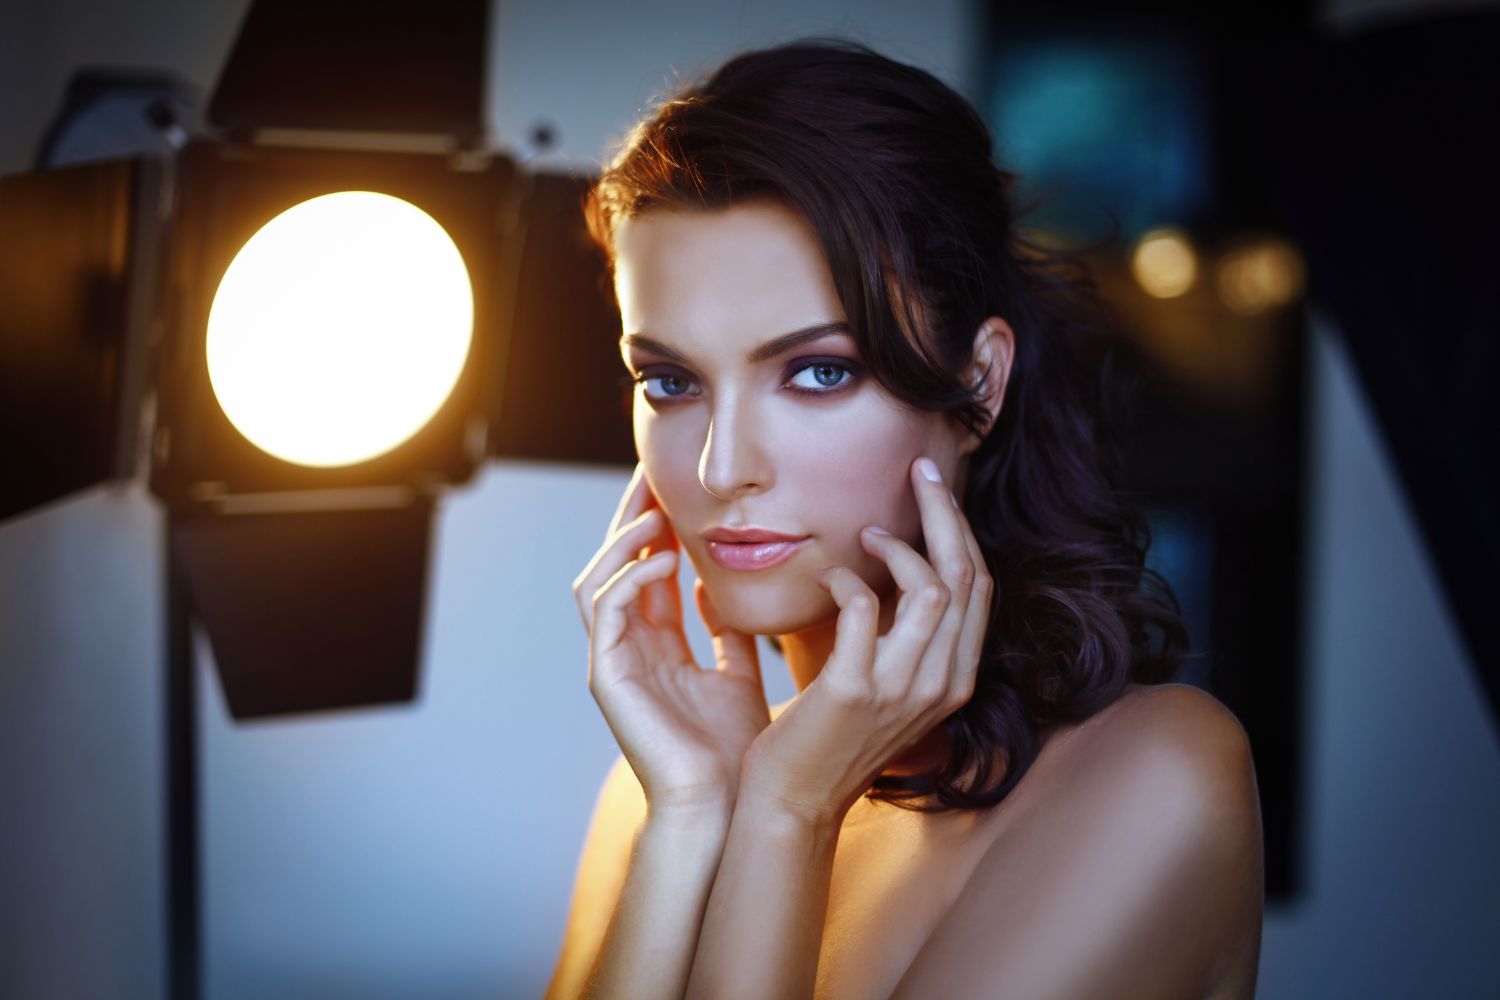
Photo by Nik Panisov on shutterstock
It is also possible to create interesting lighting effects by directing a narrow beam of light on the background. This helps bring out the texture and details of the background. It is mostly ideal when shooting in dark environments.
4. To Create a Lens Flare Effect
To achieve this, you will need to adjust the angle of the snoot to control the shape, size, and strength of the lens flare.
5. To Create Eye-Catching Rim Lights
Using a snoot, you can direct light onto your subject from the side to create a rim light, which will create a more dynamic and appealing look.
One of the most common forms of ring lighting is the hair light, where you get to add a great sense of depth and dimension to portraits.
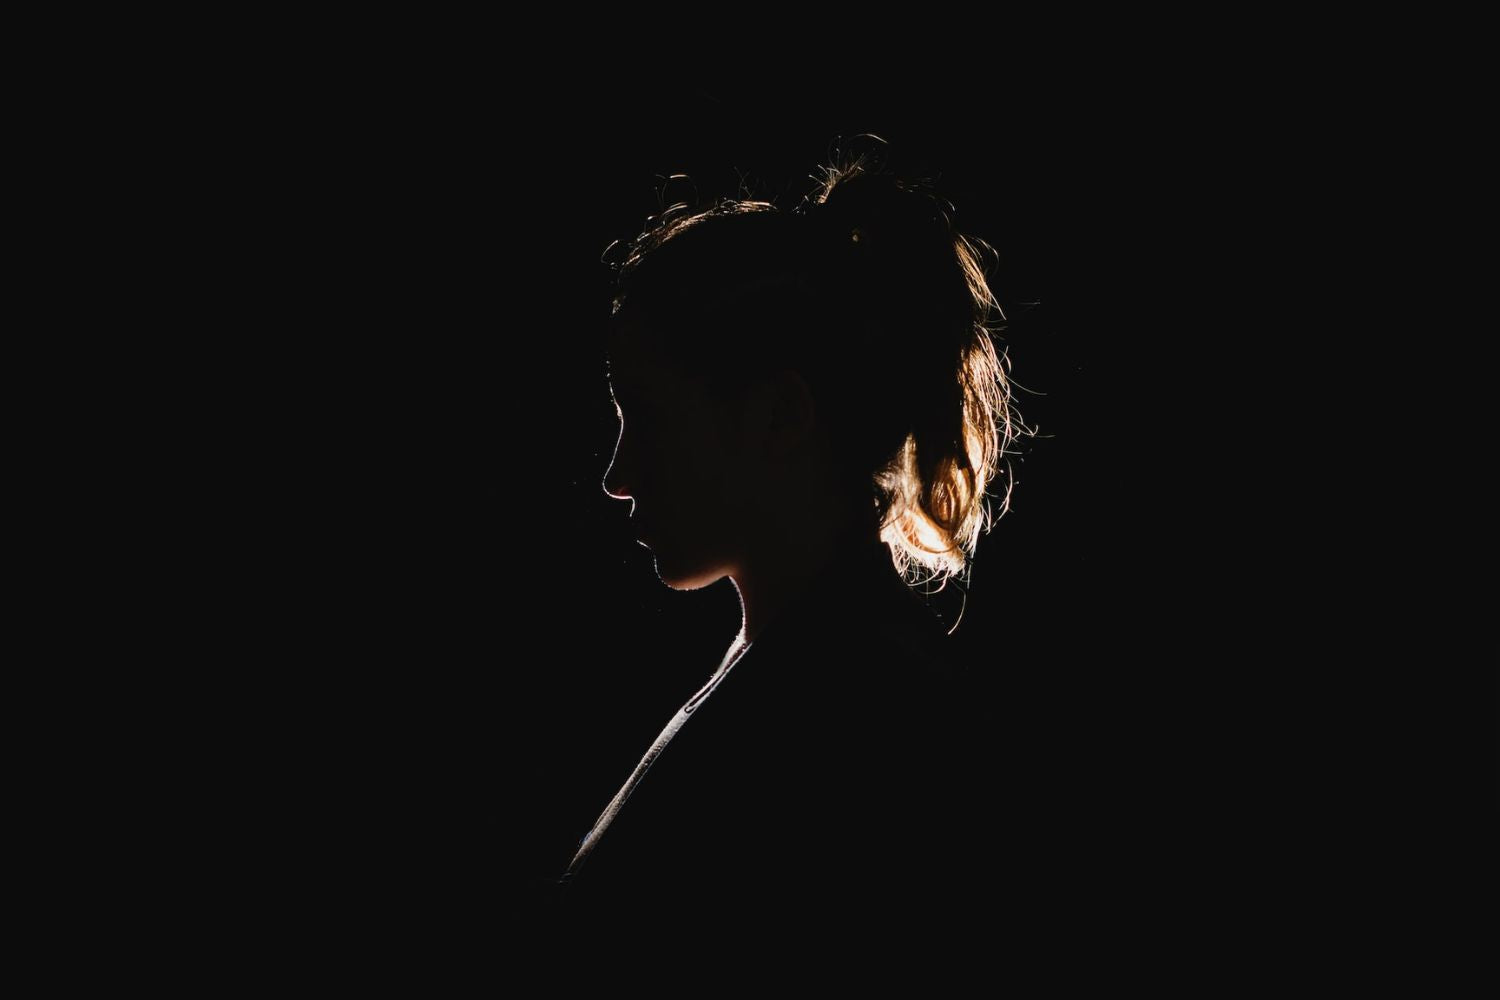
Photo by Molly Blackbird on Unsplash
6. To Create a Low-Key Effect
To achieve this, direct light on your subject with the snoot while keeping the rest of the scene dark. This will help create just the right amount of mystery and a moody atmosphere ideal for portraiture.
How to Control a Snoot Effectively in Photography?
Snoots can be highly efficient if used correctly in your shoot. You need to be able to control or direct the light just where you wish and with the desired intensity.
Here is a checklist of some essential factors to consider to control a snoot effectively in your photographs:
Power of the Flash
To some extent, the intensity of light projected is determined by the power of the flash. For more intensity in the light, you will have to increase the power of the flash. However, you should also note that with an increase in the power of the flash, there will also be an increase in the size of the beam of light.
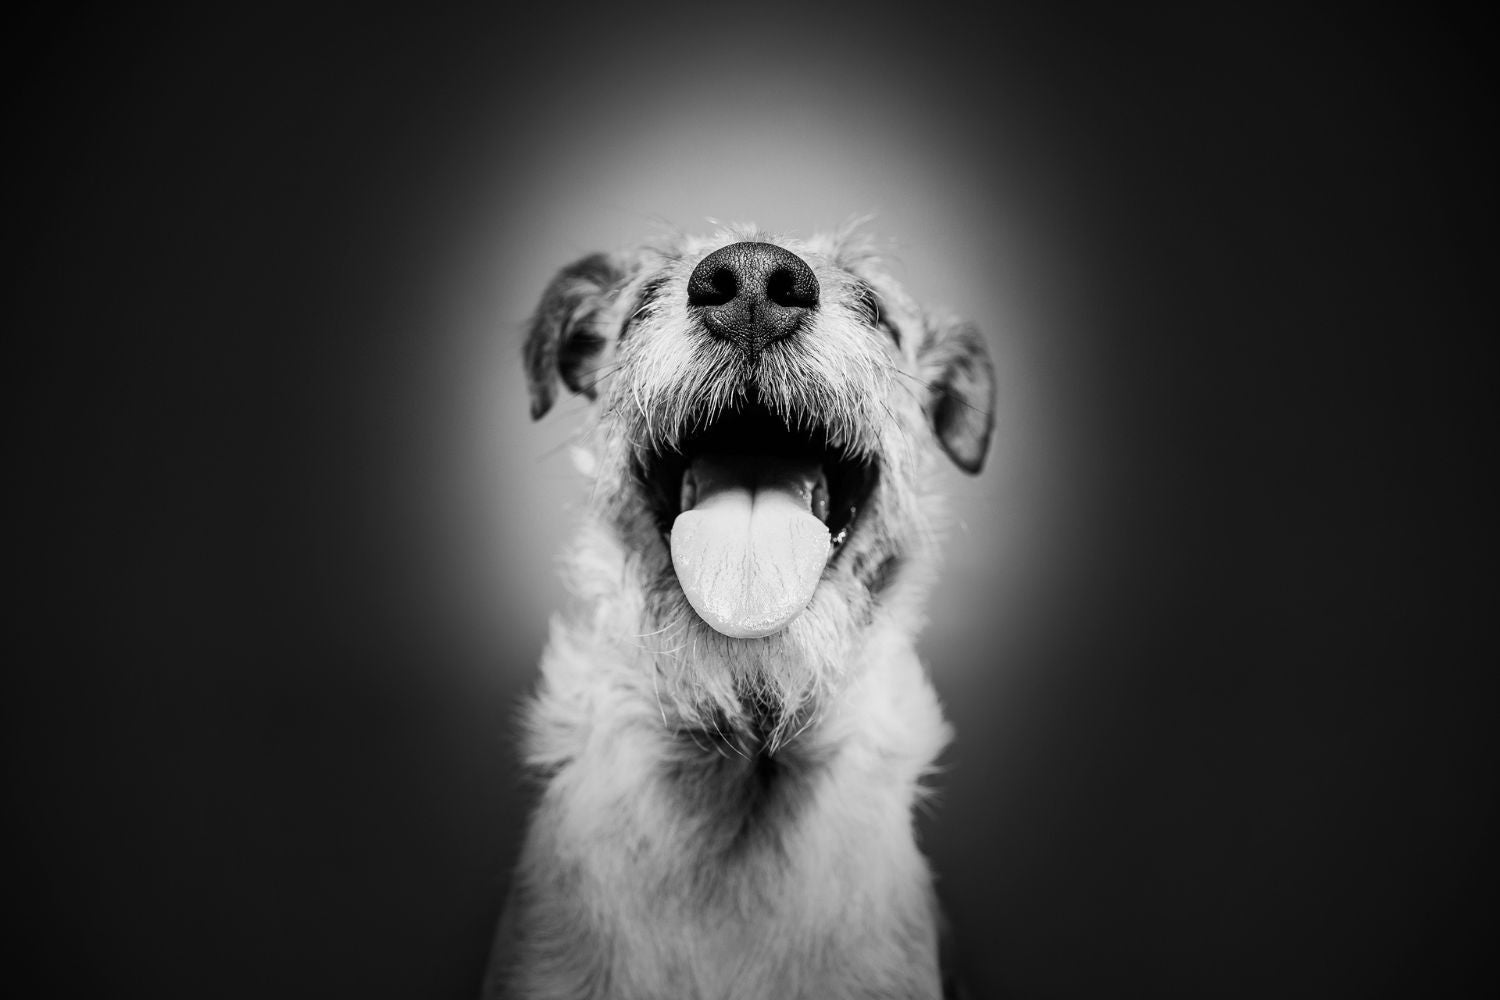
Photo by Angyalosi Beata on Shutterstock
How to Control the Power of the Flash
- Fasten the snoot onto your flash head.
- Set the power on your flash to the required setting. Flash power is usually displayed as a number, for example, 1/16, 1/8, etc.
- Take a test shot and check the outcome. If the light is too bright or too dim than normal, adjust the power accordingly.
Zoom of the Flash
The size of the projected beam is controlled by the zoom of the flash. A wide one will give a vast beam of light, but a narrow one will give a smaller beam of light.
How to Control the Zoom of the Flash
- Tighten the snoot onto the flash head.
- Set your Flash Zoom to the required setting. Your flash zoom is usually shown as a number like 24mm, 50mm, etc.
- Take a test shot and check the results.
- Check the beam to confirm whether it is the proper size that you want. Zoom out or in to increase and decrease size accordingly if needed.
Distance of the Flash
The size and concentration of the light beam will be determined by the distance of the flash from the subject. The closer the distance under consideration, the smaller and more concentrated beam of light, while a further distance produces a bigger, less focused beam of light.
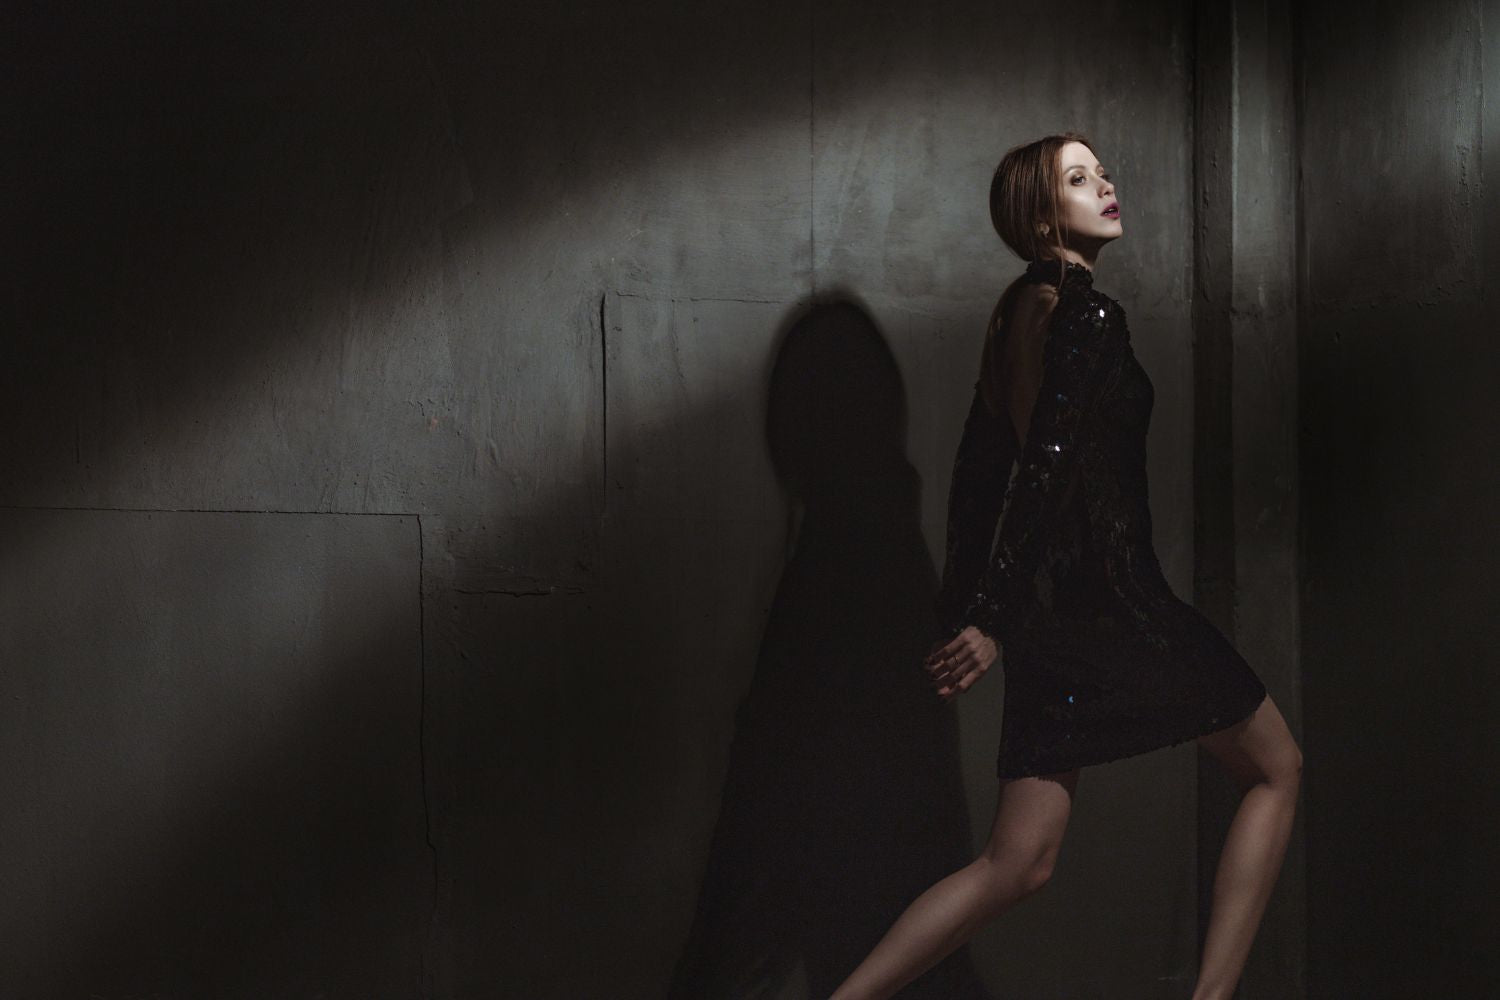
Photo by VADL on shutterstock
How to Control the Distance of the Flash
- Fix the snoot to your flash head.
- Adjust the intensity and spread of light to your liking.
- Move the flash away from the subject until you get the desired size and spread of the light beam.
- Lock the flash into place.
The Direction of the Fash
You can also adjust the snoot’s angle to help control the direction of the flash. Choose a higher angle for a more concentrated beam of light and a lower angle for a wide, less focused beam of light.
How to Control the Direction of the Flash.
- Fasten the snoot to the flash head.
- Adjust the snoot by moving it forward, backward, left, and right until you get the effect you are looking for.
- For a wider, more spread-out beam of light, rotate the snoot to point downwards while if you are looking for a more focused beam of light, rotate the snoot to point upwards.
Length of the Snoot
Another factor that affects the spread of light is the length of the snoot. A shorter snoot will give you a more concentrated beam of light, but a longer one will portray quite the opposite effect with a wider spread-out beam of light.
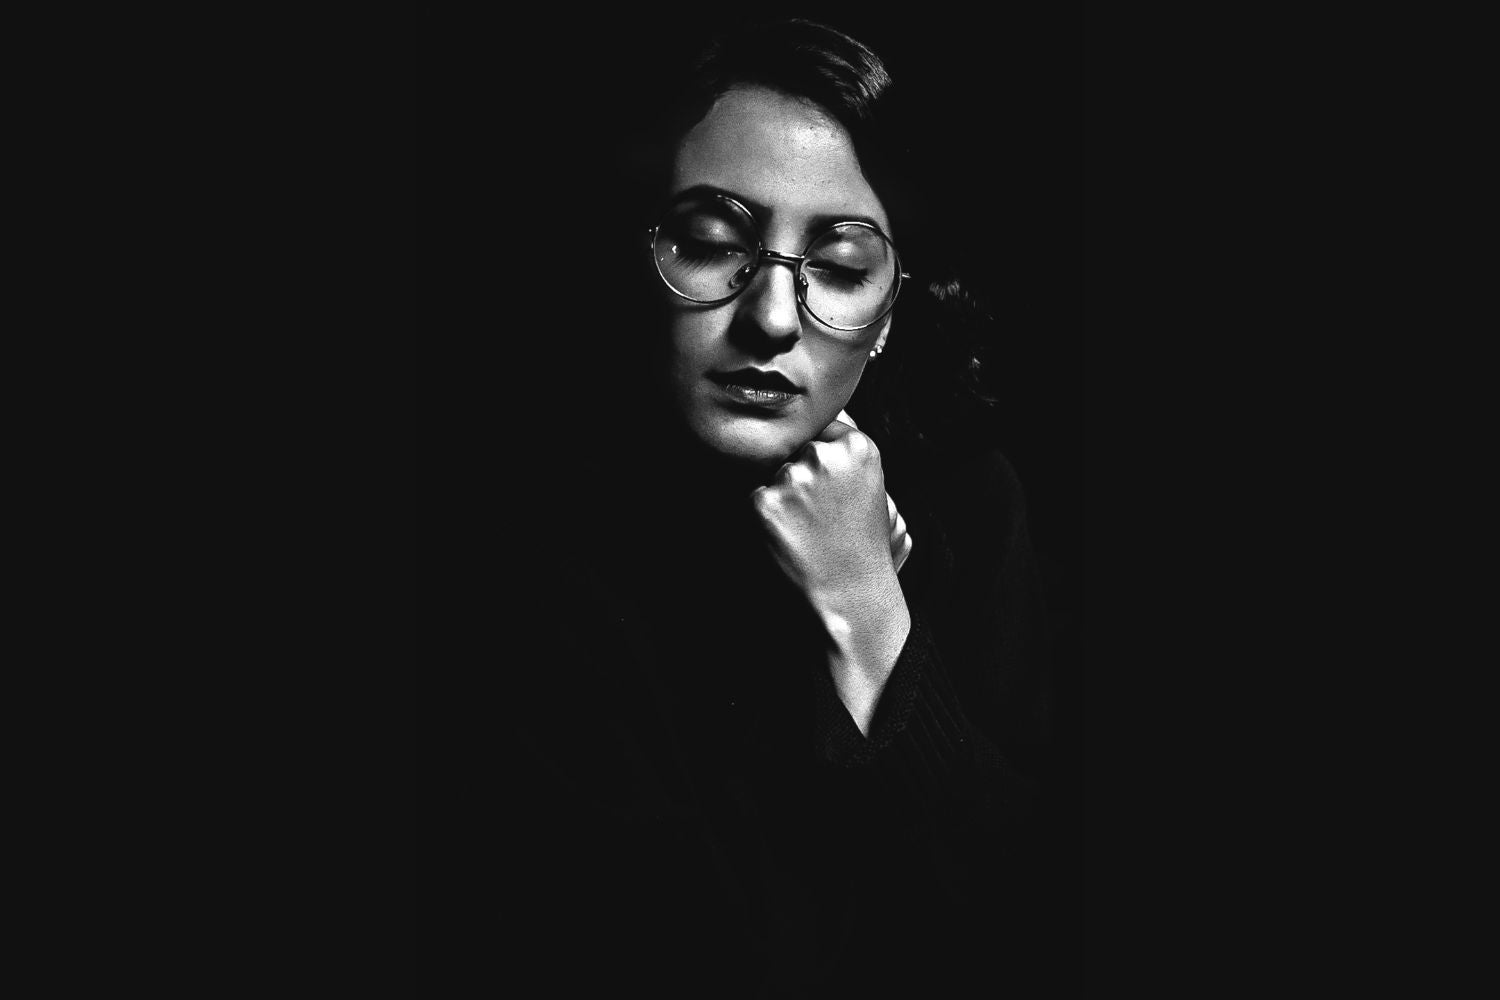
Photo by Richard Jaimes on Unsplash
How to Control the Length of the Snoot
- To adjust the length of the snoot, extend or retract it.
- Shorten the length of the snoot to create a more focused beam of light extend the length of the snoot to create a wider, more spread out beam of light.
Conclusion
A snoot is an essential accessory that is perfect for those looking for a brilliant idea to add some element of drama and interest to their photos. By now, you know what a snoot is and how it can be effectively controlled in photography. So, the next time you are out shooting, do not forget to give Snoots a try.