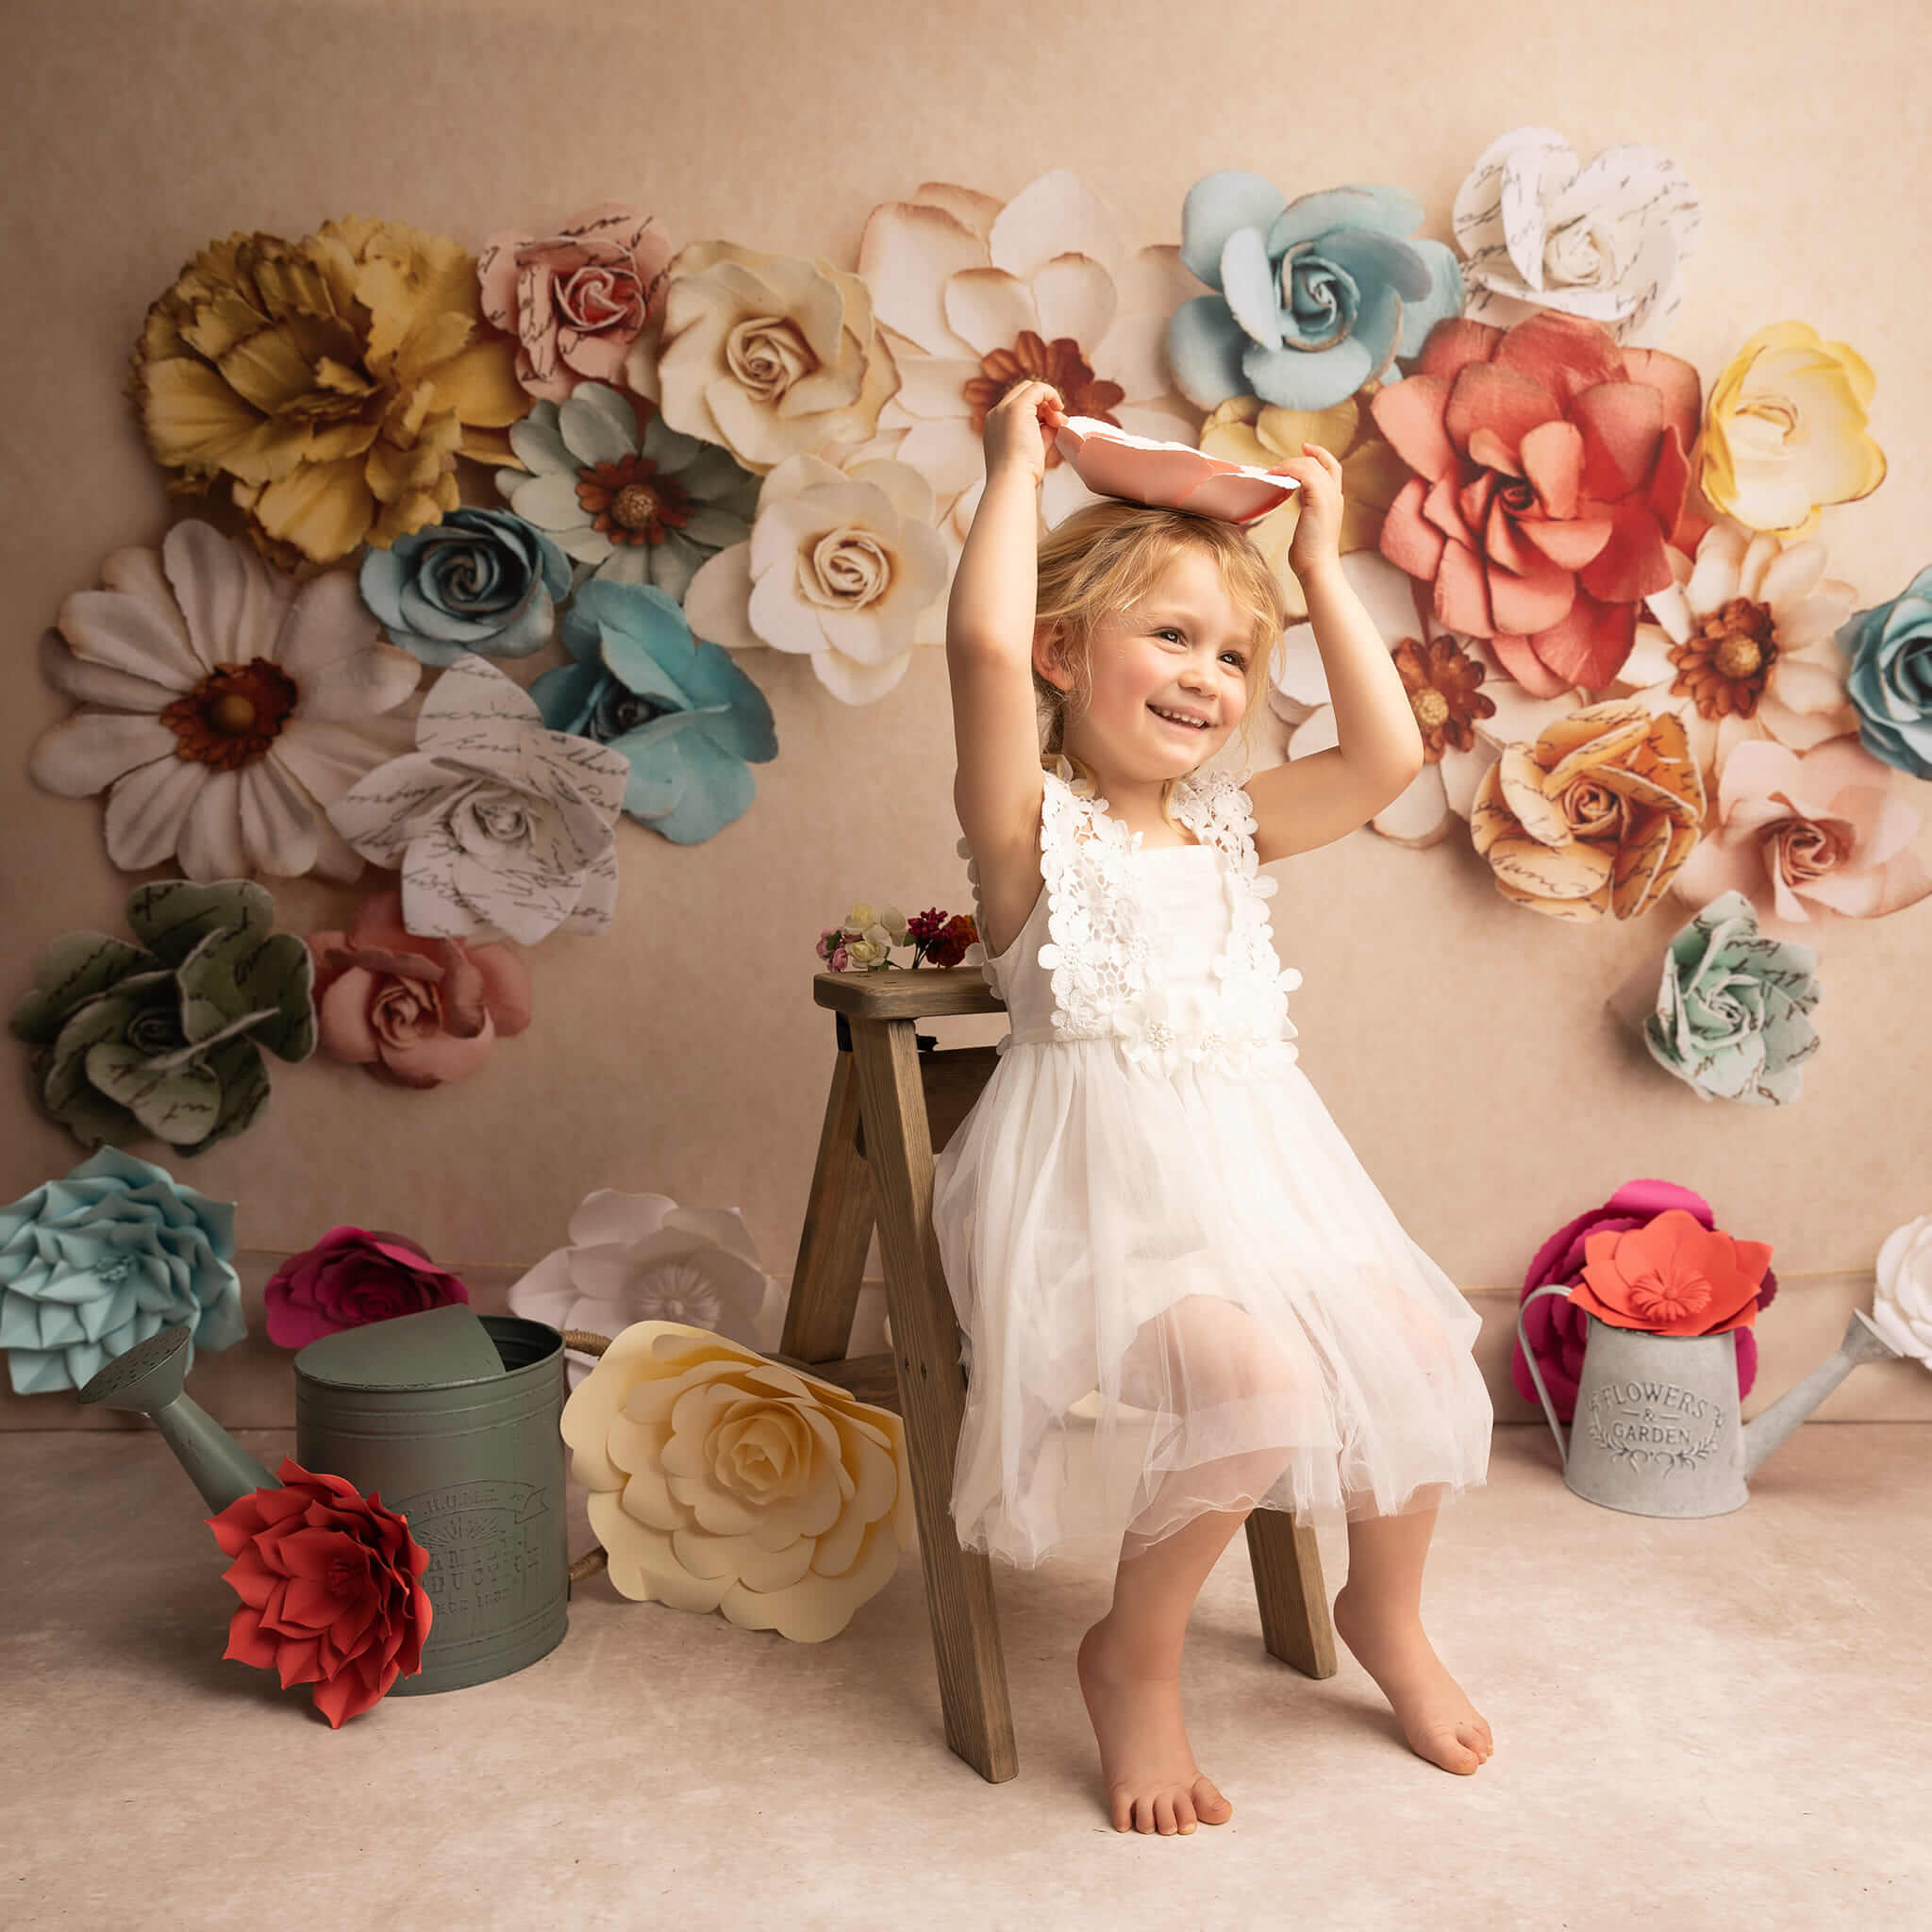
Custom Printed Fabric Backdrops
 Custom Rubber Floor Mats
 Custom Collapsible Backdrops(double-sided)
 Custom Hand Painted Canvas Backdrops
 Custom Vinyl Backdrops
 Arch
Arch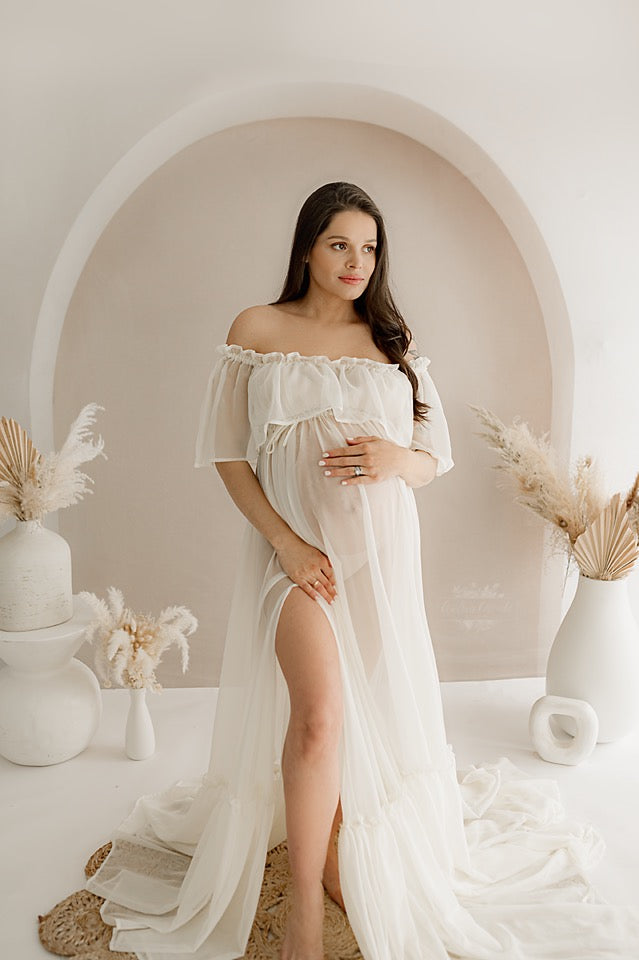


Capture attention and elevate your iPhone photography game with the art of background blurring. In this guide, we'll introduce you to four professional methods that not only enhance visual appeal but also prioritize privacy and consent. Learn how to master the technique, putting your subject in sharp focus and making your images truly stand out.
1. How to Blur Background on iPhone in Portrait Mode
Step 1:
Open your camera app and select Portrait.
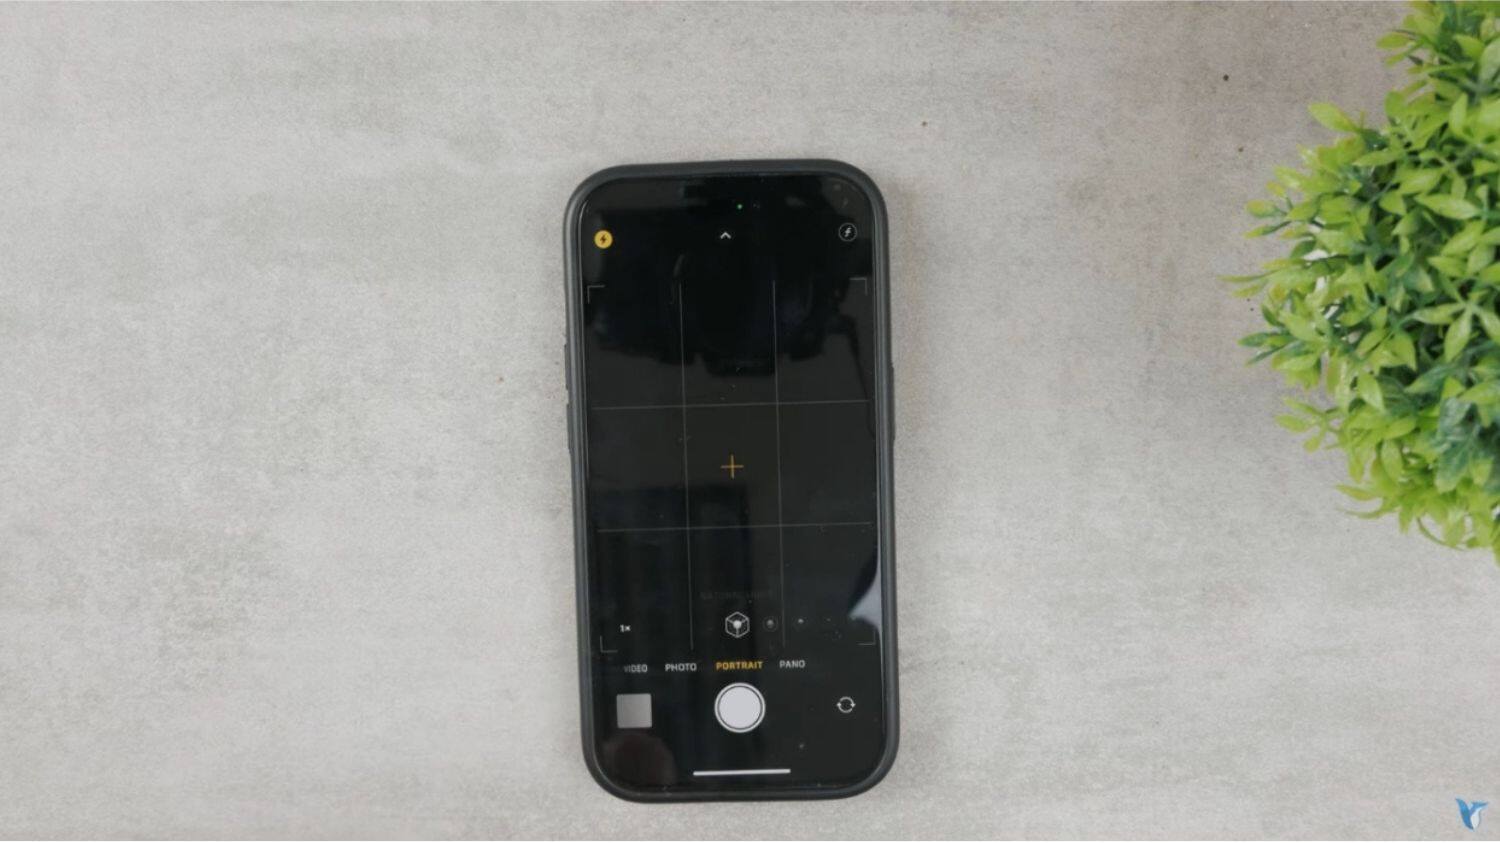
Image credit: Youtube.com
Step 2:
Place your subject at the center of your screen. The background will automatically blur itself out.
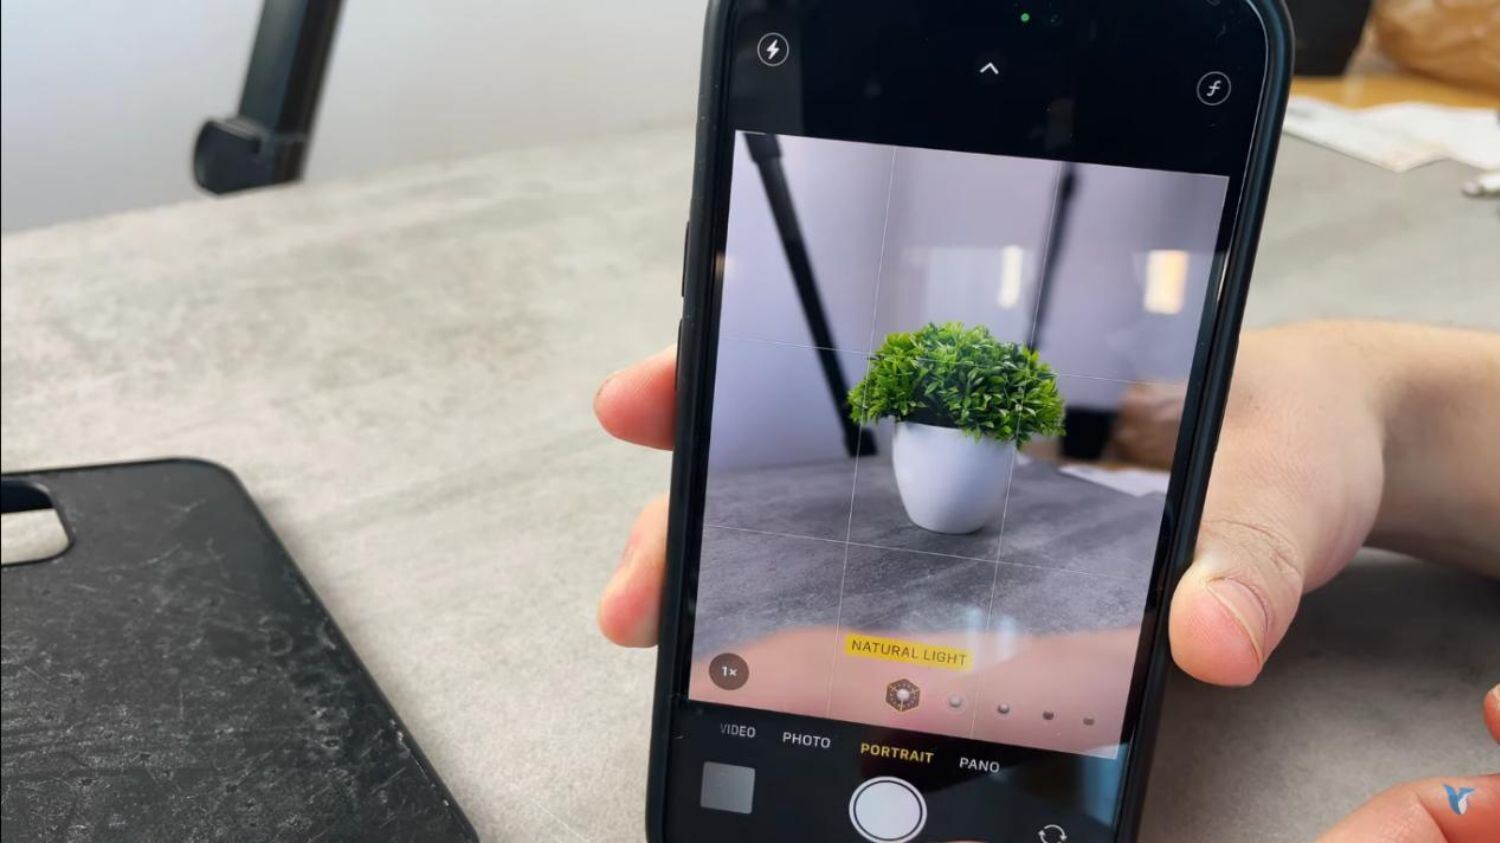
Image credit: Youtube.com
2. How to Blur the Background on iPhone When Closer to Your Subject
Step 1:
Open your camera app and select portrait mode.
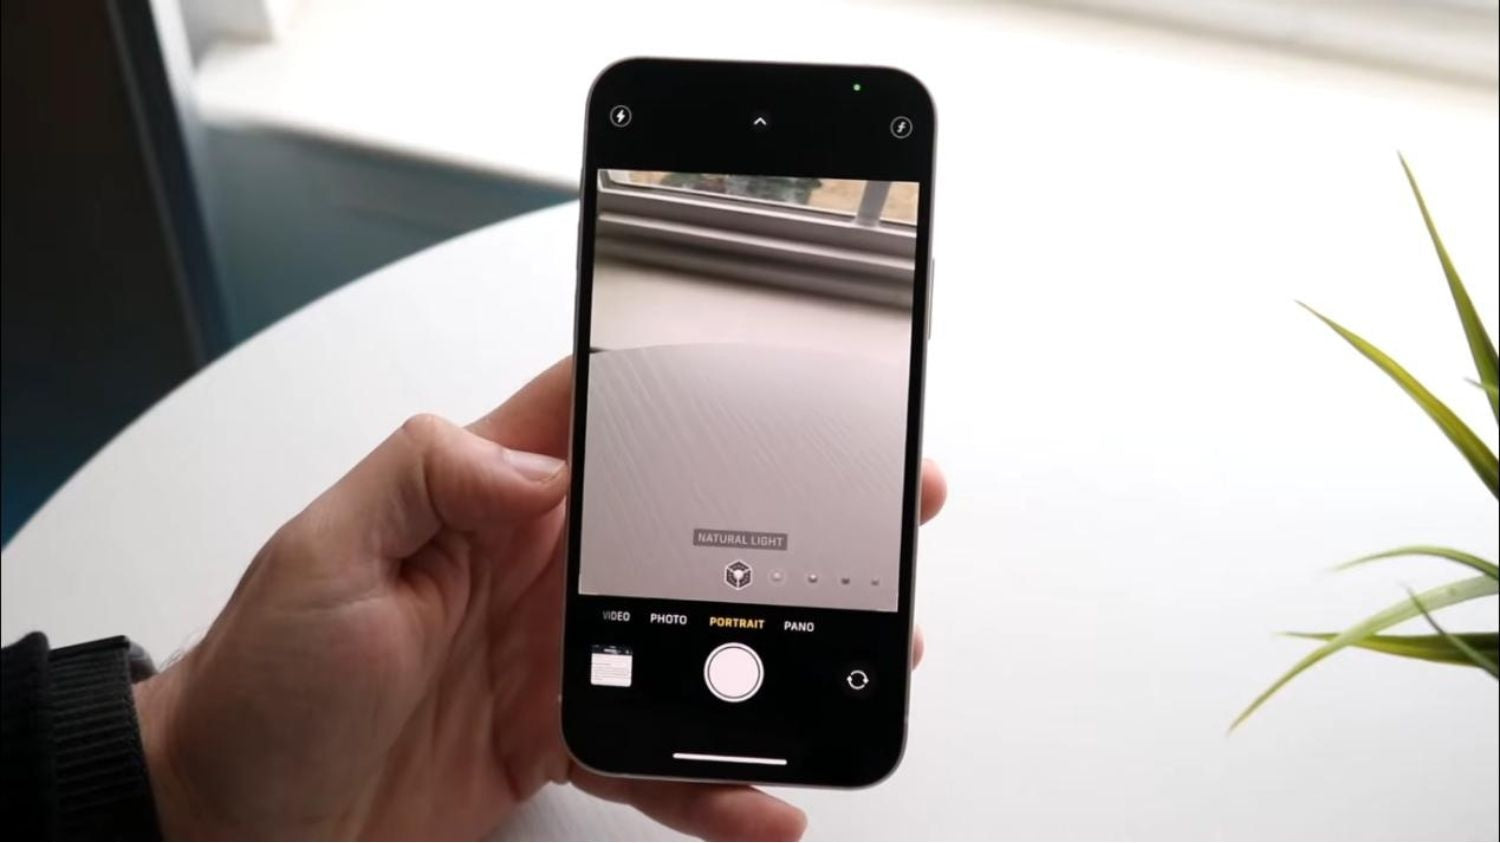
Image credit: Youtube.com
Step 2:
Put your camera close to your subject. Ensure a clear focus by moving the camera nearer to the subject. If the image appears excessively close, use a command to step back, as it may be too blurred for optimal quality.
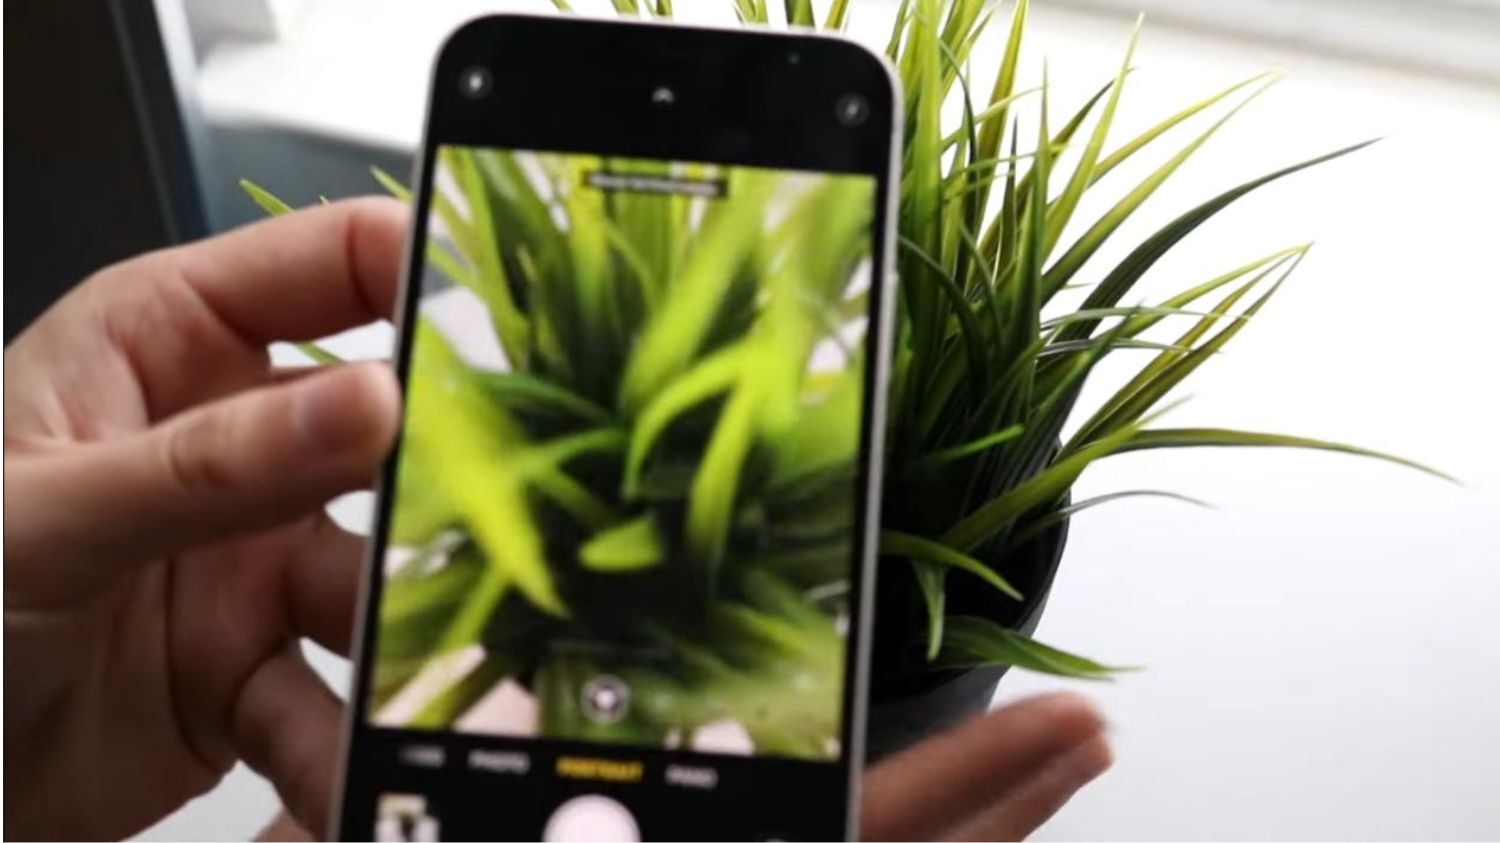
Image credit: Youtube.com
Step 3:
Move further away and take the photo.
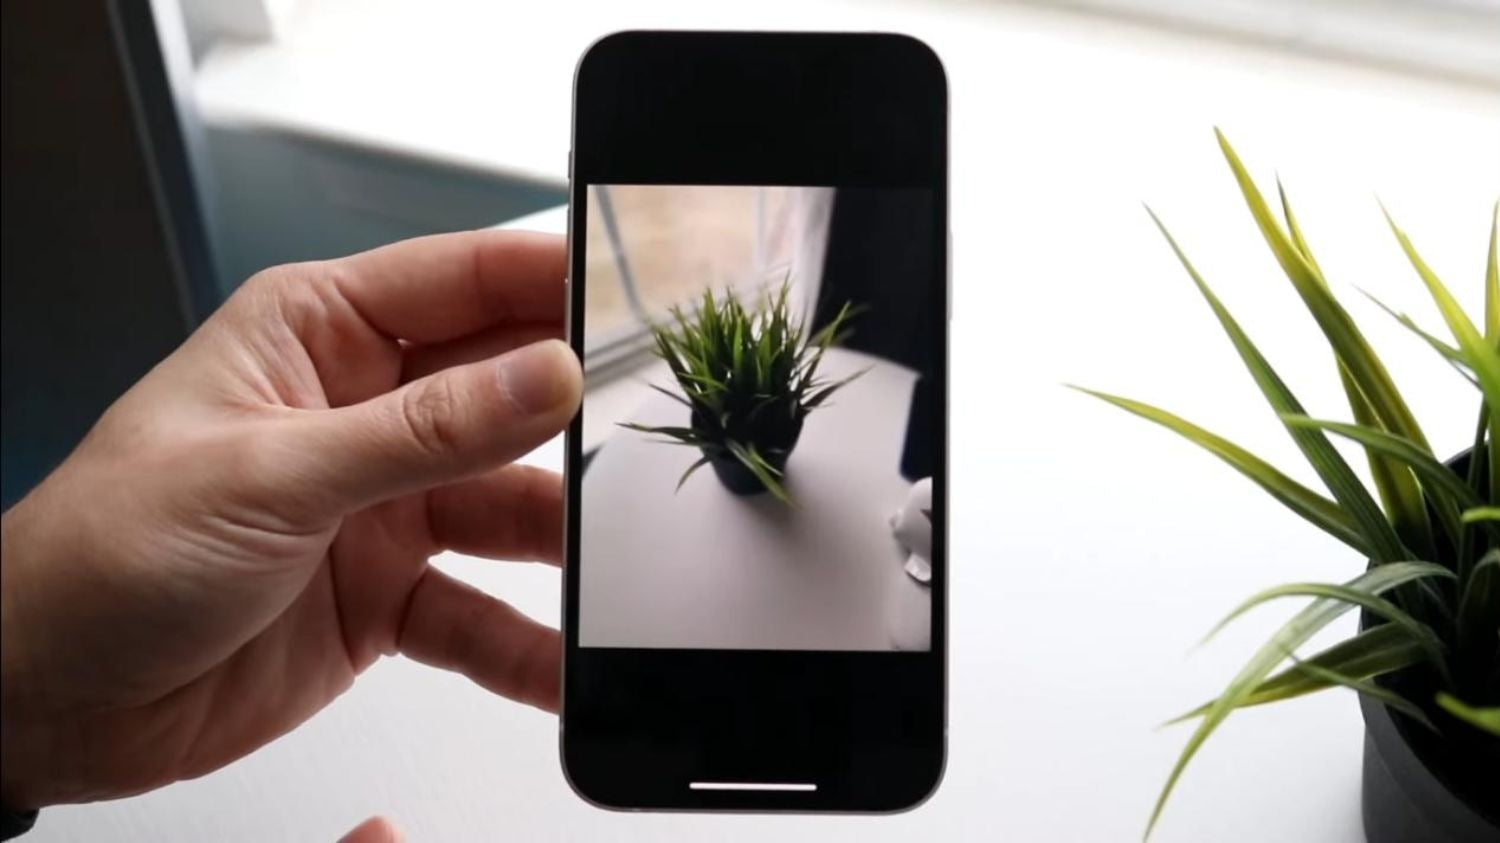
Image credit: Youtube.com
Step 4:
Click on the f/number option on the top left to choose your blur preference for your photo.
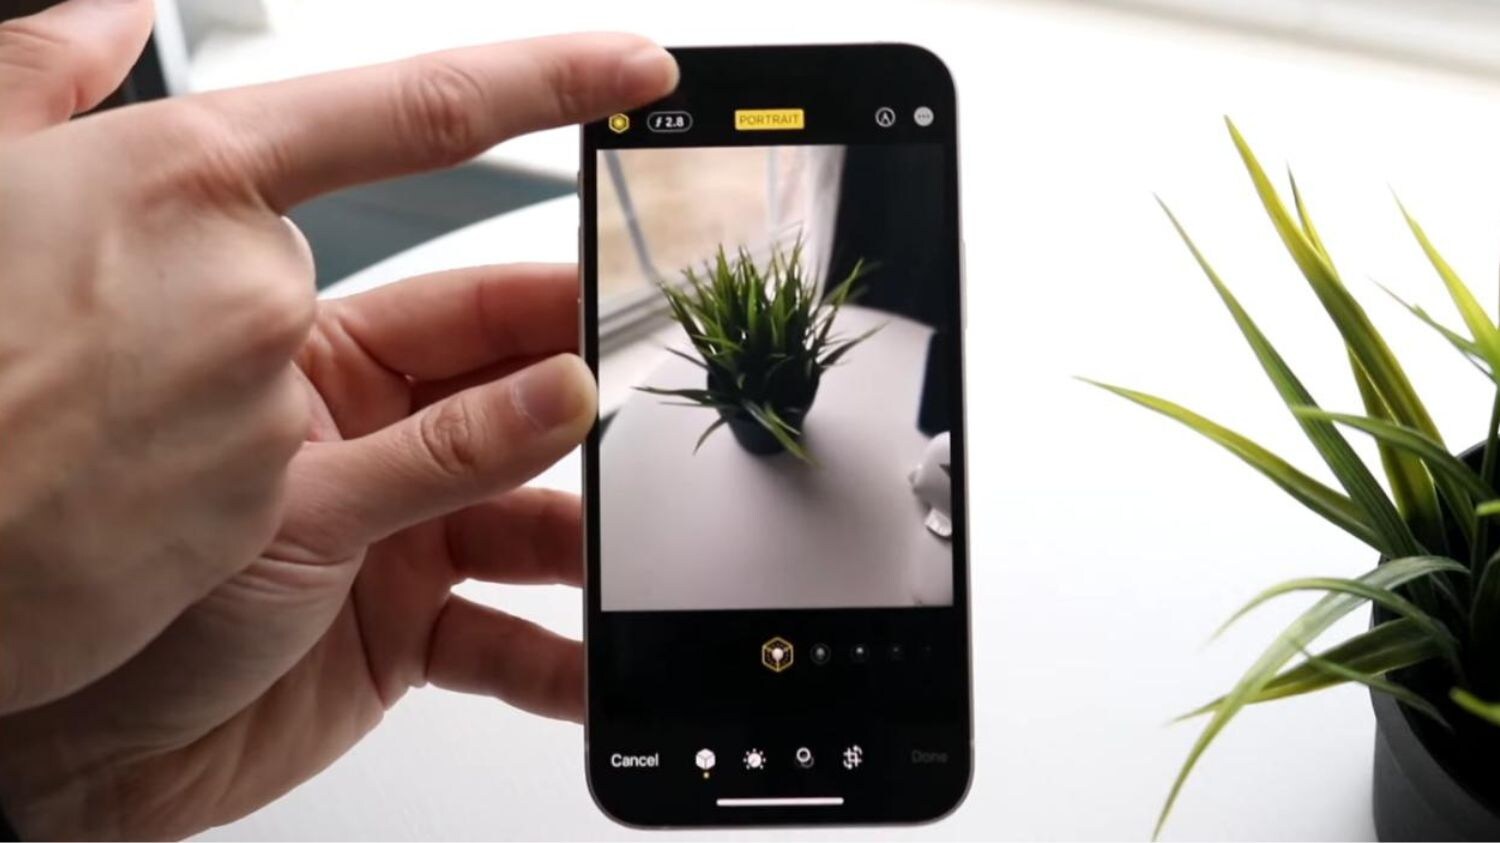
Image credit: Youtube.com
3. How to Blur the Background on iPhone When Picture Editing
Step 1:
Open the camera app and select a photo to edit.
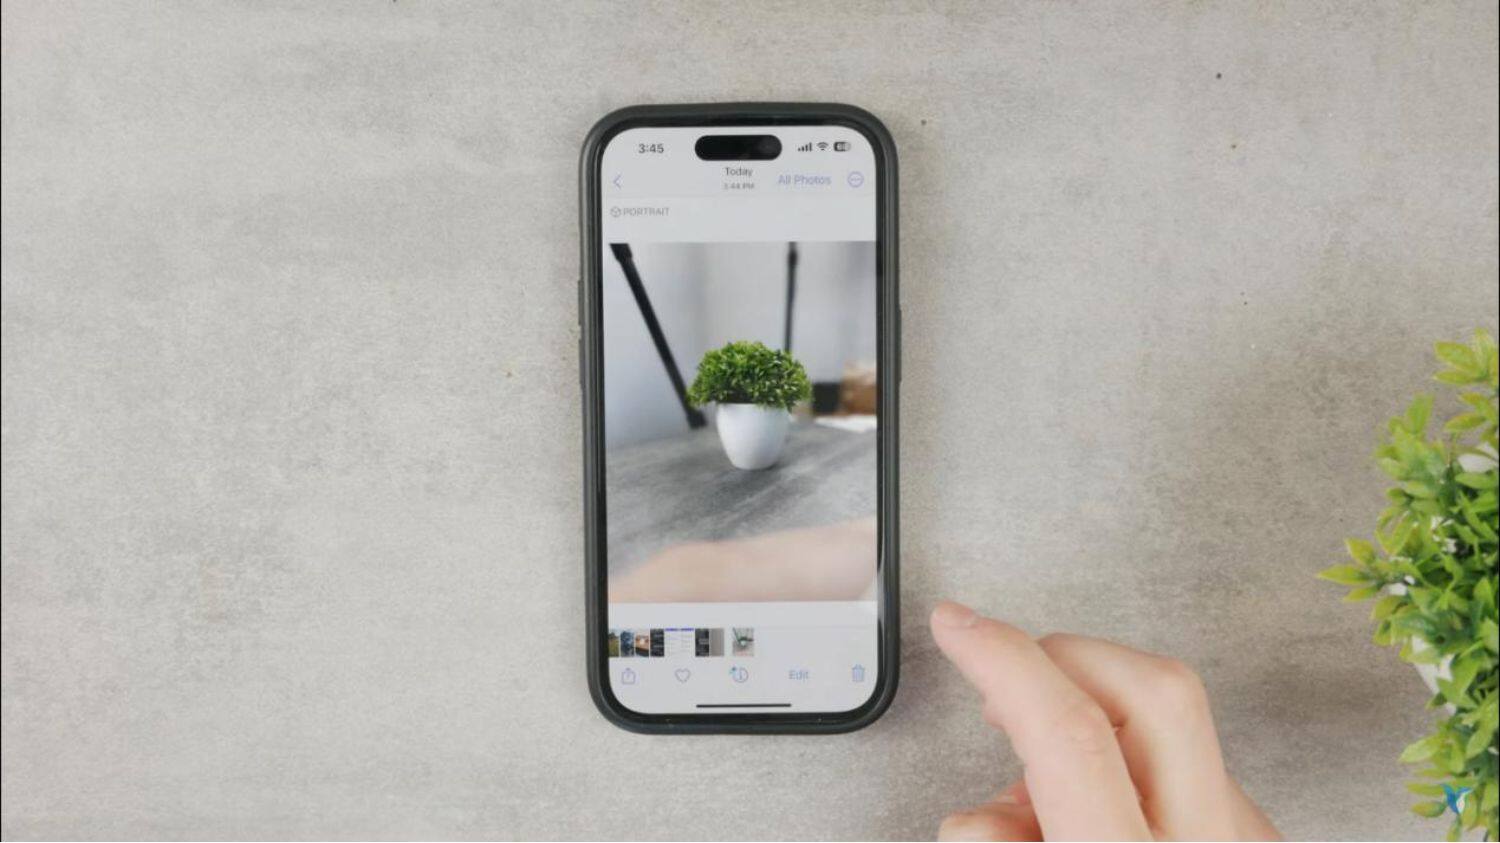
Image credit: Youtube.com
Step 2:
Click on edit on the bottom right to enable the editing function.
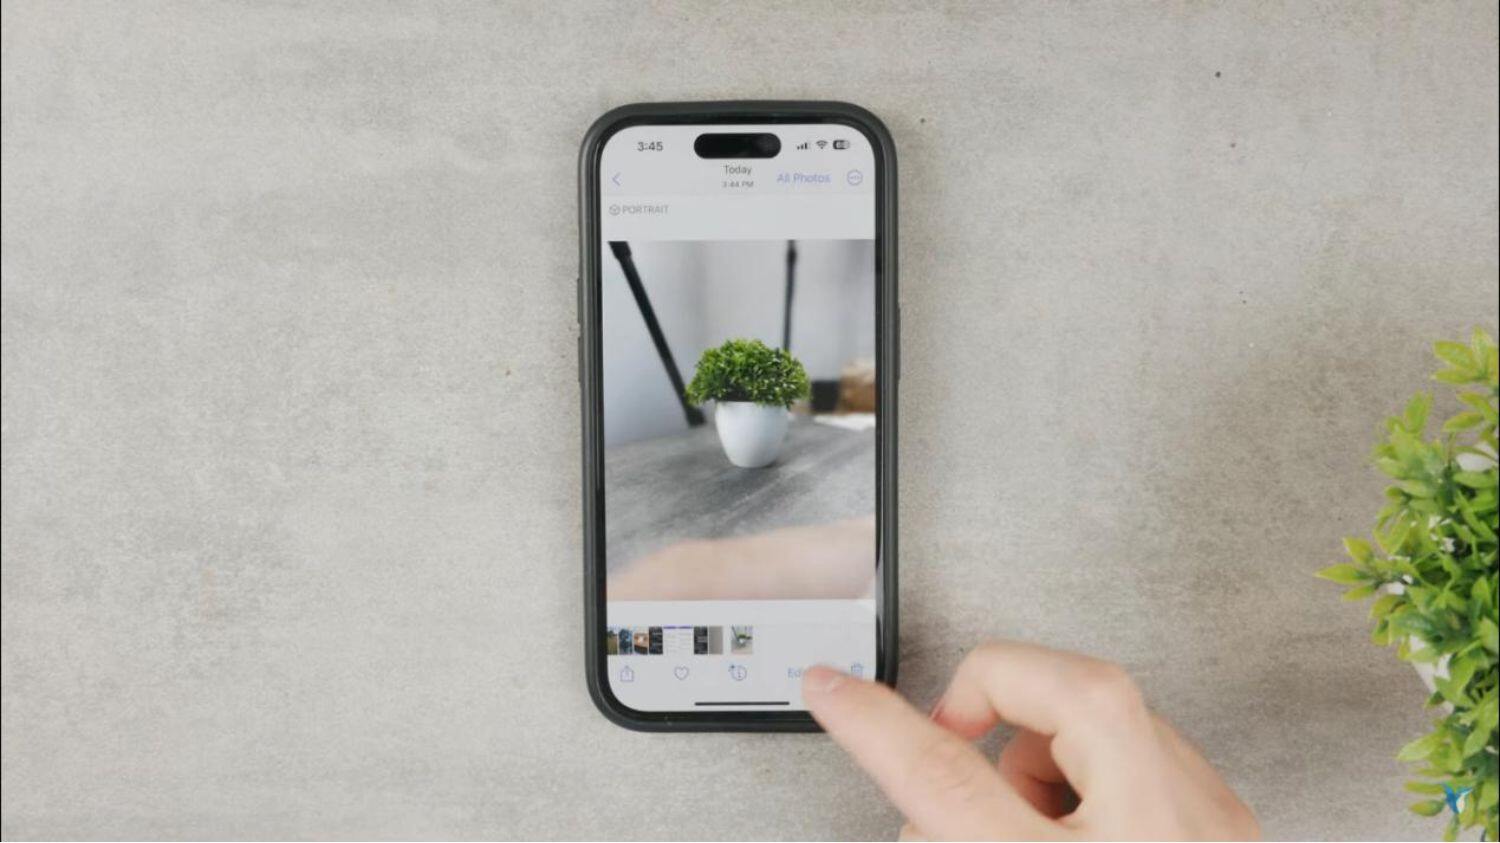
Image credit: Youtube.com
Step 3:
Proceed to the upper left side of your screen and select the option f/number.

Image credit: Youtube.com
Step 4:
Proceed and choose your blur preference on the aperture scale at the bottom of your screen.
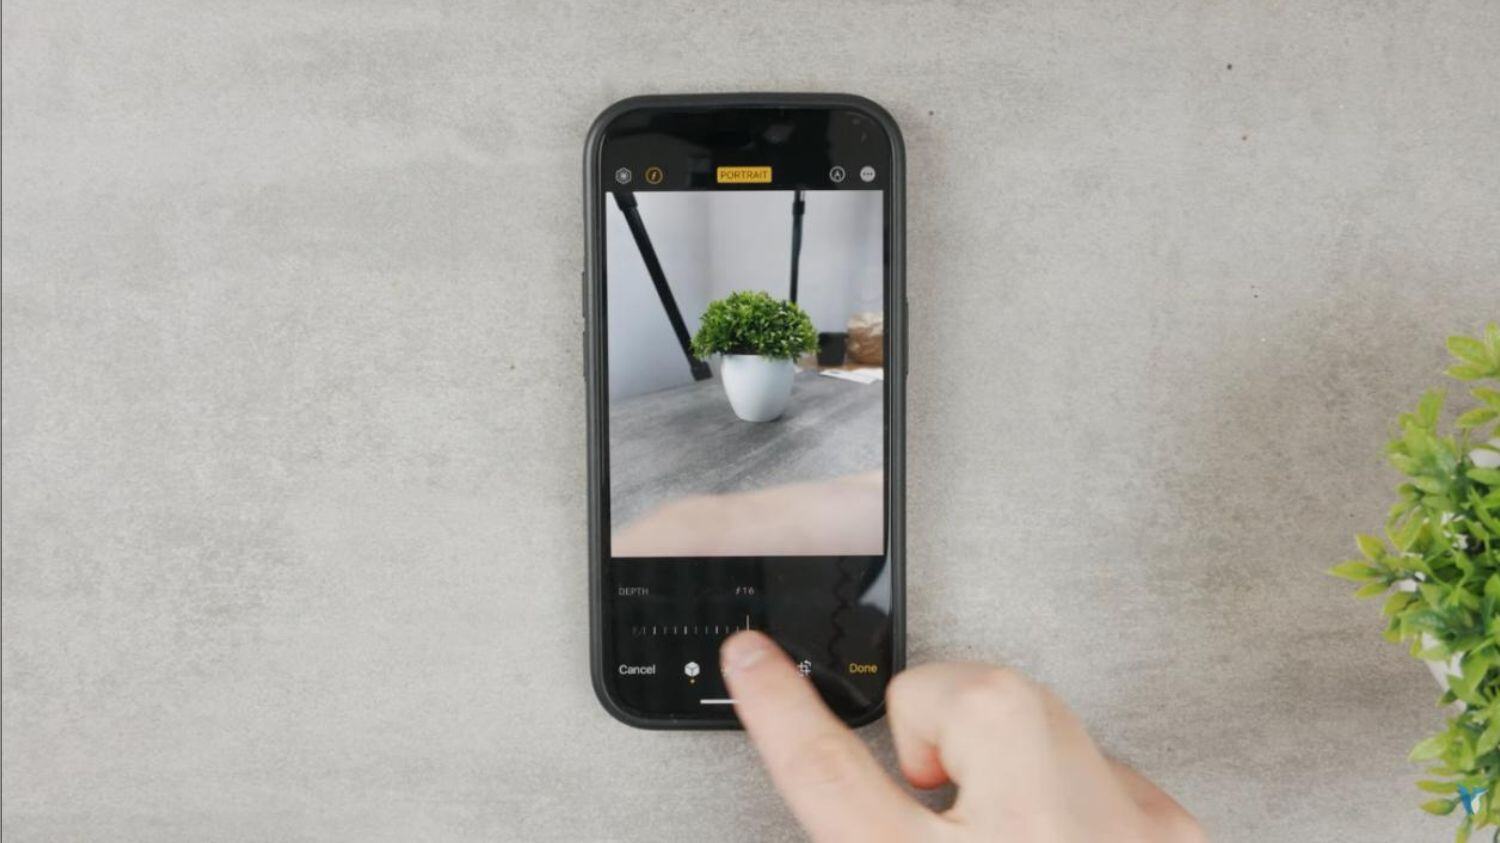
Image credit: Youtube.com
4. How to Blur the Background on iPhone Using Third-party Apps
1) Focos App
Step 1:
Open the app store and download the Focos App.
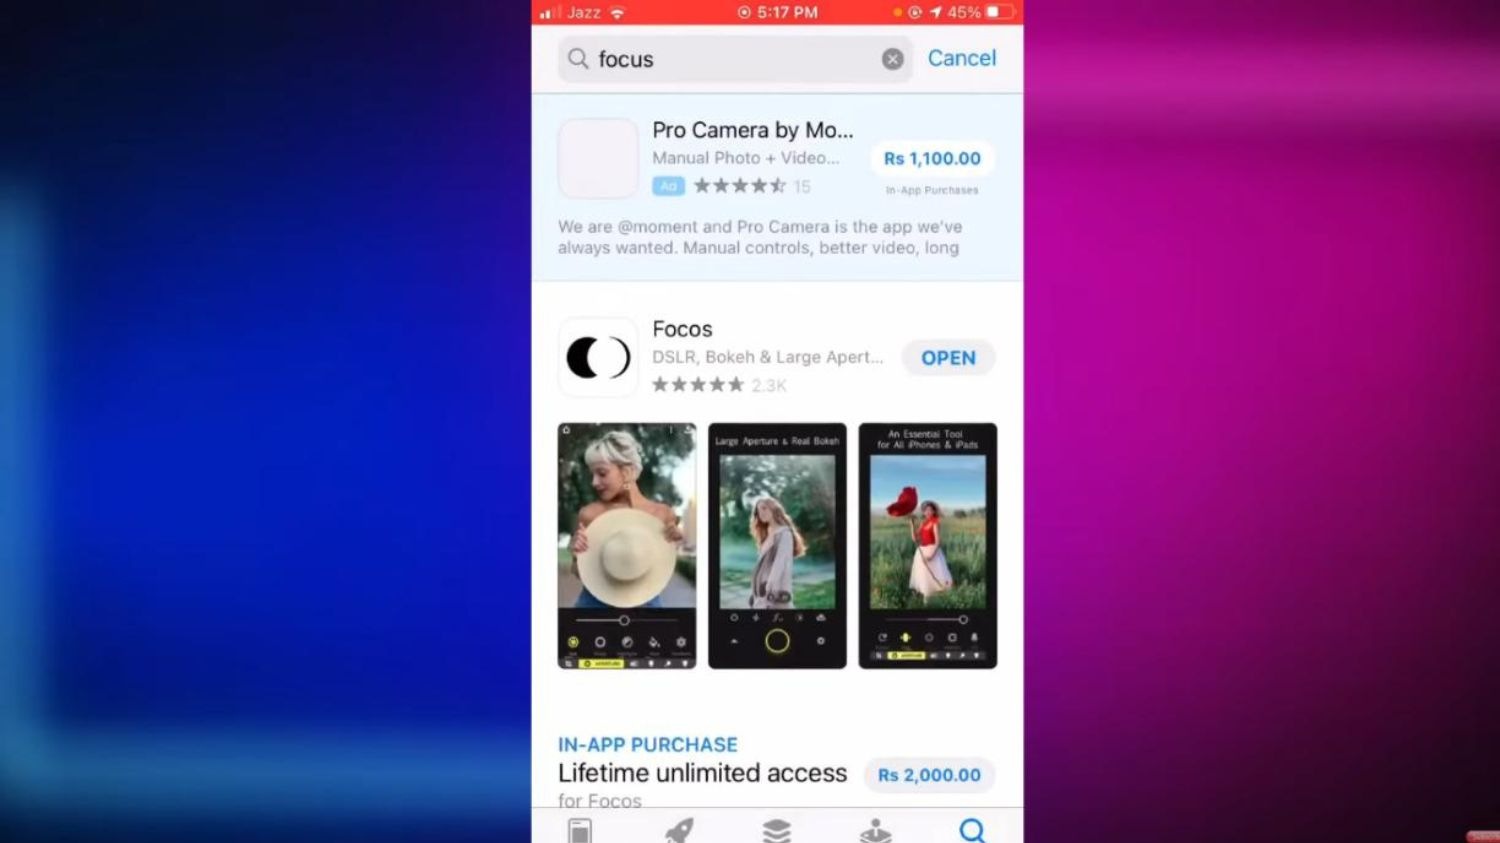
Image credit: Youtube.com
Step 2:
Open the application then select a photo you want to edit from your gallery.
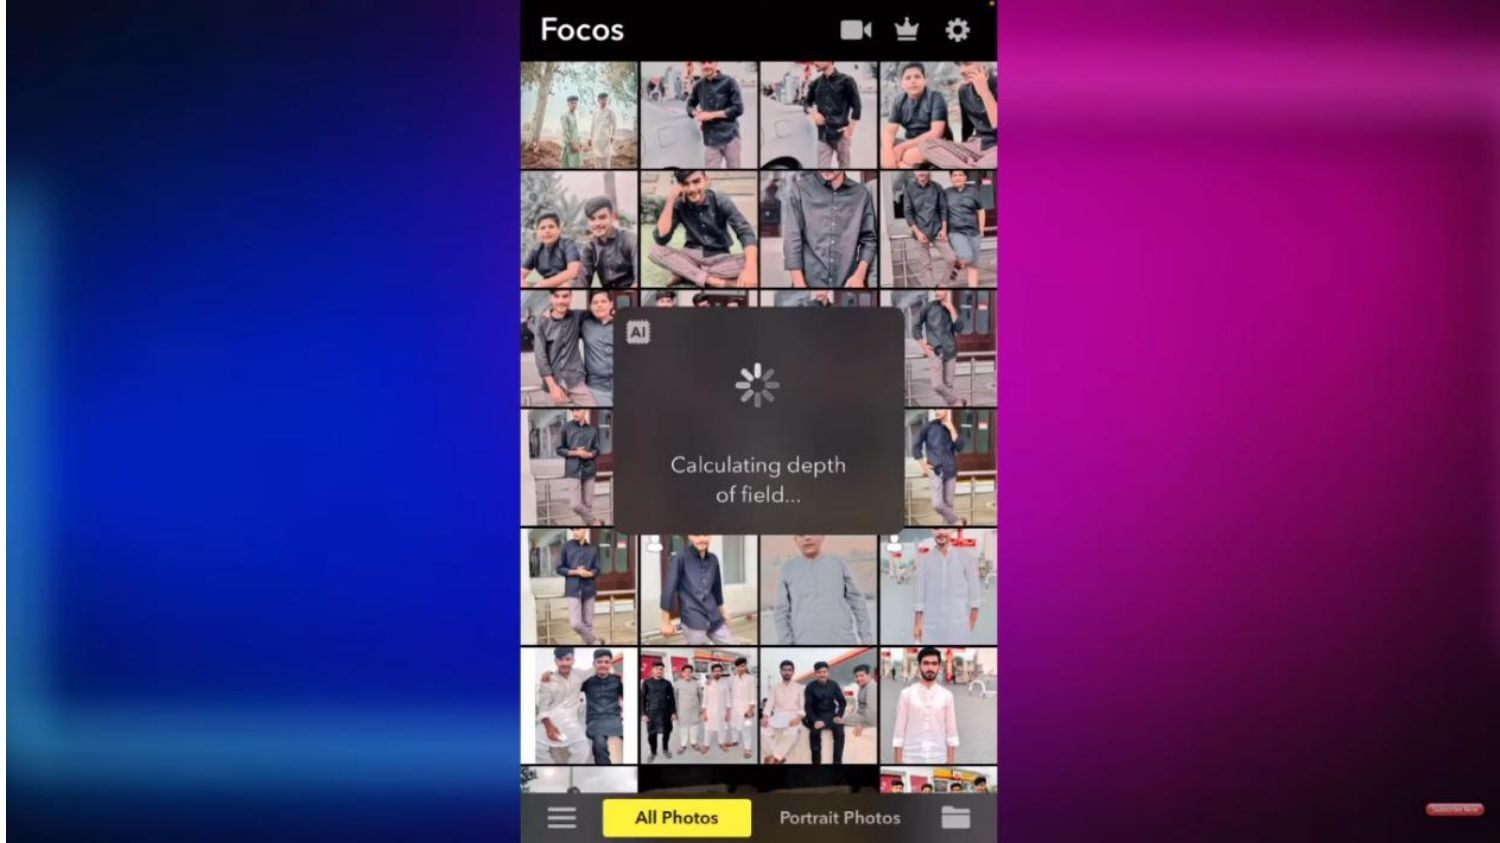
Image credit: Youtube.com
Step 3:
Click on the focus command and your photo will automatically have a blurred background.
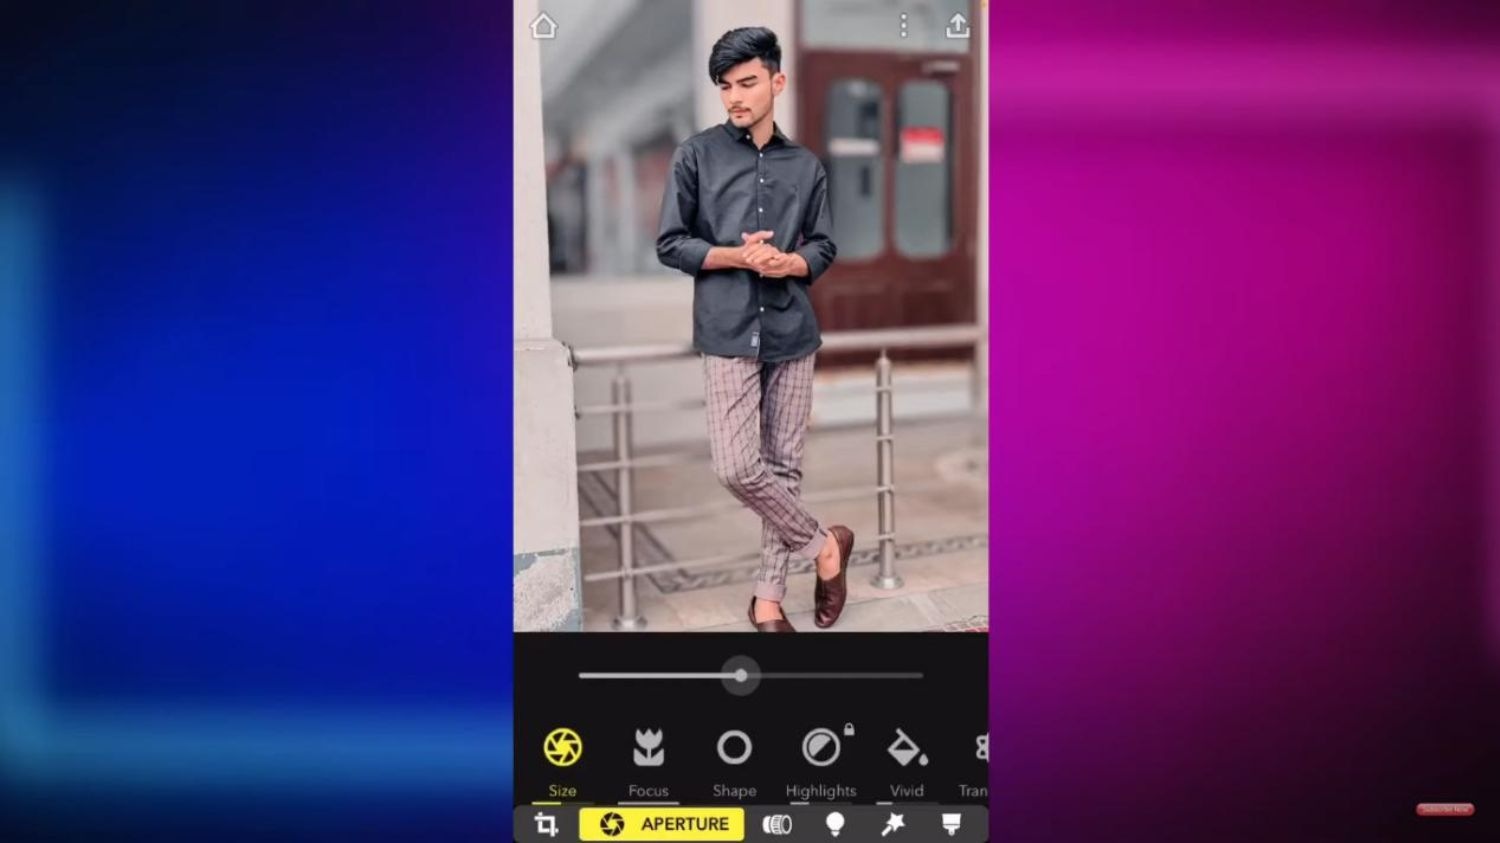
Image credit: Youtube.com
Step 4:
Click on the size option and adjust your blur.
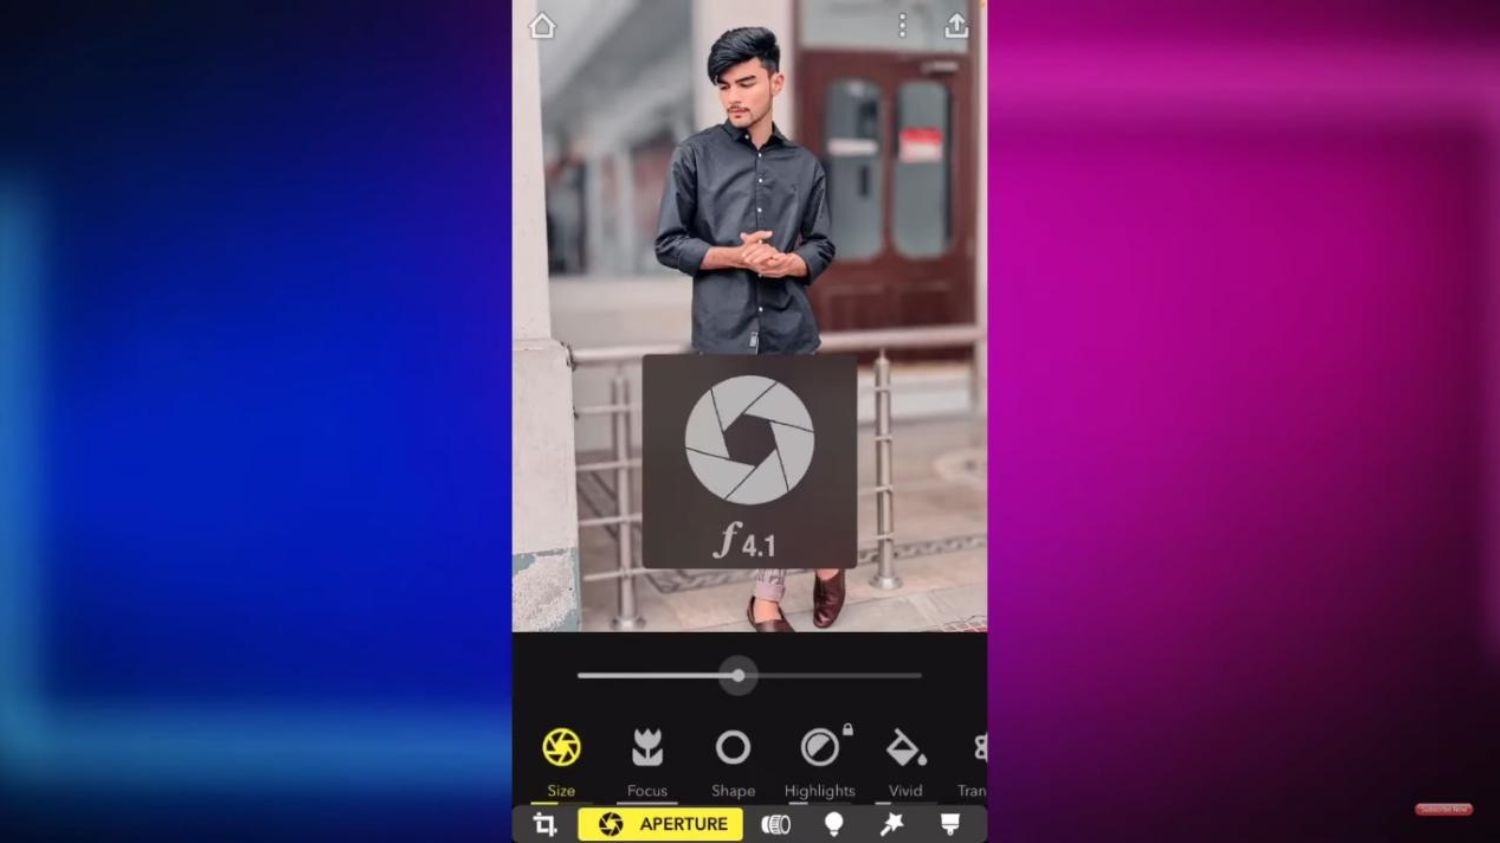
Image credit: Youtube.com
Step 5:
Save your photo.
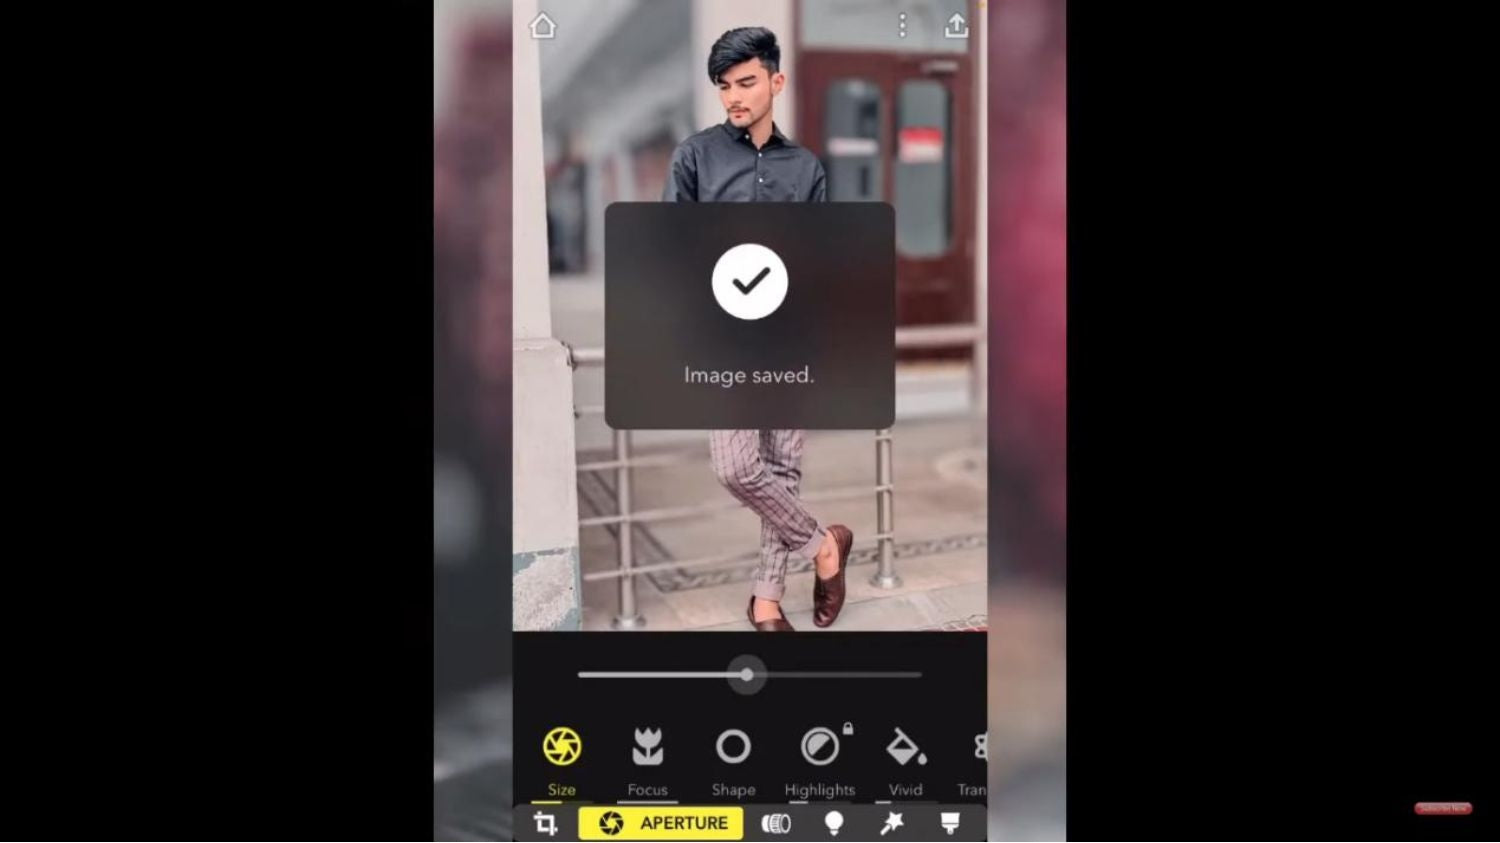
Image credit: Youtube.com
2) Blur Photo Effect Background
Step 1:
Go to the app store and download the blur photo effect background app.
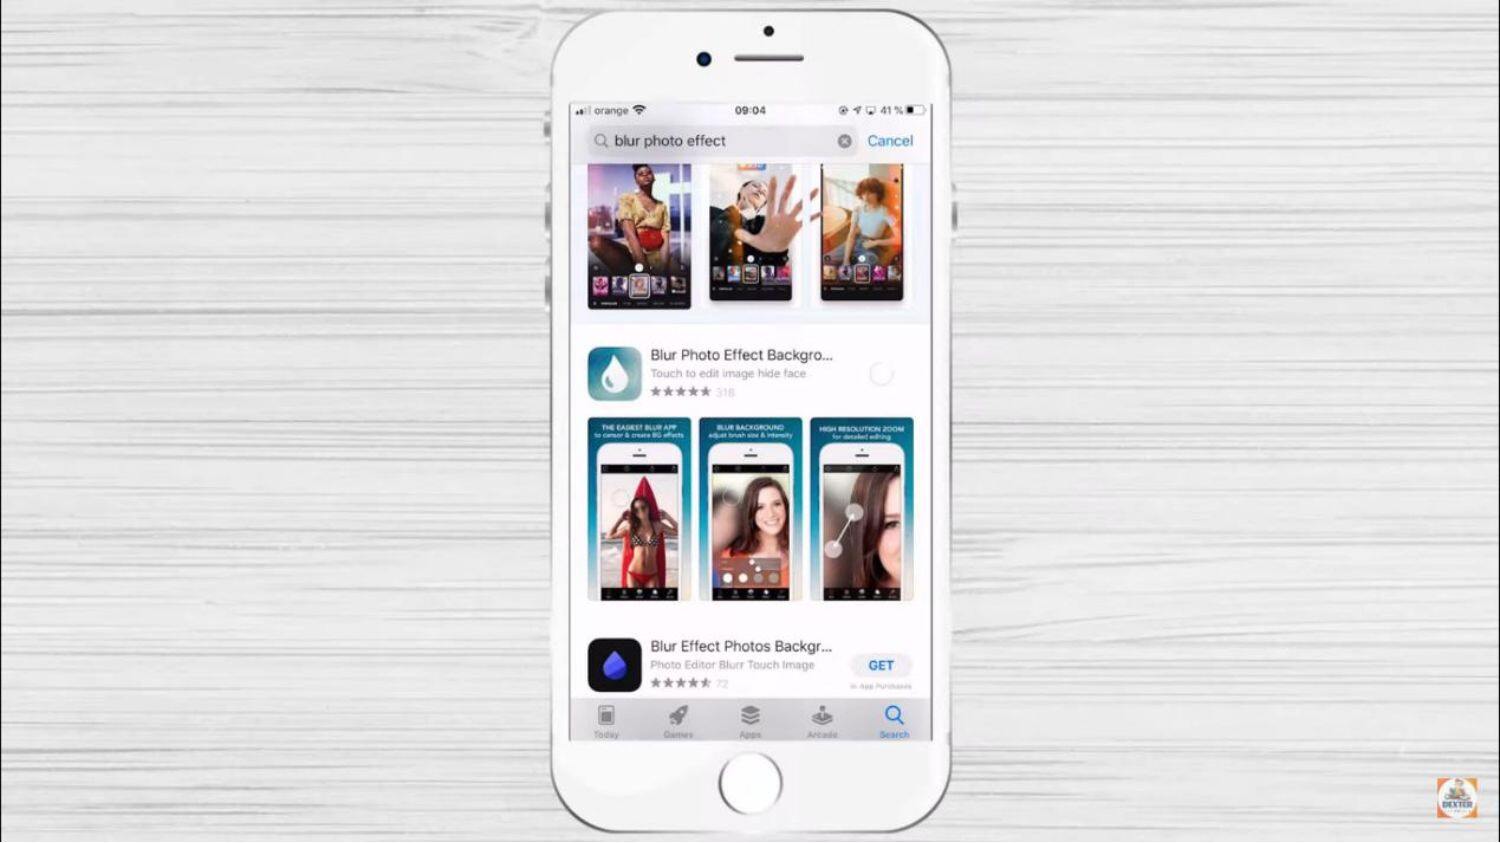
Image credit: Youtube.com
Step 2:
Open the app and click on blur.
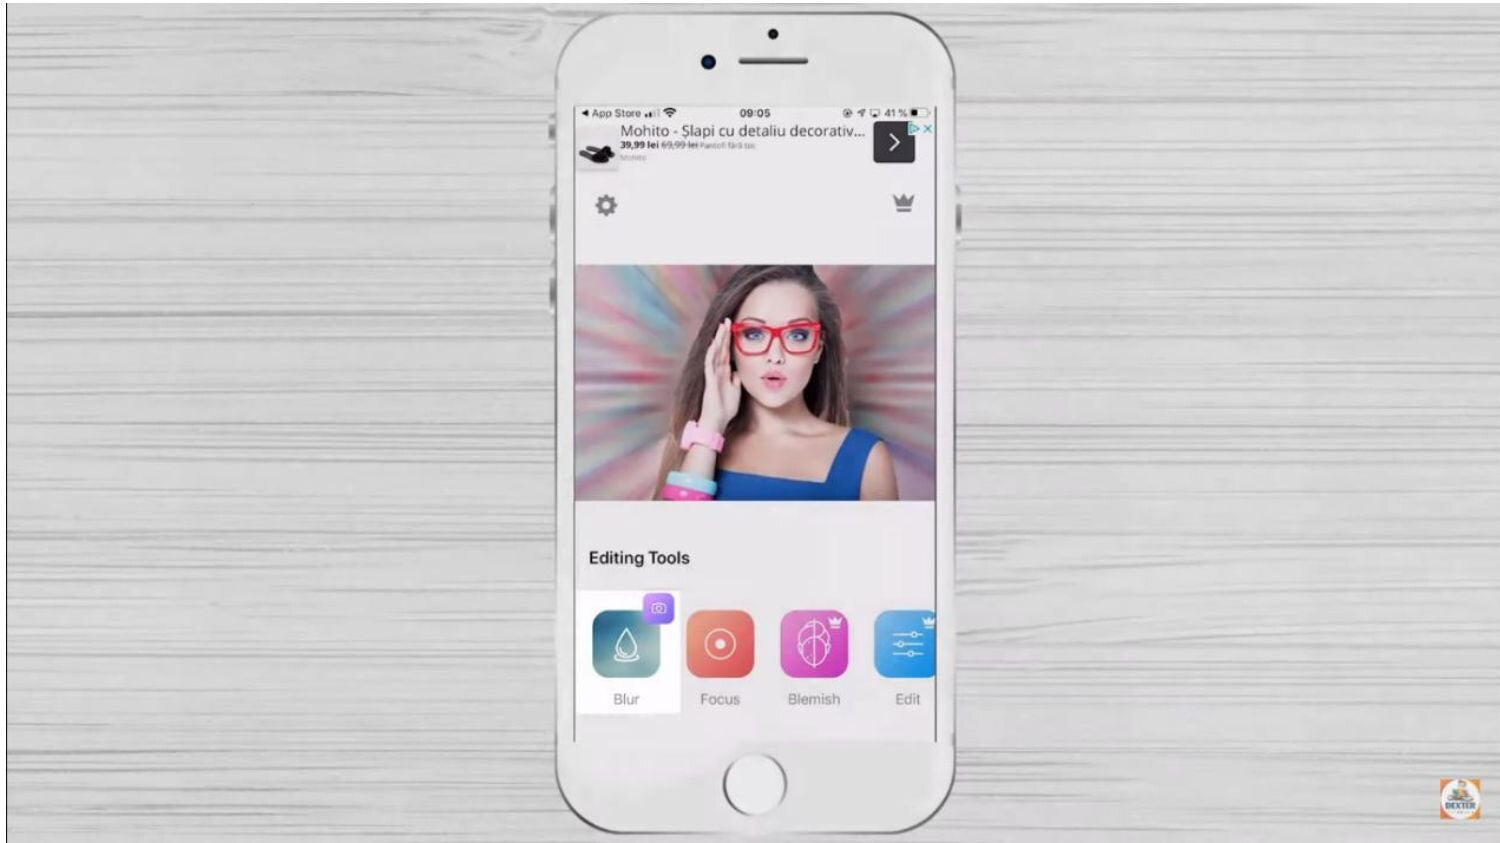
Image credit: Youtube.com
Step 3:
Select the photo you want to edit.
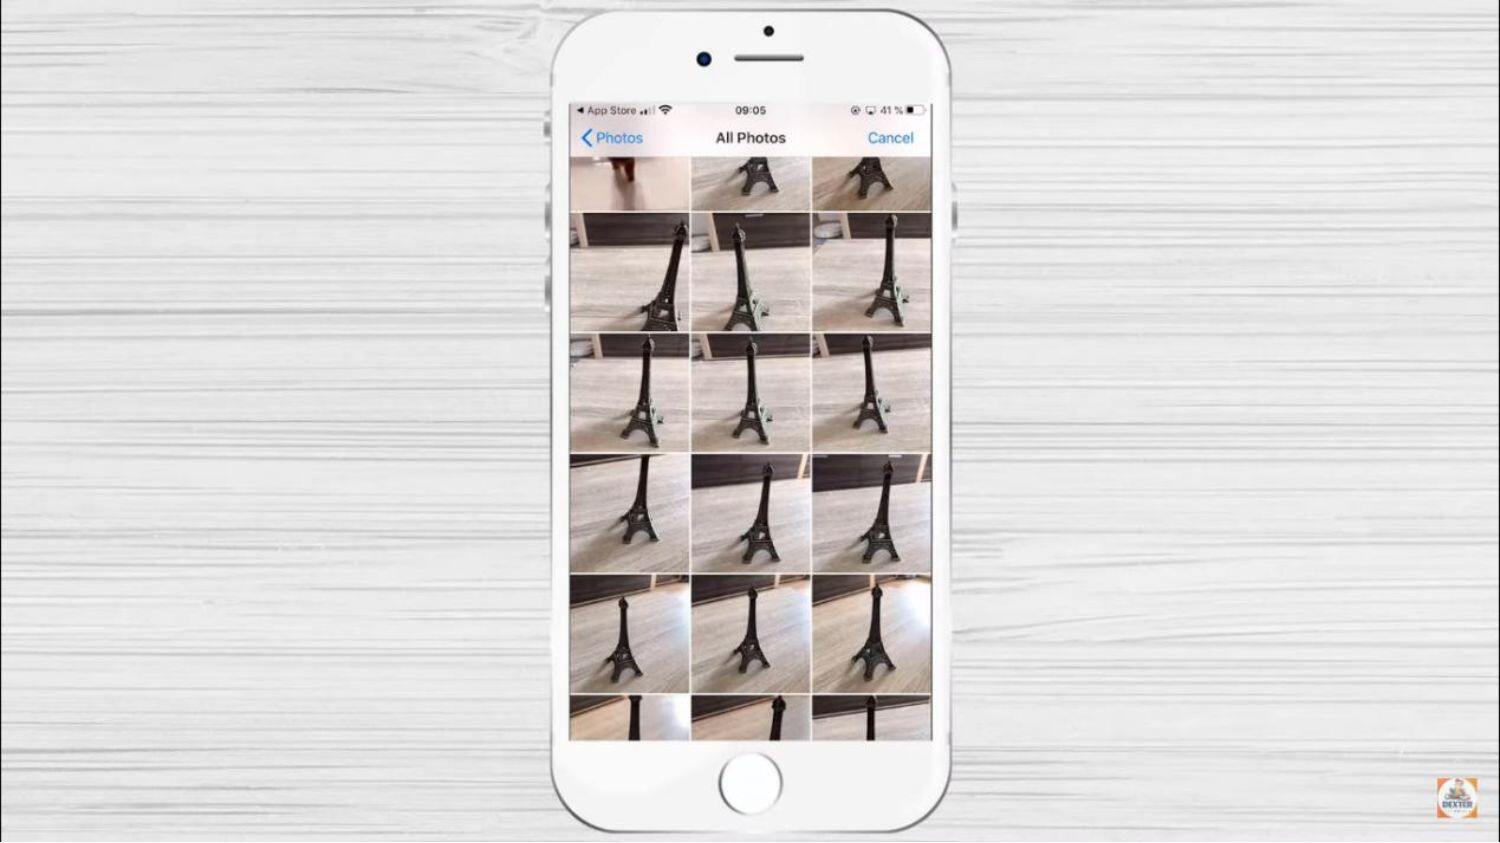
Image credit: Youtube.com
Step 4:
Click on the blur option and select the part you'd wish not to blur when the editing is done.
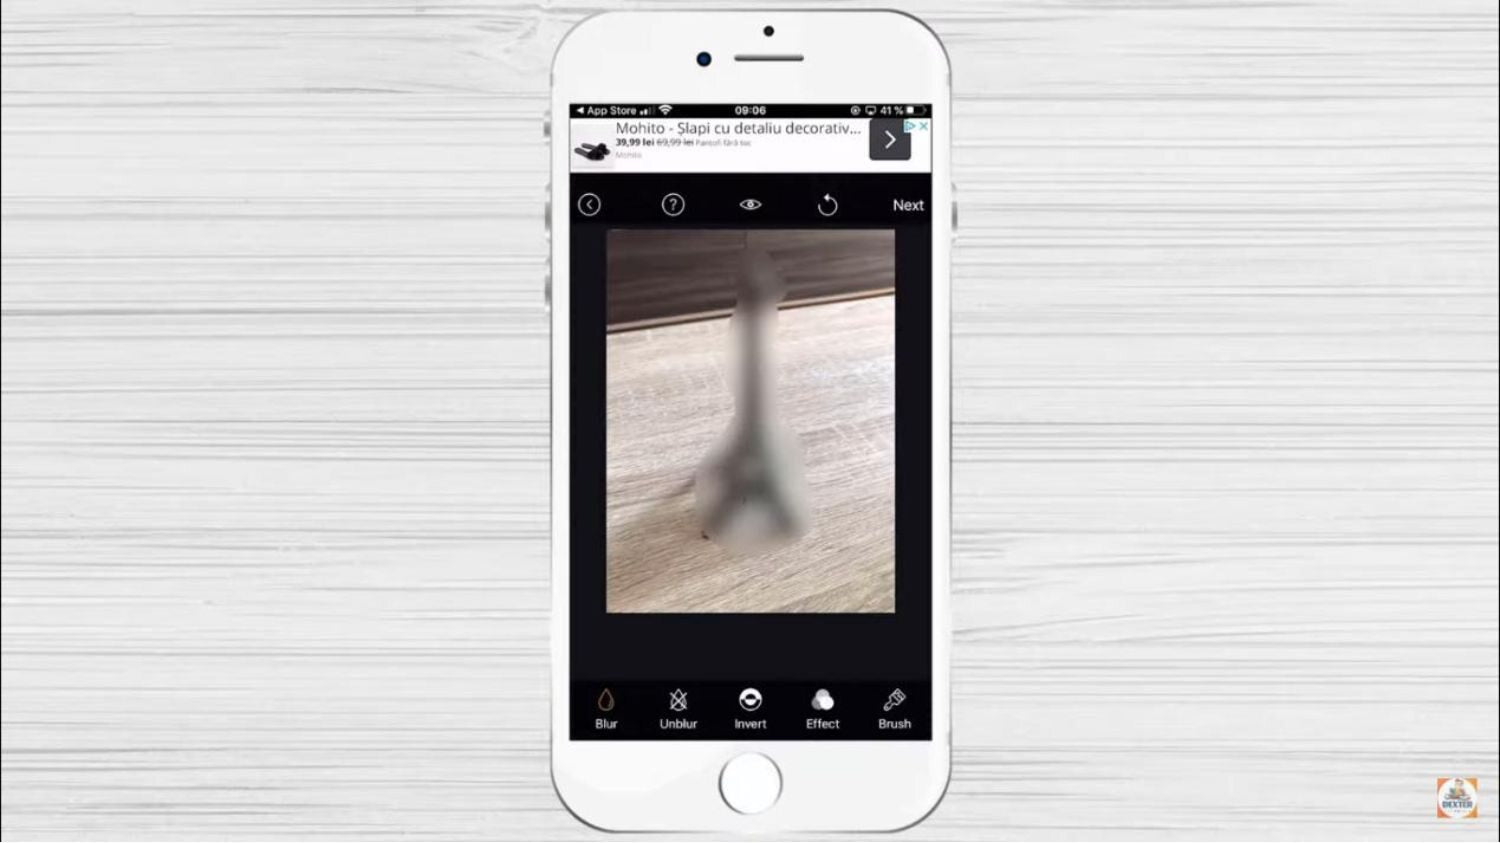
Image credit: Youtube.com
Step 5:
Proceed to the invert option. The left out part becomes blurred, and the selected area becomes clear.
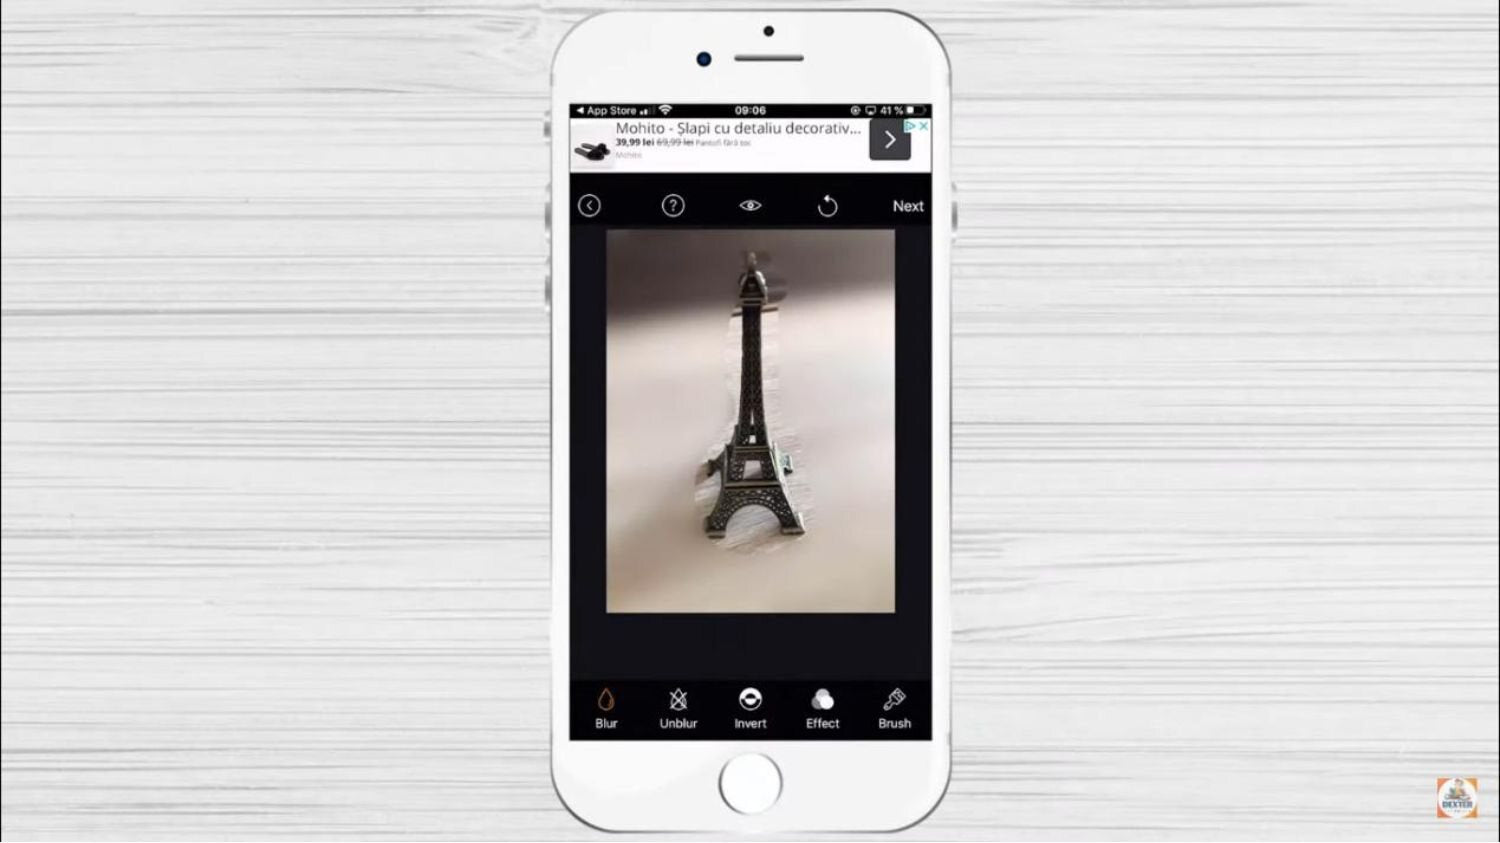
Image credit: Youtube.com
Step 6:
Click on effects and select a filter you wish to use on your image.

Image credit: Youtube.com
Step 7:
Proceed to save the photo.
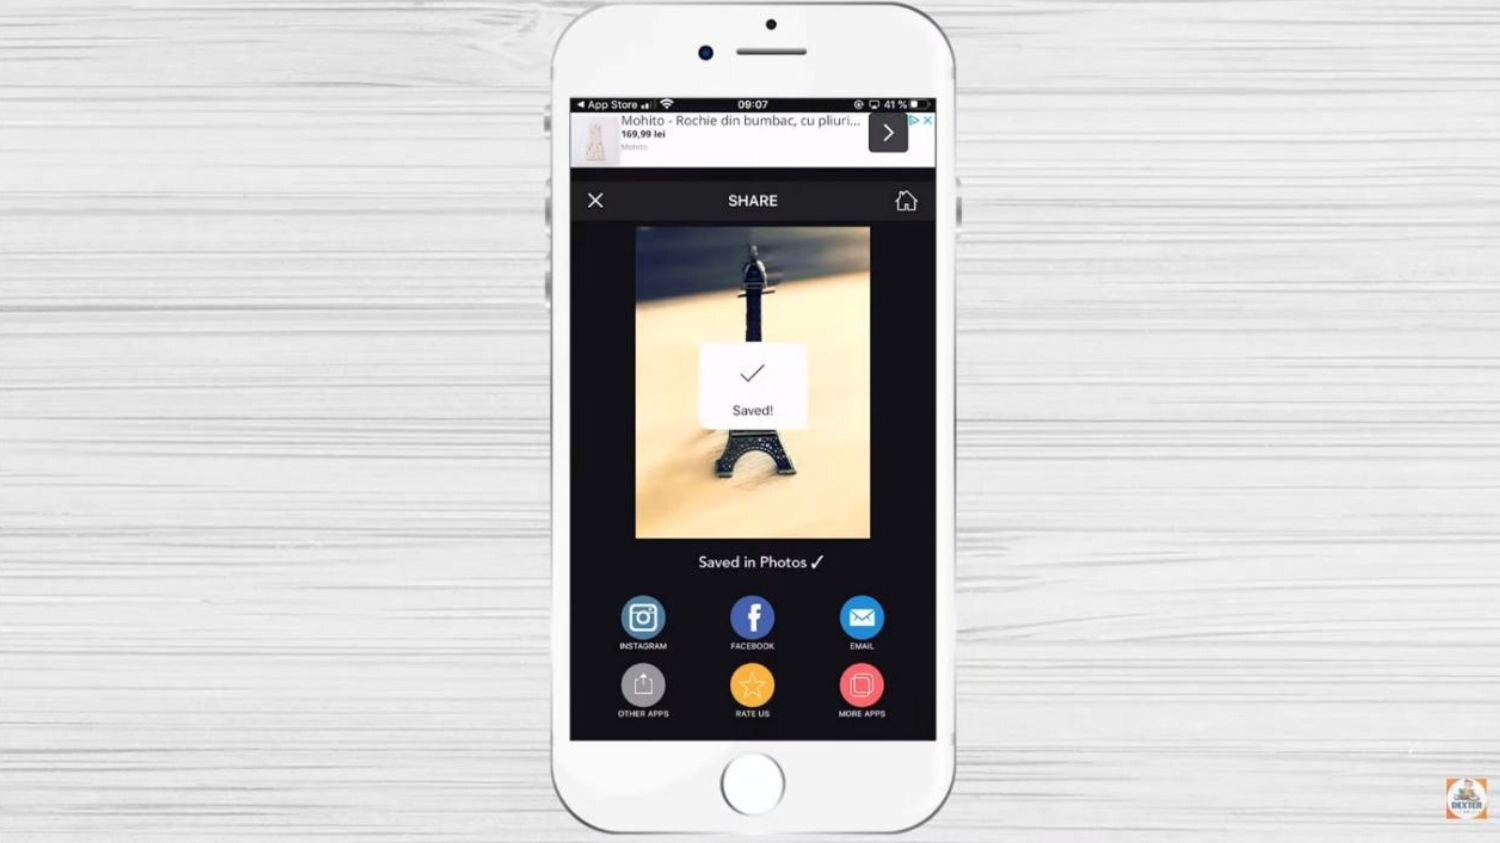
Image credit: Youtube.com
Conclusion
Mastering the art of blurring backgrounds on your iPhone opens up creative avenues for impactful photography. Utilizing built-in features and third-party applications that have been talked about for more creative options. By incorporating these methods, you'll elevate the quality and impact of your images, crafting a more engaging visual story.
If you like this article, please share it! Be sure to join our FB Group: https://www.facebook.com/groups/Katebackdrops/ to share your ideas! You can also receive free articles, updates as well as discounts information from https://www.katebackdrop.com/ and our FB Group.