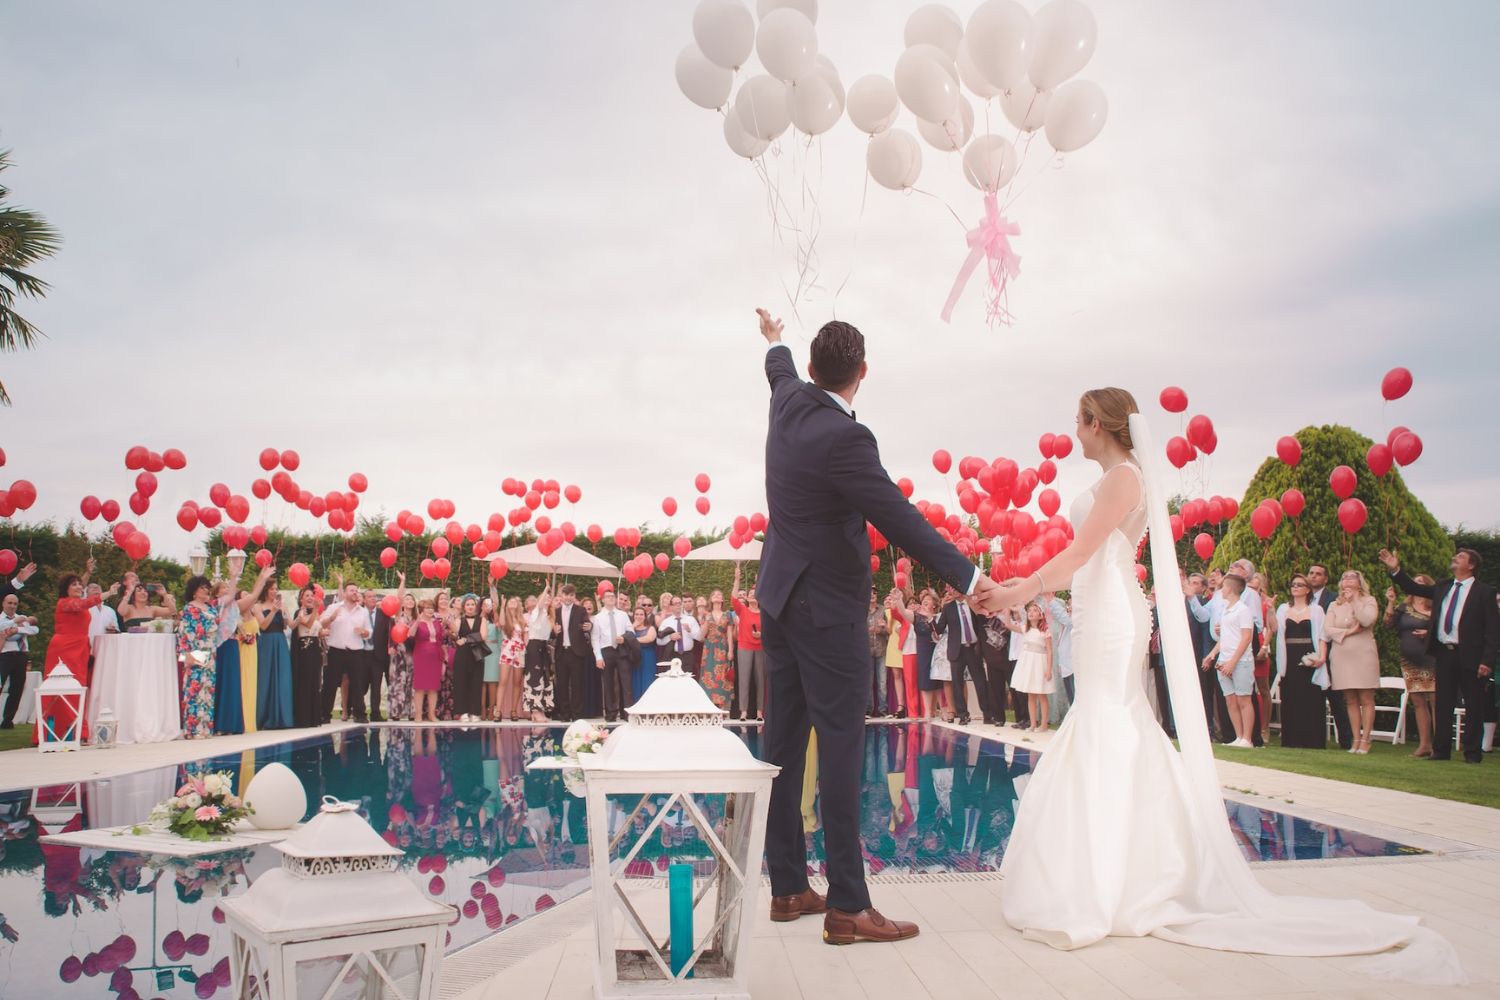
Photoshop offers a variety of tools and filters that you can use to create interesting water effects for your studio photography. This article will use a software called FLOOD 2 to add a realistic water effect photoshop.
What You Need:Add Water to Your Photo
The first thing you'll need is a photo to work with. Use any photo of your choice. You will also need to download and install FLOOD 2. You can get it for free here.
After FLOOD 2 is installed, open your photo in Photoshop and follow the following steps.
1. Duplicate the Layer
- To do this, go to layer> Duplicate Layer. A new layer will be created on top of the original layer.
- Alternatively the keyboard shortcut for this is Ctrl + J (Windows) / Cmd + J (Mac).

2. Flip the Image Vertically
- To do this, go to Edit > Transform > Flip Vertical.

- You can also use the keyboard shortcut Ctrl + T (Windows) / Cmd + T (Mac) to bring up the Transform Tool.
3. Squish the Image to Size
- To do this, go to Edit > Transform > Scale.
- Click and drag one of the corner handles inwards while holding down the Shift key. This will keep the image in proportion as you scale it down.

- Click the checkmark to confirm the changes or press Enter (Windows) / Return (Mac).
4. Move the Flipped Layer Underneath the Original Layer
- To do this, simply click and drag the flipped layer below the original layer in the Layers panel.

5. Erase Unwanted Parts With Your Eraser Brush
Now that the image is flipped and squished, it's time to erase the unwanted parts.

- Grab the Eraser Tool from the Toolbox or press E on your keyboard.
- In the Options Bar, select a soft round brush and set the Opacity to 100%.
- Start erasing the top and bottom parts of the image until you're left with only the middle section.
6. Add a Displacement Map
- With the top layer selected, go to Filter > Distort > Displace.

- In the Displace dialog box, set the Horizontal Scale to 5 and the Vertical Scale to 5.
- Check the Repeat Edge Pixels checkbox to prevent any white borders from appearing around the edges of the image.
- Click OK. A new dialog box will appear asking you to select a displacement map.

- Navigate to the location of the FLOOD 2 installation folder and select the displacement_map.jpg file. If you lack one, download it from
- Click Open.
The image will be distorted according to the displacement map.
7. Add a Water Ripple Effect

To do this;
- Go to Filter > Distort > Ripple.
- In the Ripple dialog box, set the Amount to 50 and the Ripple Size to Large.
- Click OK.
The image will now have a water ripple effect.
8. Add a Gaussian Blur

- To do this, go to Filter > Blur > Gaussian Blur.
- In the Gaussian Blur dialog box, set the Radius to 2.
- Click OK.
This will add a slight blur to the image, which will give the water effect photoshop a more realistic look.
And that's it. You've successfully added a water effect to your photo.
How to Add Water Overlays
Flood 2 lets you use displacement maps to create water effect photoshops; you can further change the look of your image by adjusting the simple and/or complex settings.

Difference Between Simple and Complex Settings
- Simple Settings are the basic settings that you need to add a water effect to your image.
- Complex Settings are the settings you can use to fine-tune the water effect; the complex settings give you much more control over the water effect.
If you want to add a more realistic water effect, I recommend using complex settings. Examples of things you can adjust;

Ripple

To add ripples to your image;
- Simply click on the Ripple tool, which is located under the "Filter" menu. You can also access it by hitting Shift+R.
- Once you have the Ripple tool selected, simply click and drag your mouse over the areas of your image where you want to add ripples too. As you can see, the ripples appear as small, concentric circles.
- To change the size of the circles, simply adjust the "Ripple Size" slider located in the options bar.
- To change the intensity of the ripples, adjust the "Ripple Strength" slider.
Water Drops
To add water drops to your image;
- Click on the Water Drops tool, which is located under the "Filter" menu. You can also access it by hitting Shift+W.
- Once you have the Water Drops tool selected, simply click and drag your mouse over the areas of your image where you want to add water drops too. As you can see, the water drops appear as small, round circles.
- To change the size of the circles, simply adjust the "Water Drop Size" slider located in the options bar.
- To change the intensity of the water drops, adjust the "Water Drop Strength" slider.
Saturation
If you want to adjust the water saturation, you can do so by;
- Adjusting the "Saturation" slider in the options bar.
- You can also click the "Colorize" button next to the "Saturation" slider to colorize the water.
This will bring up the "Hue/Saturation" menu, where you can adjust the water's hue, saturation, and lightness.
Adjusting the Horizon Line

If you want to make the water appear to be closer or further away, you can do so by adjusting the horizon line.
- To do this, simply click on the Horizon tool, which is located under the "Filter" menu. You can also access it by hitting Shift+H.
- Once the Horizon tool is selected, simply click and drag your mouse up or down to adjust the horizon line.
- As you can see, when you drag the horizon line up, the water appears closer, and when you drag it down, the water appears further away.
Below are the before-and-after photo for your tutorial:
Without the water effe

Kate Autumn Woods Backdrop Designed by Chrissie Green

With the water effect:

Kate Autumn Woods Backdrop Designed by Chrissie Gre

Kate Mermaid Water Summer Backdrop
Tips to Consider When Adding Water Effect Photoshops to Your Photos
- Use a photo with a high resolution for the best results. If you use a photo with a low resolution, the final image will also be of low resolution, and the water effects will not be as realistic.
- Use a photo with a plain background for best results. If the background of the photo is too busy, the water effects will be more difficult to see.
- Use a photo with a light-colored background for best results. If the photo's background is too dark, the water effects will be more difficult to see.
- You can also adjust the width of the horizon line by adjusting the "Horizon Width" slider located in the options bar.
Conclusion
Photoshop can be a great way to show off your creativity. I hope you found this article helpful and that you'll be able to use these techniques to create your own water effects.
Now that you know how to add water effects to your photos using Photoshop courtesy of Katebackdrop, have fun and be creative.
If you like this article, please share it! Be sure to join our FB Group: https://www.facebook.com/groups/Katebackdrops/. to share your ideas! You can also receive free articles, updates as well as discounts information from https://www.katebackdrop.com/ and our FB Group.

 Custom Printed Fabric Backdrops
 Custom Rubber Floor Mats
 Custom Collapsible Backdrops(double-sided)
 Custom Hand Painted Canvas Backdrops
 Custom Vinyl Backdrops
 Arch
Arch


